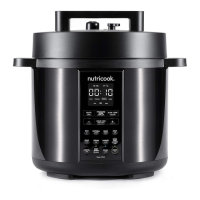
Install and remove
pressure release valve.
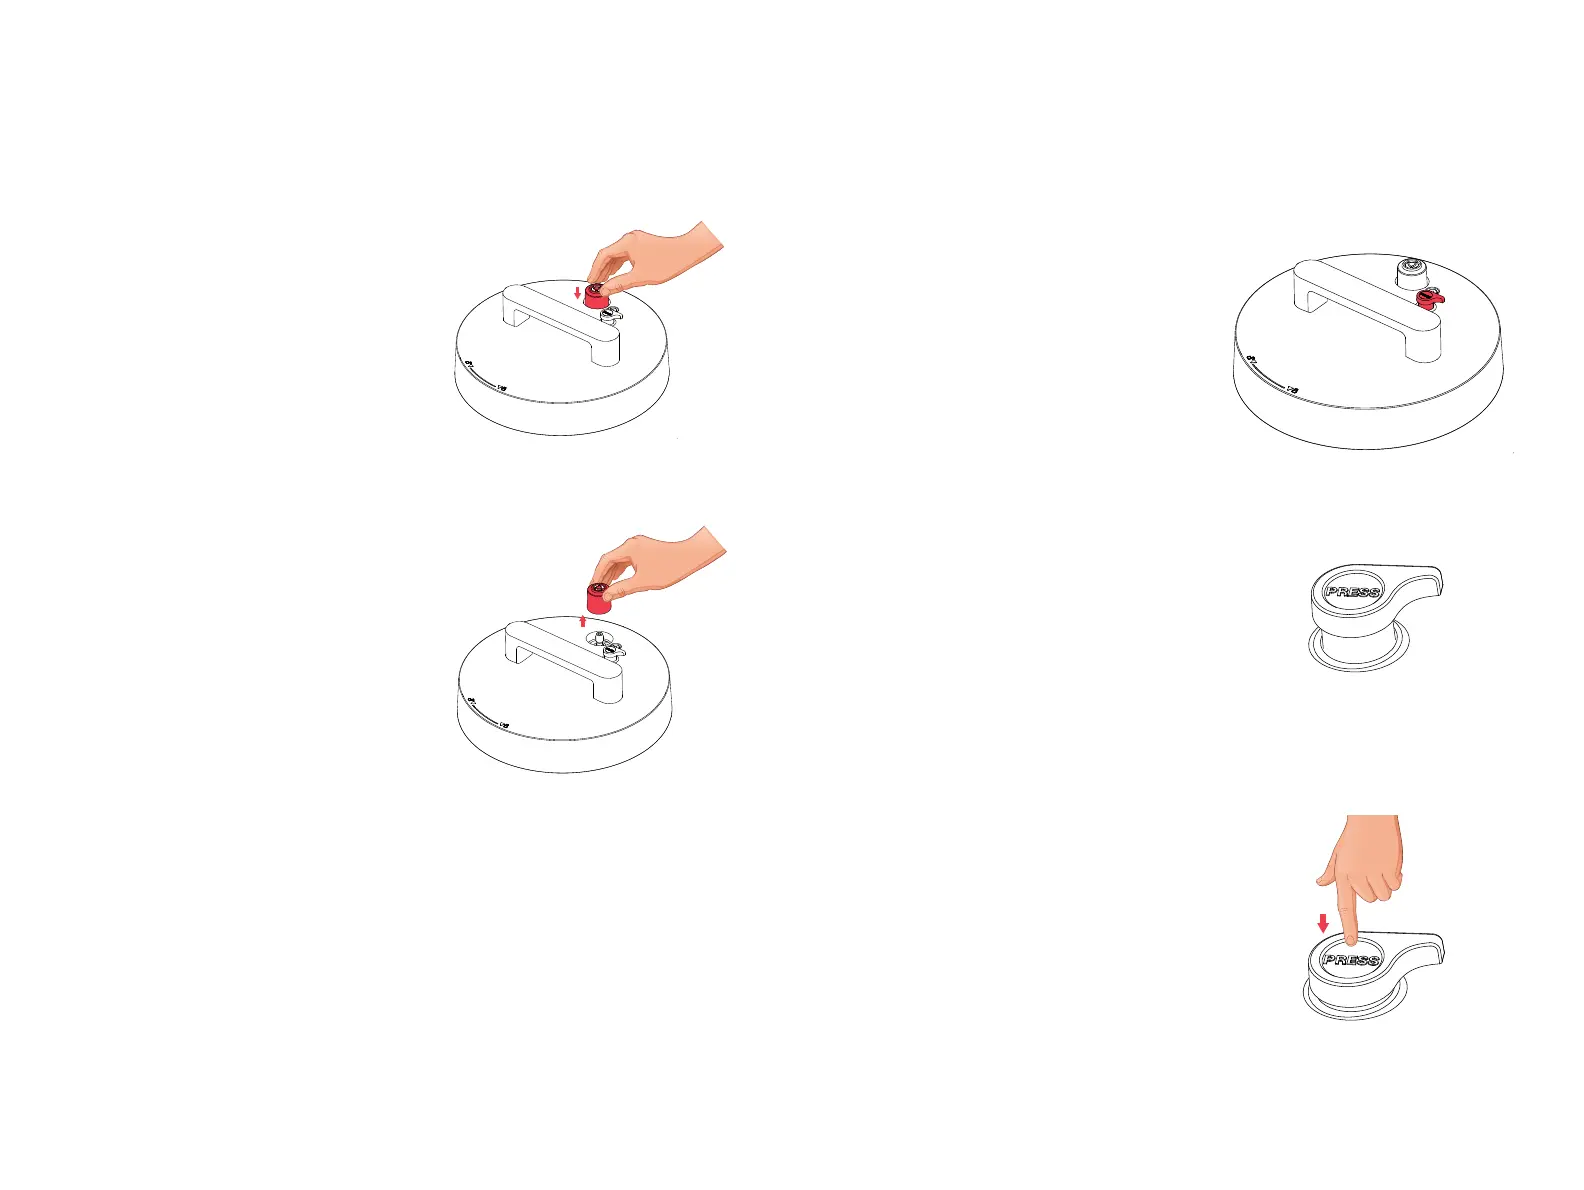
Using pressure release
button.
Install: Position pressure
release valve on pressure
release hole and press down.
*NOTE: The pressure release valve
automatically releases pressure if
excessive pressure builds up inside your
cooker.
Remove: Pull pressure release
valve up from pressure release
hole.
Pressure release valve must be
installed before use and cleaned
frequently.
*NOTE: Be aware that pressure
release valve fits loosely when properly
installed. It will safely remain in place
even if lid is flipped over.
The pressure release button safely
controls Sealing and Venting of the
Smart Pot. It works along with the
pressure release valve for Sealing
and Venting pressure.
By default, the pressure release
button is in up position (Sealing
position). It must stay in Sealing
position for all pressure cooking
programs which include: Rice,
Oatmeal, Bean, Meat, Soup, Steam
and Pressure Cook.
For non-pressure cooking programs
which include: Slow Cook, Yogurt
and Sous Vide, the pressure release
button must be in down position
(Venting position). To change the
position from Sealing to Venting,
simply press down the button. An
audible click will sound to indicate
that it is in Venting position.
*NOTE: Opening the lid while the pressure
release button is in Venting position will
automatically return it to Sealing position. An
audible click will sound to indicate that it has
moved up.
When venting pressure and contents inside the
cooker continuously spatters, turn the pressure
release button to return it to Sealing position.
remove
(pull vertically)
sealing
position
venting
position
install
2322