4 5
Setting Up Your Tablet
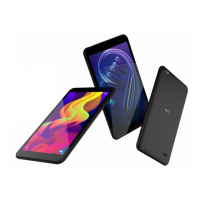
Follow these step-by-step instructions to set up your NUU Tab
8 Plus.
Power off the tablet before inserting any cards!
Warning:
SIM and microSD cards are small enough to become a choking
hazard, so please keep them away from children & pets. SIM and
microSD cards are also quite delicate. Please be careful when
handling them.
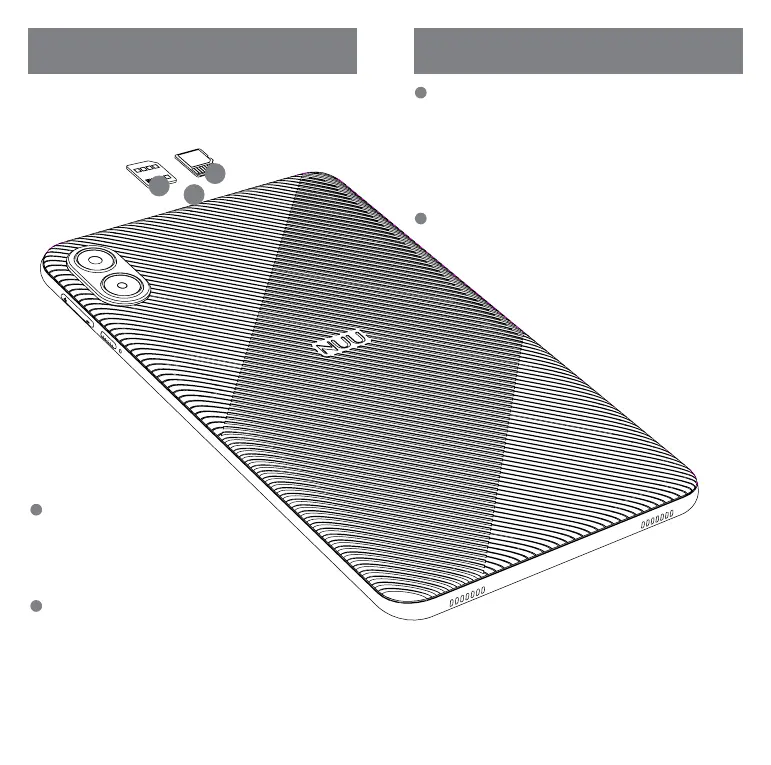
Uncover the SIM and SD Card Slots
• Gently pry the protective cover off the top edge of
the Tab 8 Plus. This can be done by hand; no tools
are needed.
• Two slots should be visible - the one closest to the
3.5” audio jack is for the SIM card, while the one
closest to the USB port is for the SD card.
Insert the SD Card (optional)
• The slot for the SD card is specifically for a Micro SD card.
• Before inserting the SD card, ensure that it is oriented correctly - the SD
card contacts should be facing in the same direction as the back of the
device, and the wider end of the card should be on the outside edge of
the slot when inserted.
• As the SD card is being inserted, ensure that it is pressed into the slot
far enough to engage the spring-loaded trap. If done successfully, the
SD card should remain secure and almost flush with the slot.
Insert the SIM Card (optional)
• Warning: The slot for the SIM card is specifically for a Micro SIM format.
Be careful not to insert a smaller Nano SIM without an adapter, or it could
become lost inside.
• Before inserting the SIM card, ensure that it is oriented correctly - the
SIM card contacts should be facing in the same direction as the back of
the device, and the cut corner of the SIM should be on the outside edge
of the slot when inserted.
• As the SIM card is being inserted, ensure that it is pressed into the slot
far enough to engage the spring-loaded trap. If done successfully, the
SIM card should remain secure and almost flush with the slot.
Finish
• Gently but firmly reposition the protective cover back into its place so
that it is entirely flush with the frame of the device.
1
3
2
4
1
2
3
 Loading...