14
15
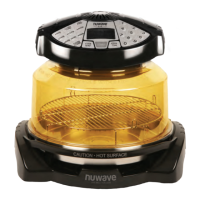
IRC 6 Black Control Panel Graphic
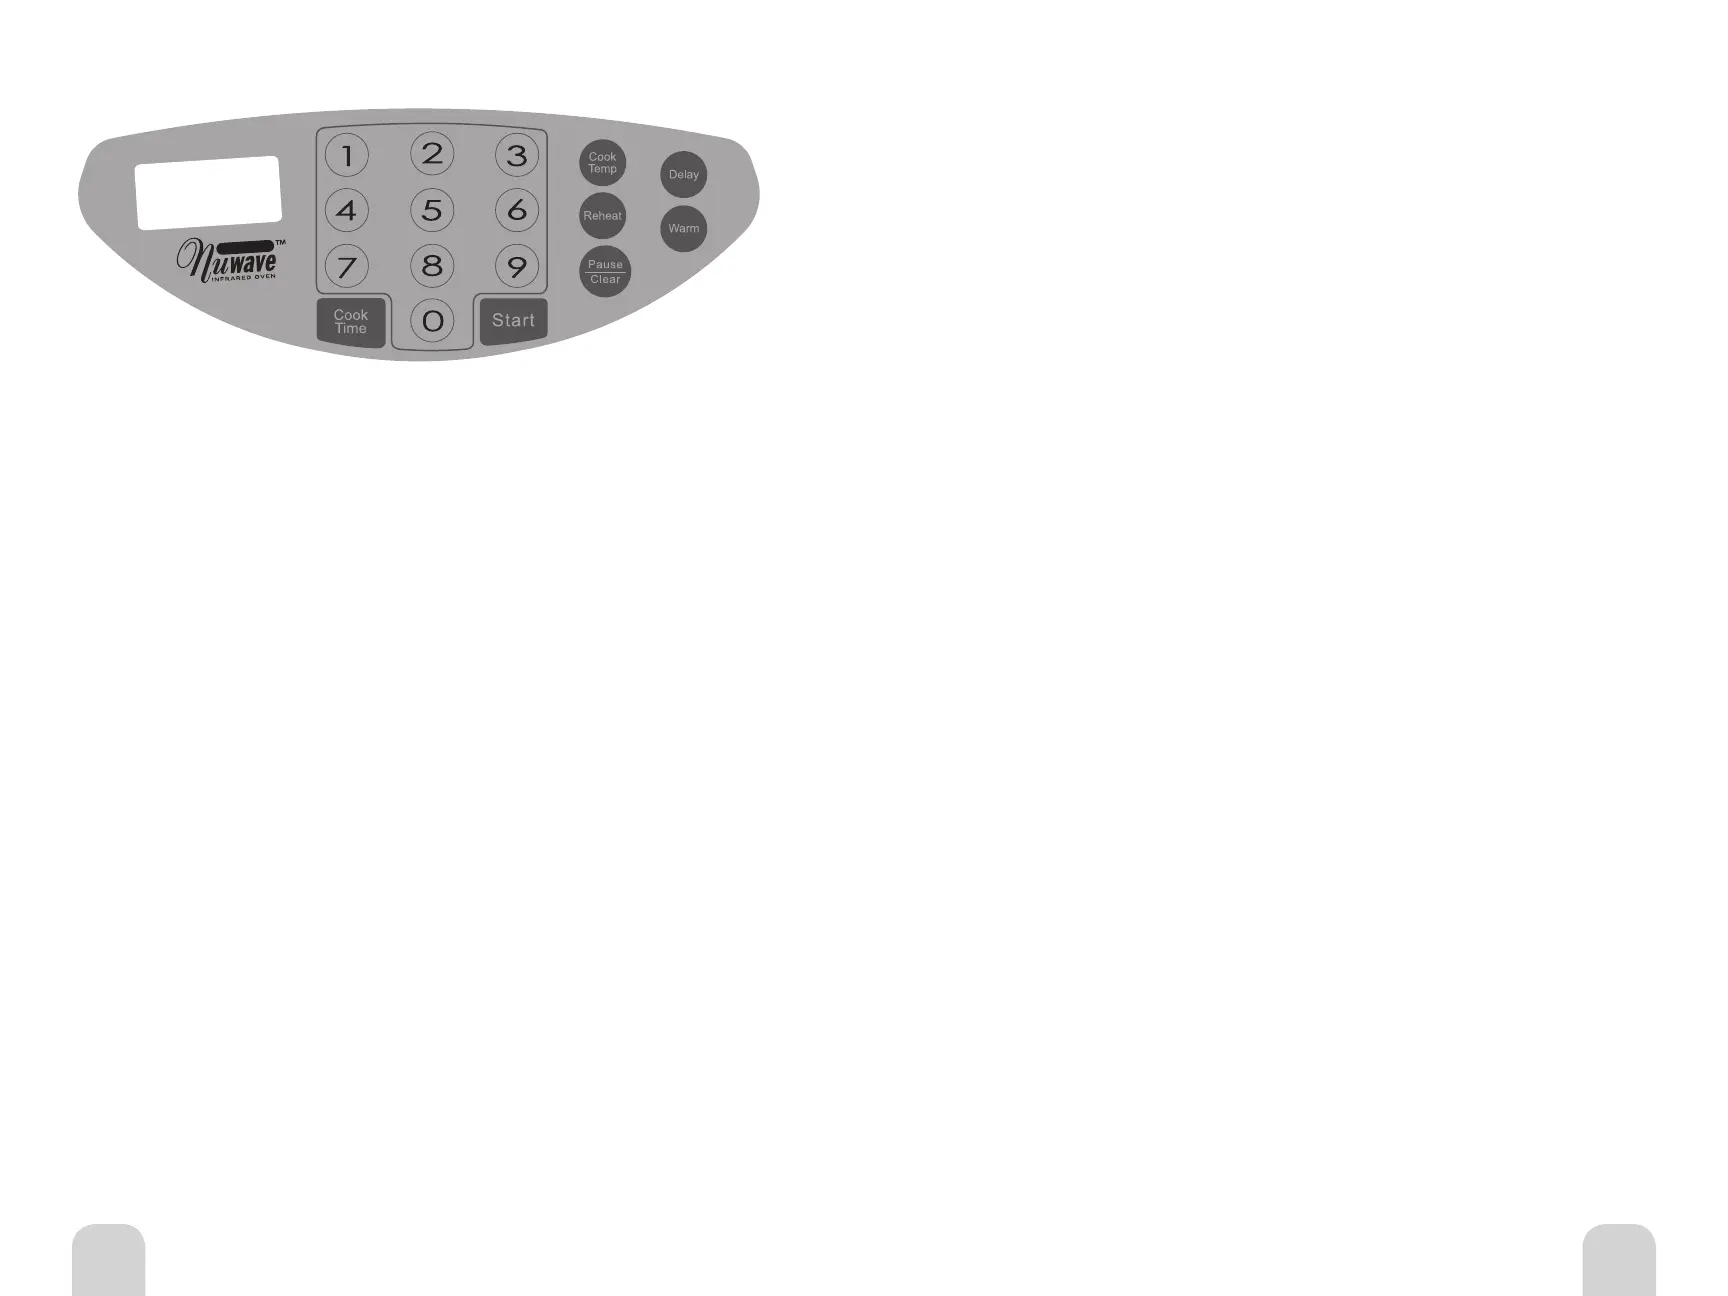
Digital Control Panel on Power Head
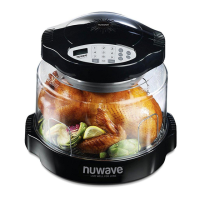
Directions for the NuWave Oven Pro Plus
• Make sure the unit is plugged into a properly grounded outlet and that the cord
is not touching any heated objects.
• Be certain that the liner pan has been properly placed within the base.
• Do not place the Pro Plus or any associated parts directly on your stove top,
inside a conventional oven or in contact with any other direct heat source. Damage
may result.
• Metal, glass or silicone dishes and pans, and all other oven-safe materials used
in a conventional oven, may be utilized in the NuWave Pro Plus.
General Use Instructions
Control Panel on Power Head
“0” should appear on LCD display when program is clear.
Easy Start
To start cooking, press the Cook Time button, enter time as desired, then press Start.
Default is programed at 350ºF. If cooking at any other temperature, Cook Temp button
will be needed. See Setting Temperature for details.
Setting Cook Time
Press the Cook Time Button. The Time indicator will flash in the right corner of the
display panel. Enter the time in hours and minutes by pressing the corresponding
numerals. For example, 1 hour and 30 minutes would be entered by pressing 1,3,0.
The display panel will show 1:30. If the required time is in minutes, you only need to
enter 1 or 2 numbers. For example, 5 minutes just push 5; for 46 minutes, push 46.
If the number needs to be corrected, clear the entry by pressing Pause/Clear button
twice. Then re-enter the correct numbers.
Note: Maximum allowed cook time for temperatures 325ºF and above is 2 hours. If
cooking time is set more than that it will automatically revert back to 2 hours. Longer
times can be added by simply adding more time after the initial 2 hours has expired.
For temperatures below 325ºF, maximum allowed time is 9 hours and 59 minutes.
CLEANING AND CARE INSTRUCTIONS
Unplug the unit before cleaning. The dome and all other parts, except the Power
Head, are dishwasher safe. Protect the metal and plastic surfaces; do not use abrasive
cleaners or scouring pads. Clean after each use. The outer surface of the Power Head
can be cleaned by wiping with a damp cloth.
Warm Function
After the initial cooking time is complete, you may keep foods warm. When entering
warm, it will always be the last function. The default setting is programmed at 155ºF for
2 hours. Press the Warm button. The Warm and Time functions on the LCD will blink.
2:00 will be displayed, then press Start. To change the time, press cook time, enter the
desired time and proceed. You may program the oven to keep foods warm for up to 9
hours and 59 minutes. Once the initial cooking cycle is finished, the oven will “beep”
twice before switching to the WARM function.
Delay Function
After setting your temperature and time, you can delay the program before cooking
starts. When entering delay, it will always be the first function. The delay function is
only for cook time and delaying start time. Press the Delay button. The Delay and Time
functions on the LCD will blink. Input delay time and press Start. Delay stops blinking and
remains on until time expires. It is possible to delay a program for up to 9 hours and 59
minutes. If the delay countdown reaches 0, the oven will “beep” to signal the end.
Reheat Function
The default setting is programmed at 350ºF for 4 minutes. This function is perfect
for reheating single portion-sized foods. To activate the reheat function, make sure
programming is clear. The LCD display will read 0. Press the Reheat button. This will
activate the default setting. Press Start. Alarm will “beep” 3 times once time has expired.
For example, if you are warming leftover pizza, simply place the slice on the 3-inch rack,
press Reheat, then Start. If you are warming a rice or noodle dish, place a single-serving
amount in an oven-safe container (glass, metal, silicone). For softer rice or noodles, add
a sprinkle of water and cover with foil.
Setting Temperature
• Press the Cook Temp button.
• Press desired temperature.
• Temperature can be changed by 1ºF increments.
• Temperature ranges from 100ºF to 350ºF.
Start Cooking
Set appropriate temperature and time, then press Start to begin cooking. The remaining
cooking time will appear in the display panel, and the colon symbol between the hours
and minutes will blink. The oven will automatically stop cooking when the time has
expired, and a “beep” will alert you to that fact.
Pause/Clear Cooking
To Pause the oven, press the Pause/Clear button once. The remaining cooking time will
stay listed on the display panel but the colon will not blink.
To STOP or Clear cooking time, press the Pause/Clear button twice. Cooking functions
will cease immediately, remaining time will be fully cleared, and a ‘0” will appear.
Owner’s ManualOwner’s Manual

 Loading...