Do you have a question about the Nvidia EVGA GeForce GTX 1080 FTW and is the answer not in the manual?
Remove the backplate and screws to separate it from the graphics card.
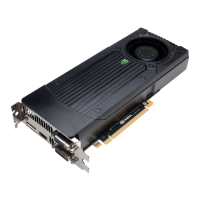
Remove spring-loaded screws and fan connector to detach the original cooling solution.
Mount one screw and nut on the bracket to ensure clearance for the new shroud.
Clean the GPU with high-percentage Isopropyl Alcohol to remove all thermal compound.
Place the new heatsink and fan over the VRM, securing it with a single screw.
Line up copper heatsink with memory, then mount the waterblock using spring-loaded screws.
Connect the fan's power connector and the waterblock's pump via pass-through cable.
Use heatsink fins to route wires underneath the fan and flatten cables parallel to PCB.
Attach rubber insert to card edge for tubes and run fan connector under the channel.
Plug in the 2-pin LED power cable and place a thermal pad on the back of the PCB.
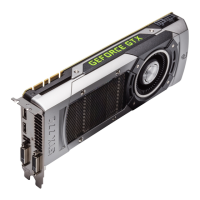
Place shroud over card, align tubing, and secure the backplate to the card and shroud.
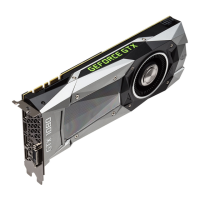
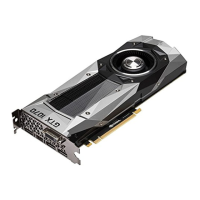
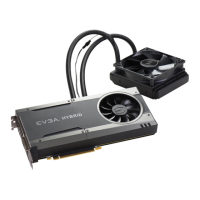
The kit is an AIO water cooling system, factory leak tested, and compatible with specific reference PCB designs.
The kit has a 1-year warranty; EVGA is not liable for damage from improper installation.
| Brand | Nvidia |
|---|---|
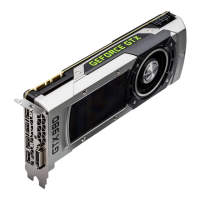
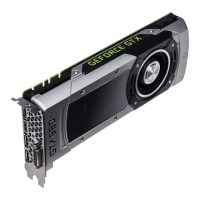
| Model | EVGA GeForce GTX 1080 FTW |
| Category | Video Card |
| Language | English |