REGULATORS
DXI INTEGRATED FIRST STAGE
© 2002 Design 2000
OCEANICOCEANIC
OCEANICOCEANIC
OCEANIC®
Product Service Guide Product Service Guide
Product Service Guide Product Service Guide
Product Service Guide
Doc. 12-2205-r01 (01/00)
PG-3
9. Environmental Protection Kit Disassembly:
A. Turn the plastic environmental cap(40) counter clockwise by
hand to loosen and remove.
B. Gently peel the lip of the environmental diaphragm(39) away
from the rim of the end cap(37) and lift out to remove. (Fig.4)
Examine the condition of the diaphragm, checking for any signs of
wear, distortion, corrosion, or perforation. Discard if found.
C. Turn the first stage diaphragm side down and remove the
transfer piston(38). Check for any signs of wear, distortion, or
corrosion. Discard if found.
NOTE: Perform step 10 if an Environmental Protection Kit has
not been installed.
10. Lift the end cap boot(36) away from the end cap(32) using your
fingers. DO NOT use tools.
11. Using a 5/16" hex key, turn the adjustment cup(35), counter
clockwise to remove. (Fig. 5)
12. Remove the spring washer(34) and spring(33). Inspect the
washer(34) for any signs of wear or distortion. Discard if found.
13. Using a magnifier, closely inspect the spring(33) for any signs of
corrosion, cracks, or other damage. Discard if found and DO NOT
attempt to reuse.
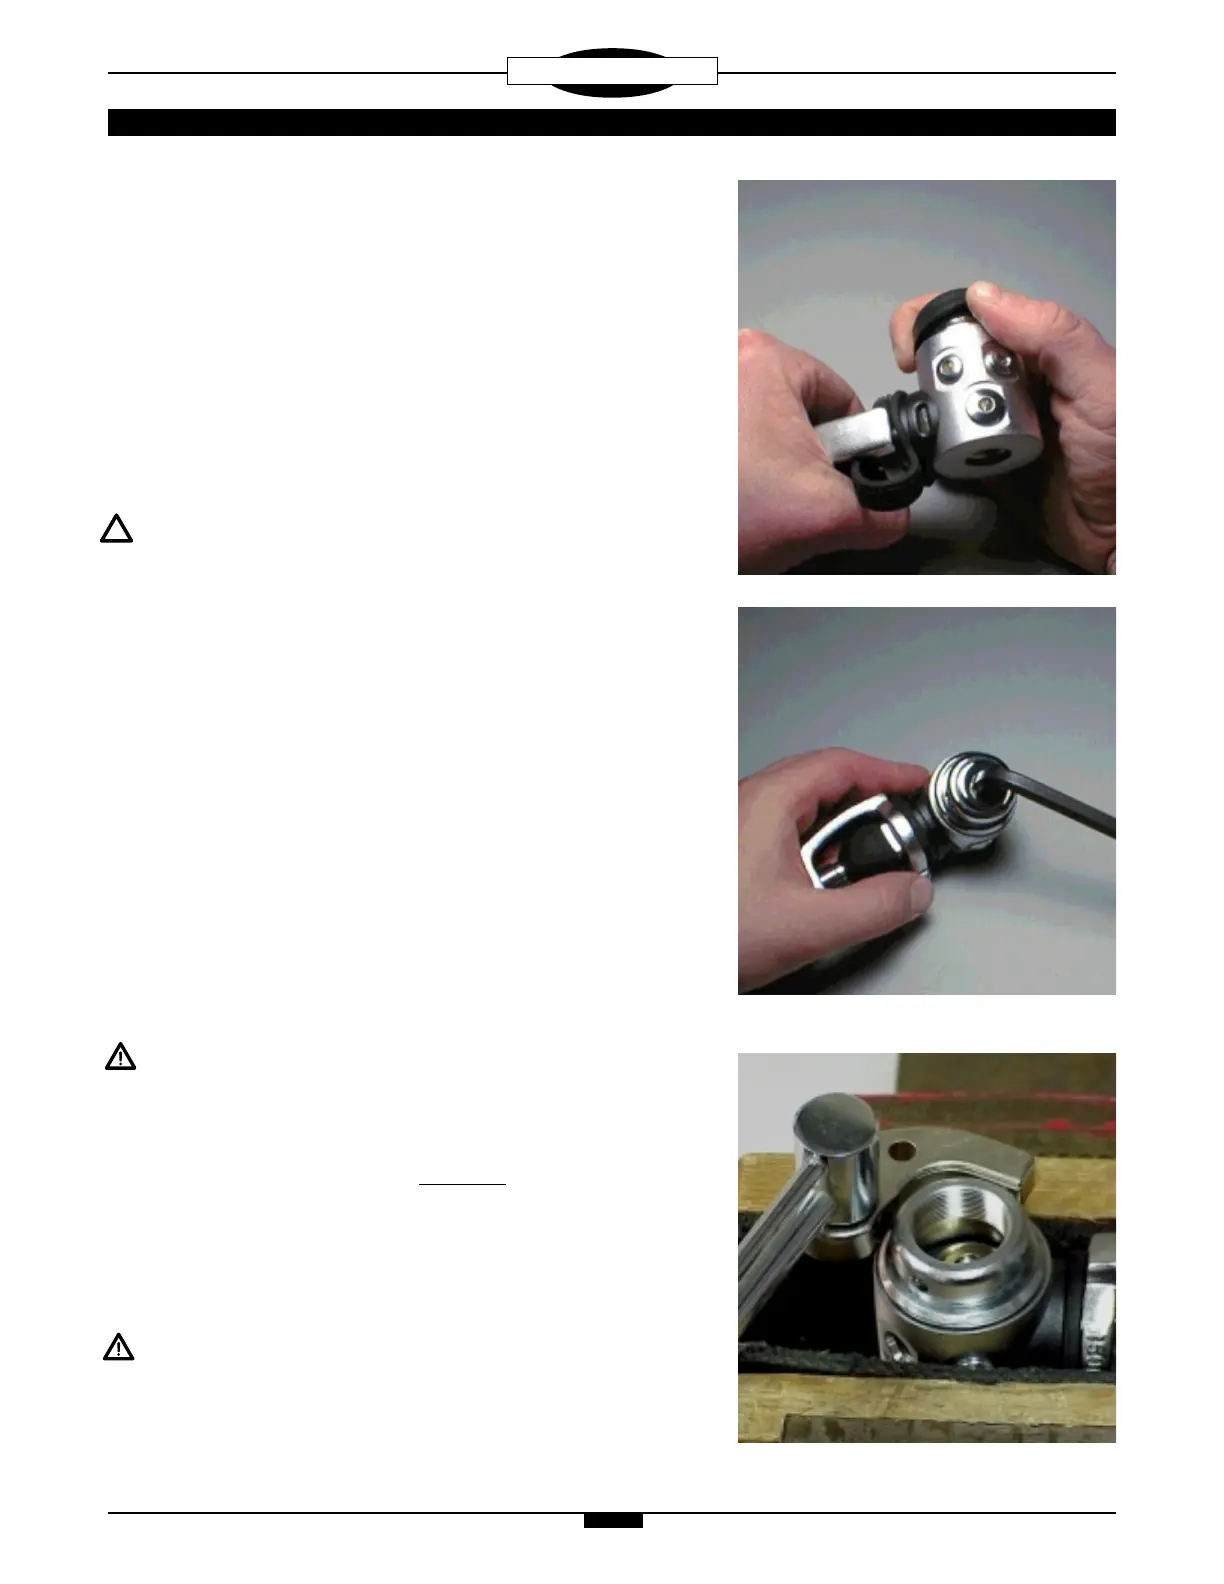
14. Secure the first stage in a soft-jawed or well padded vise and apply
a 3/8" socket drive wrench with CDx Spanner to the end cap(32
or 37). Turn the end cap counter clockwise to remove from the
main body(28). (Fig. 6) Lift out the spring pad(31), and inspect for
signs of wear or distortion. Discard if found.
CAUTION: Tighten the vise only as needed to hold the first
stage secure, and DO NOT overtighten. Doing so will result in
permanent damage, rendering it inoperable.
15. Using a 5/32" hex key, install HP port plugs(18) into the open HP
ports, and LP port plugs(20) into all but one of the LP ports. Check
to ensure that 1 of the 4 LP ports is open, and all other ports are
sealed. Tighten the yoke screw to ensure that the protector cap(8)
is securely sealed over the yoke retainer(6). For DIN models,
place the protector cap(8) securely over the filter retainer(10) and
DIN coupler wheel(12).
CAUTION: DO NOT attempt to remove the diaphragm(30) with
the use of a metallic instrument. Doing so will seriously
damage the brass seating surface of the body.
Fig. 5
Fig. 6
Fig. 4
 Loading...