NOTE: DO NOT Remove the front and rear
head pipes from engine.
14. Disconnect the coolant hose at water
pump.
15. Disconnect the gearbox vent hose.
16. Remove the CVT outlet duct.
17. Remove the CVT inlet duct.
18. Unplug and remove the CTS (coolant
temperature sensor).
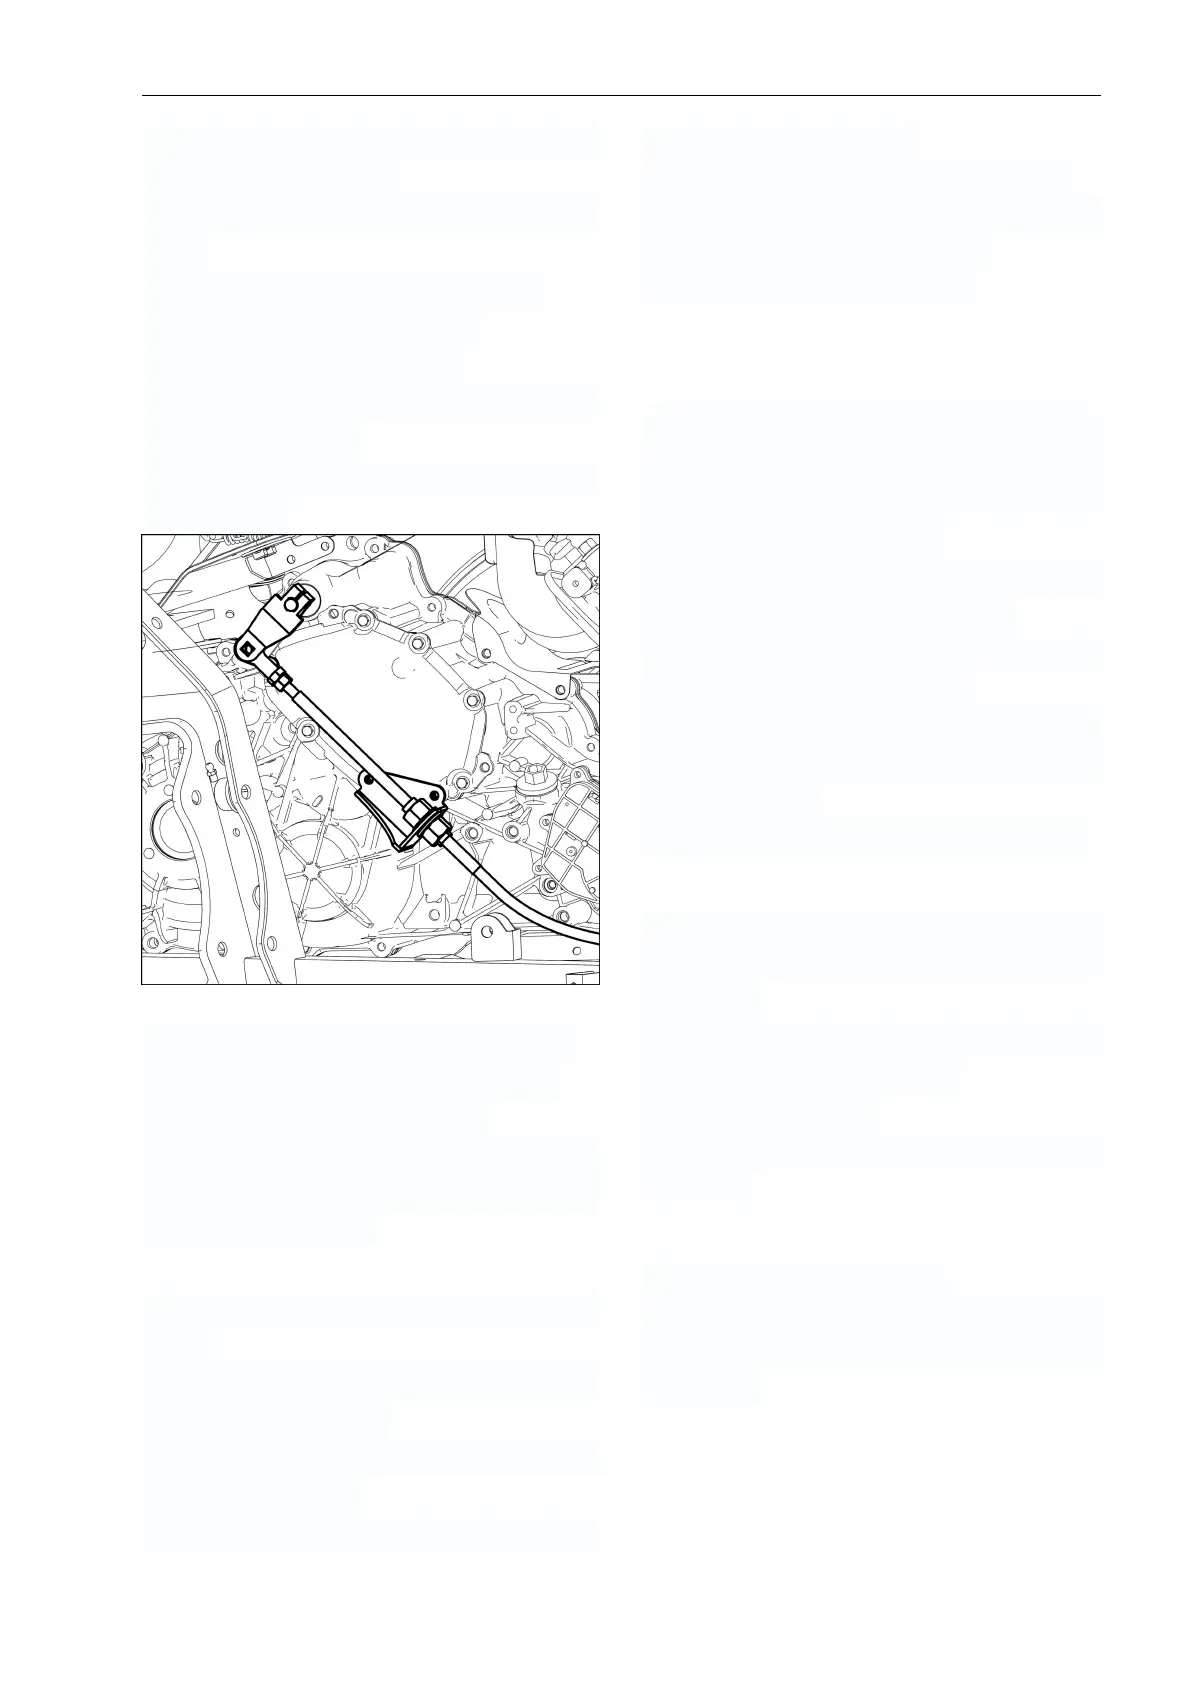
19. Detach the shifter cable from its bracket
and remove it.
20. Remove the front engine support nut.
21. Disconnect the crankcase vent hose.
22. Disconnect voltage regulator.
23. Unplug all remaining connectors and
remove required cables from engine. Cut all
necessary locking ties.
Lifting Engine
1. Install a hook and strap through the rear
engine
lifting holes and route a second lifting strap
under the front clynder.
2. Remove retaining screws on front and
rear propeller shafts.
3. Slightly lift engine to ease removal of
front engine support bolt.
4. Remove the front engine support bolt.
5. Raise the front of engine to separate
front propeller shaft from engine.
6. Remove engine from vehicle.
ENGINE INSTALLATION
The installation is the reverse of the removal
procedure. However, pay attention to the
following. Prior to install engine, inspect
condition of engine mounts.
Connect the front propeller shaft to engine
output shaft while lowering engine.
Install rear and front engine mounting bolts
then torque all mounting bolts.
Install air intake bellow. Ensure alignment
marks are properly positioned and torque
to specification.
Install exhaust. Refer to EXHAUST SYSTEM.
Final Assembly Procedure
1. Fill engine with the recommended oil and
quantity. Refer to LUBRICATION SYSTEM
subsection.
2. Fill and bleed cooling system. Refer to
COOLING SYSTEM subsection.
3. Check for any leaks.
4. Test drive vehicle to confirm proper
operation.
ENGINE MOUNTS
Front Engine Mount Removal
Insert a punch into front engine mount
bushing and push the opposite engine
mount out.