4
Operating Instructions and Parts Manual 24840
6/18
2018 OEMTOOLS
™
1,000 LB. TELESCOPIC
TRANSMISSION JACK
13. Before each use, inspect the general condition of the
Transmission Jack. Check for oil leaks, jack operation,
loose components, free rotation and pivoting of saddle
adjustment components. If a problem occurs, have the
problem corrected before further use.
TO PREVENT SERIOUS INJURY:
DO NOT USE A DAMAGED OR
MALFUNCTIONING JACK
14. Make sure the casters are blocked before use.
15. The Transmission Jack is not designed to lift or lower
a vehicle.
16. If in doubt about the safety of your project, we advise
you to have the work done by a professional familiar
with applicable safety practices.
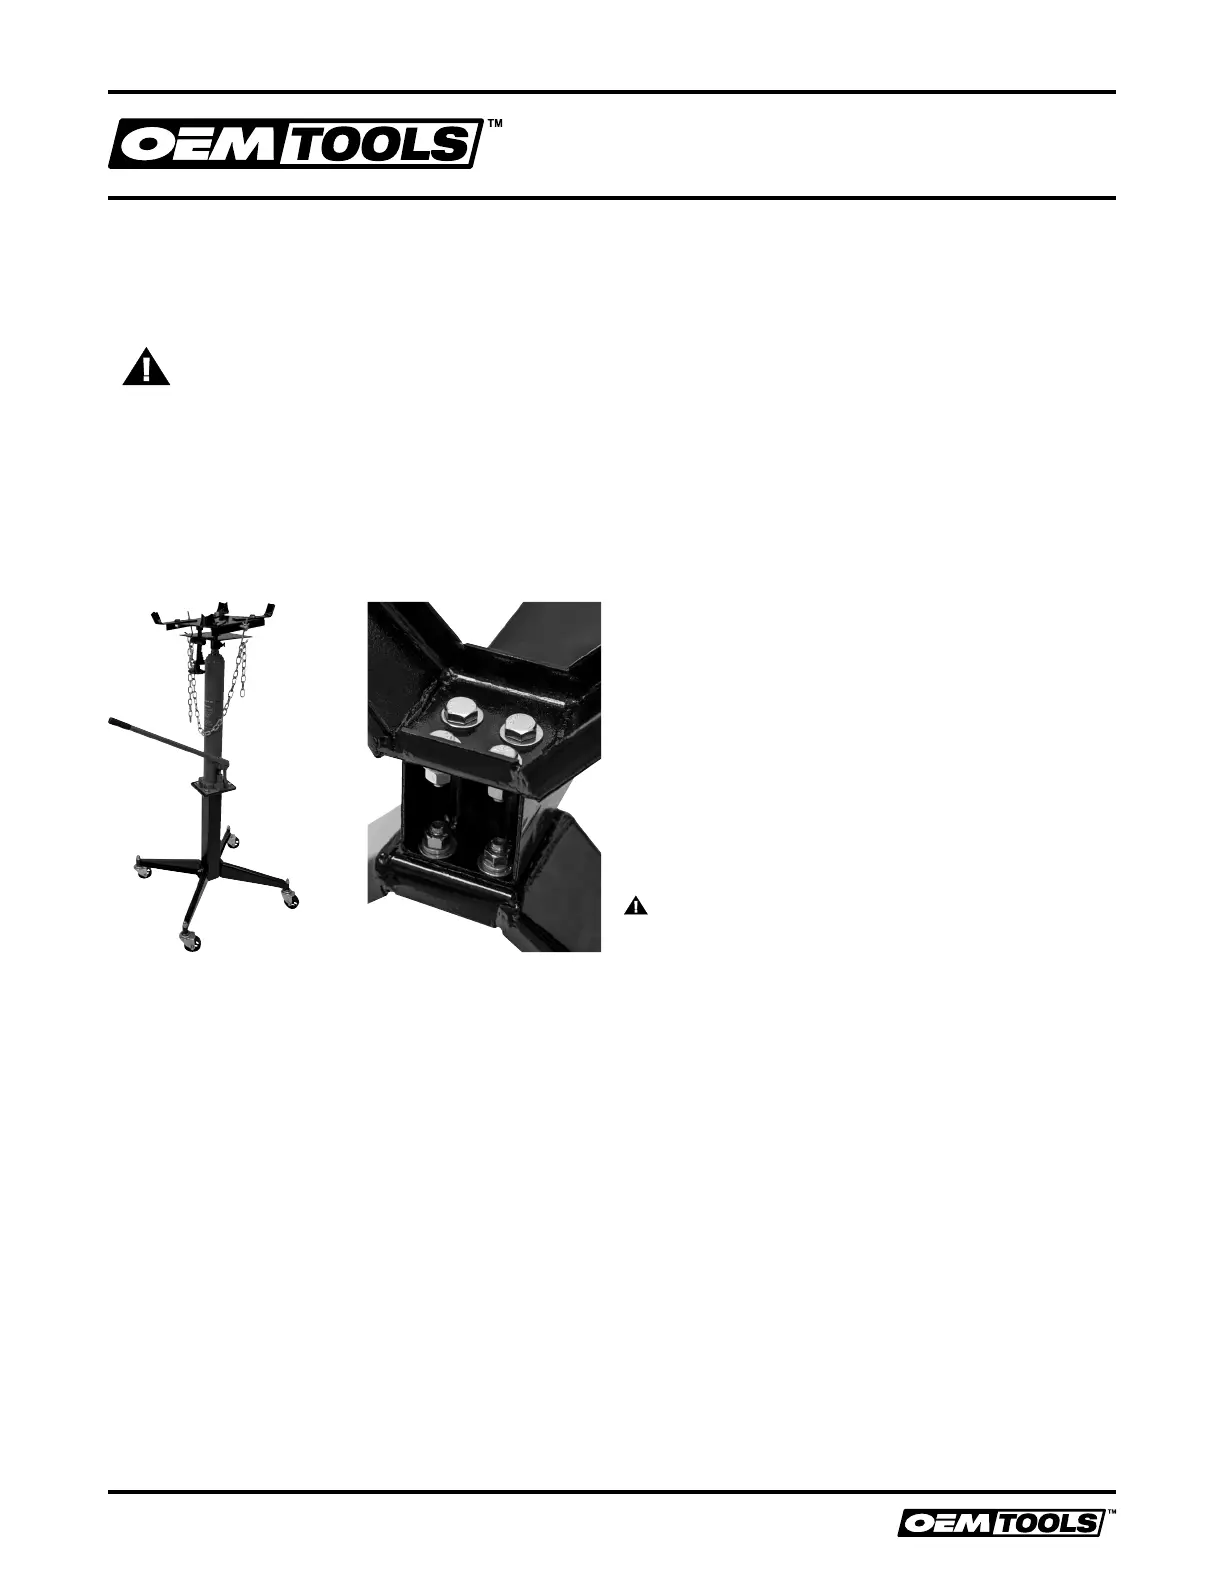
ASSEMBLY
1. Attach both Legs to Support Post using (2) M10 x 100
mm Bolts, (4) M10 Washers and M10 x 1.5 mm Lock
Nuts, inserting Bolts through upper holes in Legs and
through Support Post, making sure lower holes in Legs
align with lower holes in Support Post. Do not fully tighten.
2. Install (4) M10 x 25 mm Bolts, (8) M10 Washers, and (4)
M10 x 1.5 mm Lock Nuts through lower holes in each
Leg. DO NOT fully tighten.
3. Lay assembly on its side and attach (4) Casters using
(4) M12 Lock Nuts. Securely tighten.
4. Stand unit up. Ensure Support Post is perpendicular to
the Legs, and then fully tighten all 6 Leg Bolts and Nuts.
5. Attach Ram to Support Post using (4) M12x30 mm
Bolts, (8) M12 Washers and (4) M12 Lock Nuts.
6. Attach Transmission Adapter to Ram and tighten
Clamp Bolt. DO NOT overtighten.
7. Attach Slides, Safety Blocks and Chains and adjust
as necessary.
OPERATION
1. Follow the instruction for removal and installation of
transmission, transfer case or transaxle according to
the vehicle manufacturer’s service manual.
2. Prior to initial use, jack up the Saddle and, using
the Release Knob, attempt to lower it. Doing so will
familiarize the user with the control functions and jack.
3. Once the vehicle is safely and properly secured,
position the Transmission Jack underneath the vehicle.
4. Pump the Handle to raise the jack to contact and
bear transmission weight. After making contact with
the transmission, make sure it is centered within the
brackets on the Saddle Plate. Use Adjustment Knobs
to position the Saddle Base.
5. After contact, lift the jack slightly to transfer the weight
of the transmission from the vehicle chassis to the
Transmission Jack.
6. Remove transmission fasteners, freeing it from the
vehicle. Make sure there is nothing to restrict the
movement of the transmission.
7. Back transmission away to free from engine.
8. Check the Saddle, making sure it is securely holding
and aligned with the transmission and not showing
any signs of stress. Carefully lower transmission and
Saddle by turning the Release Knob.
9. Secure the Chain tightly over the transmission and
safely move the Transmission Jack.
10. After removal, lower the jack to the lowest possible point.
WARNING: The jack is designed to lift loads only for
short periods of time. DO NOT use to suspend a load for
more than 30 minutes at a time.
11. To re-mount the transmission, reverse this procedure.
MAINTENANCE
IMPORTANT: Use only good quality hydraulic jack oil.
Avoid mixing different types of fluid and NEVER use brake
fluid, turbine oil, transmission fluid, motor oil or glycerin.
Improper fluid can cause premature failure of the jack and
the potential for sudden and immediate loss of load.
ADDING OIL
1. With saddle fully lowered, set jack in its upright, level
position. Remove oil filler plug.
2. Fill until oil is level with the oil filler hole, reinstall oil
filler plug.
CHANGING OIL
For best performance and longest life, replace the
complete fluid supply at least once per year.
1. With saddle fully lowered, remove oil filler plug.
2. Lay the jack on its side and drain the fluid into a
suitable container.
 Loading...