Installing upgrades > 77
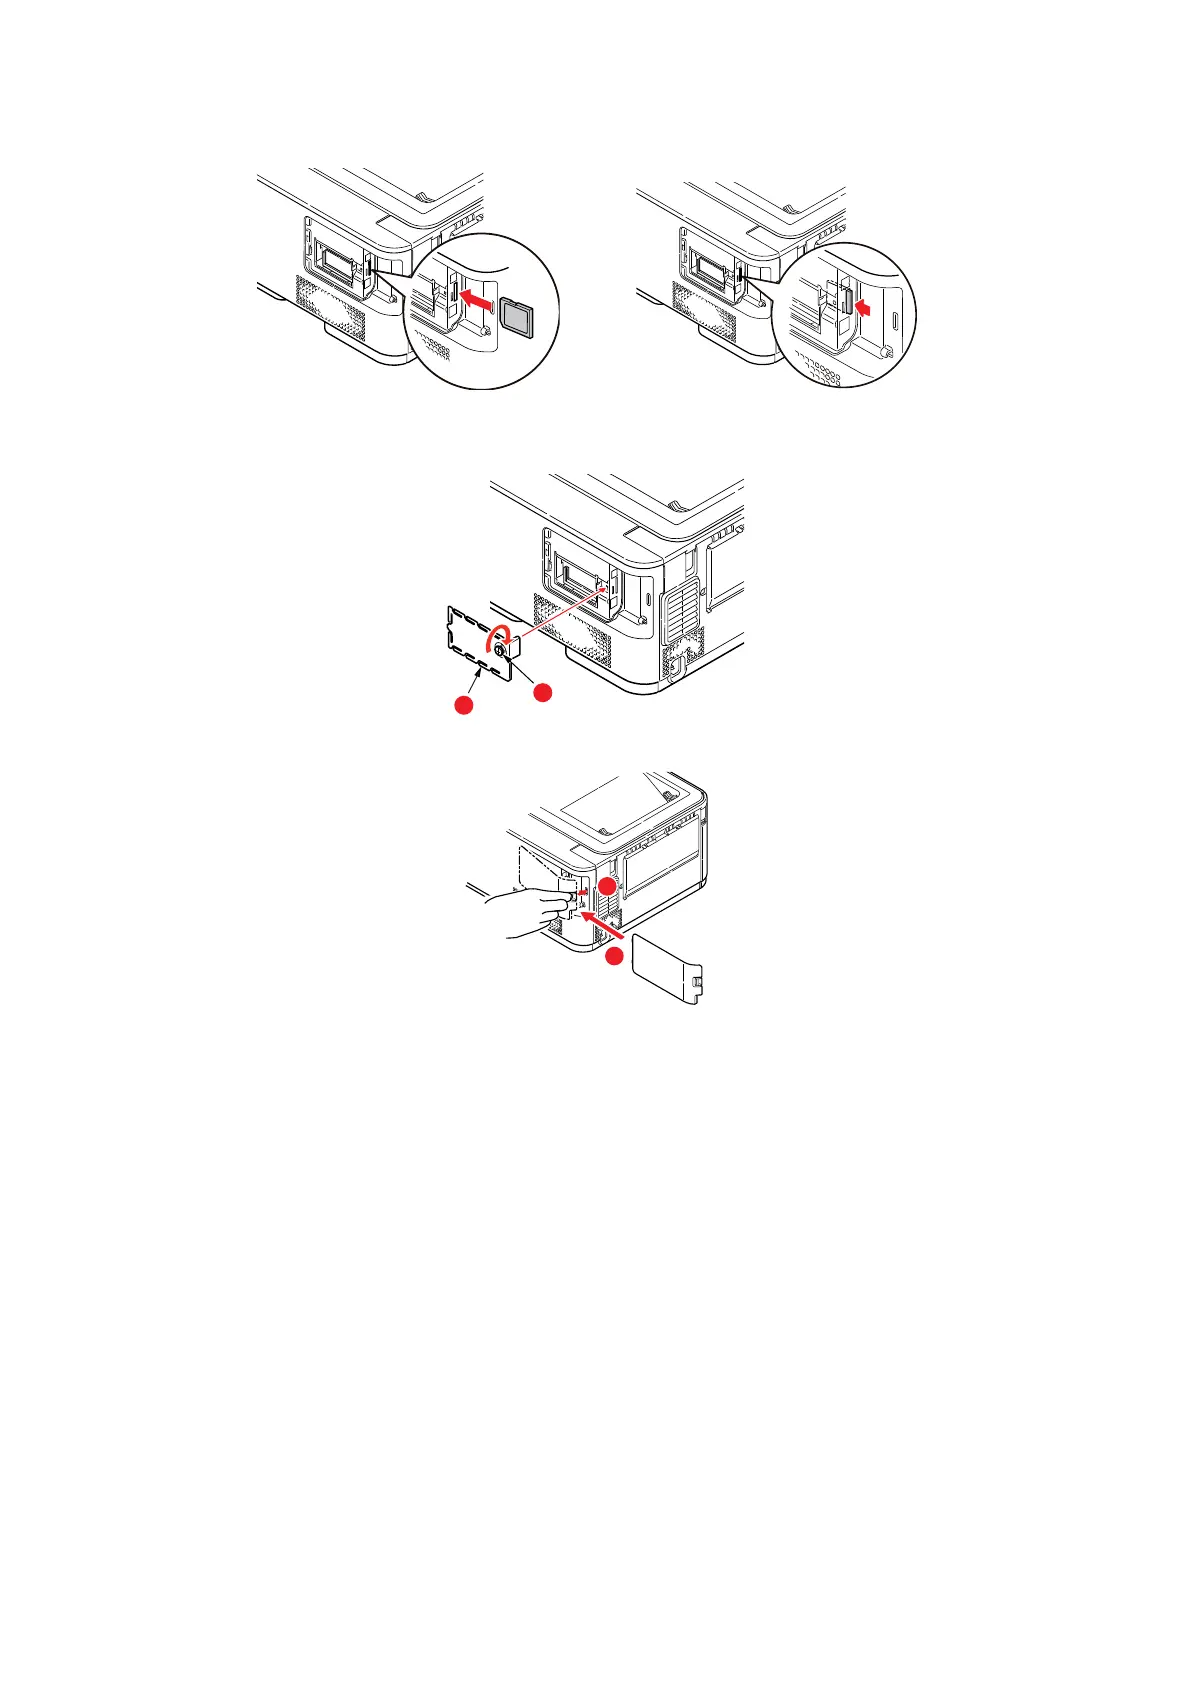
5. Gently push the SD card into the slot as shown.
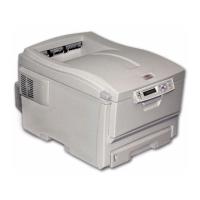
6. Replace the inner access cover (b) and turn locking screw (a) clockwise to secure it
shut.
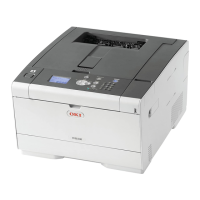
7. Replace the access cover and latch it closed.
8. Reconnect the AC power cable and switch the printer on.
9. When the printer is ready, print a menu map as follows:
(a) Press the OK button.
(b) Press the Menu down button then the OK button to select the INFORMATION
MENU.
(c) Press the OK button to select PRINT MENU MAP.
(d) Press the OK button once more to execute.
(e) When the Configuration map is printed, press ON LINE to exit the menu
system.
10. Examine the first page of the menu map.
Near the top of the page, between the two horizontal lines, you will see the current
printer configuration. This should now indicate that the SD card is installed.
b
a