Do you have a question about the Olympus Aloka ProSound F75 and is the answer not in the manual?
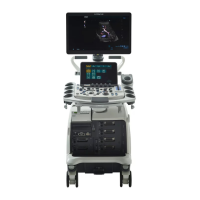
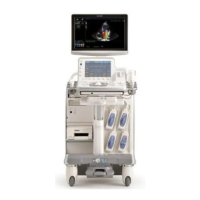
| Type | Ultrasound System |
|---|---|
| Touch Panel | Yes |
| Transducer Ports | 4 active ports |
| Connectivity | DICOM, USB, Ethernet |
| Power Supply | 100-240 V AC, 50/60 Hz |
| Application | General Imaging, Vascular |
| Display | LCD Monitor |
| Display Type | Color LCD |
| Frequency Range | 2 - 18 MHz |
| Imaging Modes | B-mode, M-mode, Color Doppler, Power Doppler |
| Advanced Imaging | Elastography, 3D/4D Imaging |
| Image Storage | Internal Hard Drive, external USB storage |
The primary display screen for ultrasound images and system information.
Interactive display panel for controlling system functions and settings.
Physical controls and buttons for system operation and adjustments.
The central unit housing the ultrasound system's core components.
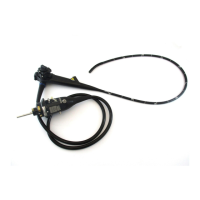
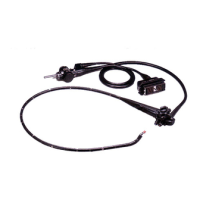
Attach the EUS connector cable to the scope and the port on the main body.
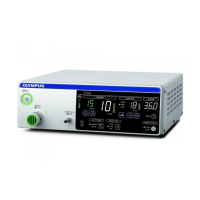
Connect the image cable from the main body to the video processor's PiP port.
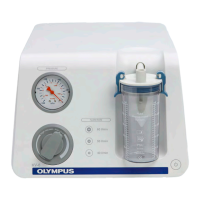
Turn on the ALOKA using the power button and ensure the rear switch remains on.
Select the desired probe and preset on the touchscreen, ensuring both are active (yellow).
Press B GAIN to freeze the image before changing probes or unplugging the EUS cable.
Create a new patient file by manually entering required data via the monitor.
Download recent patient lists from the hospital server and select a patient.
Procedure for disconnecting old scopes and connecting new ones, then re-selecting probes.
Adjust overall brightness with B GAIN, use IMAGE OPTIMISER or STC slide pots.
Adjust tissue depth, wave frequency, contrast, and focus point using specific controls.
Displays directional color doppler for velocity scale.
Displays directional power doppler for signal strength at high sensitivity.
Displays the pulse at a defined point.
Toggle doppler box, adjust size/location, and adjust doppler signal brightness.
Start measurement function, move caliper, and define endpoint for display.
Begin annotation, move cursor, and use keyboard or dictionary for comments.
Freeze image, press STORE to save, view thumbnails, and navigate to select for full screen.
Record video in live mode, press STORE, adjust Time Cycle, and select Acquire Mode.
Use ARROW and Find to search thumbnails on the monitor and select drives.
Search files, select them, and use Save (USB) for JPEG/TIFF or Copy (USB) for DICOM.