DISASSEMBLING/ASSEMBLING PROCEDURE CV-160
5-5
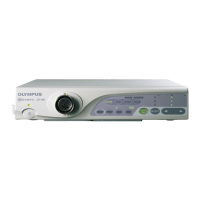
(4) Remove the two screws (CBK2.5x4SA)
that secure the UPCV16PNDF.
Phillips screwdriver No. 1
(5) Remove the UPCV16PNDF.
(6) Remove the screw (CBK2.5x8SA) that
secure the connector of the CPU board.
Phillips screwdriver No. 1
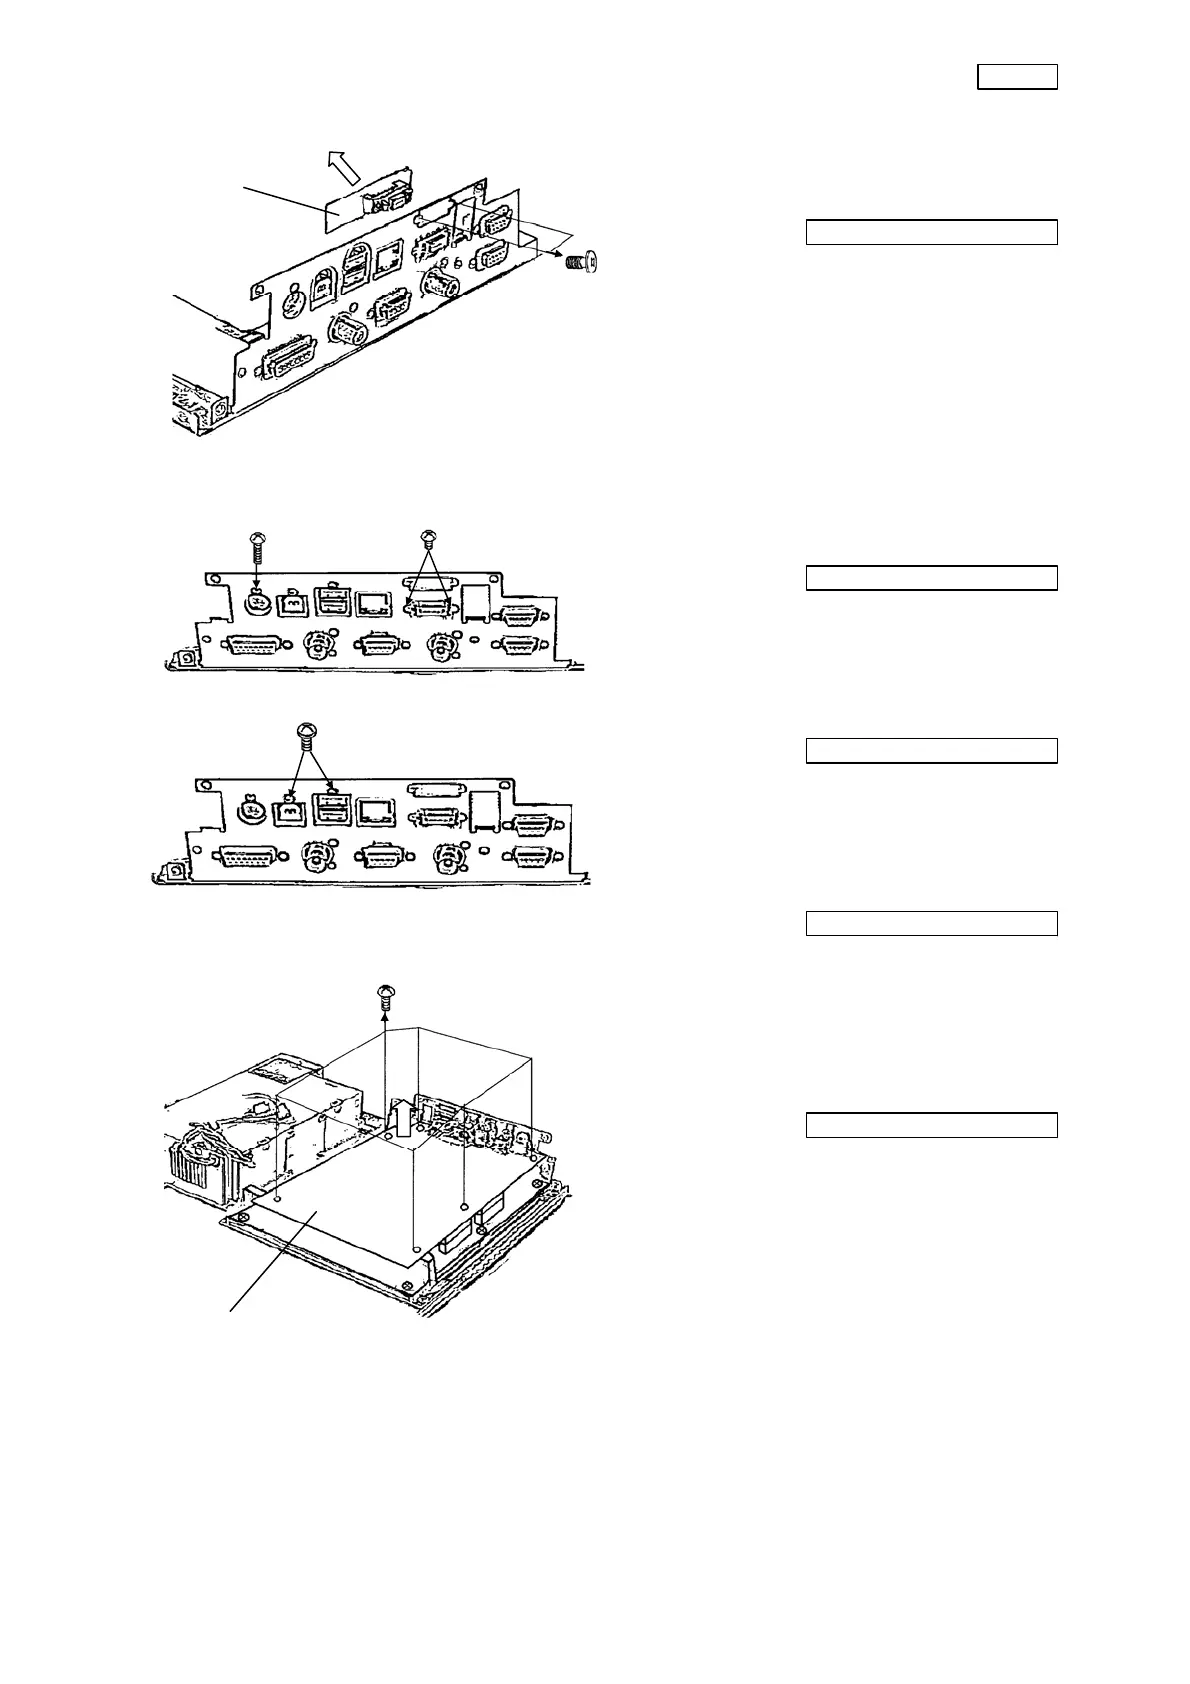
(7) Remove the two screws (CBK2.5x4SA)
that secure the connector of the CPU
board.
Phillips screwdriver No. 1
(8) Remove the two screws (CUKSK3x6SA)
that secure the connector of the CPU
board.
Phillips screwdriver No. 2
(9) Remove the six screws (CCUK3x6SZ) that
secure the CPU board.
Phillips screwdriver No. 2
(10) Remove the CPU board from the main
unit.
※ When assembling, tighten optionally
after the screws ① and ②.
UPCV16PNDF
CPU board
①
②