DISASSEMBLING/ASSEMBLING PROCEDURE CV-160
5-8
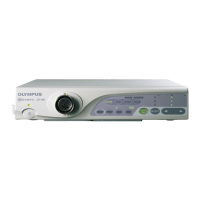
(3) Remove the connector.
(4) Remove the screw (T2CCUK3x8SZ) that
secures the front panel LED board.
Phillips screwdriver No. 2
(5) Remove the front panel LED board from
the main unit.
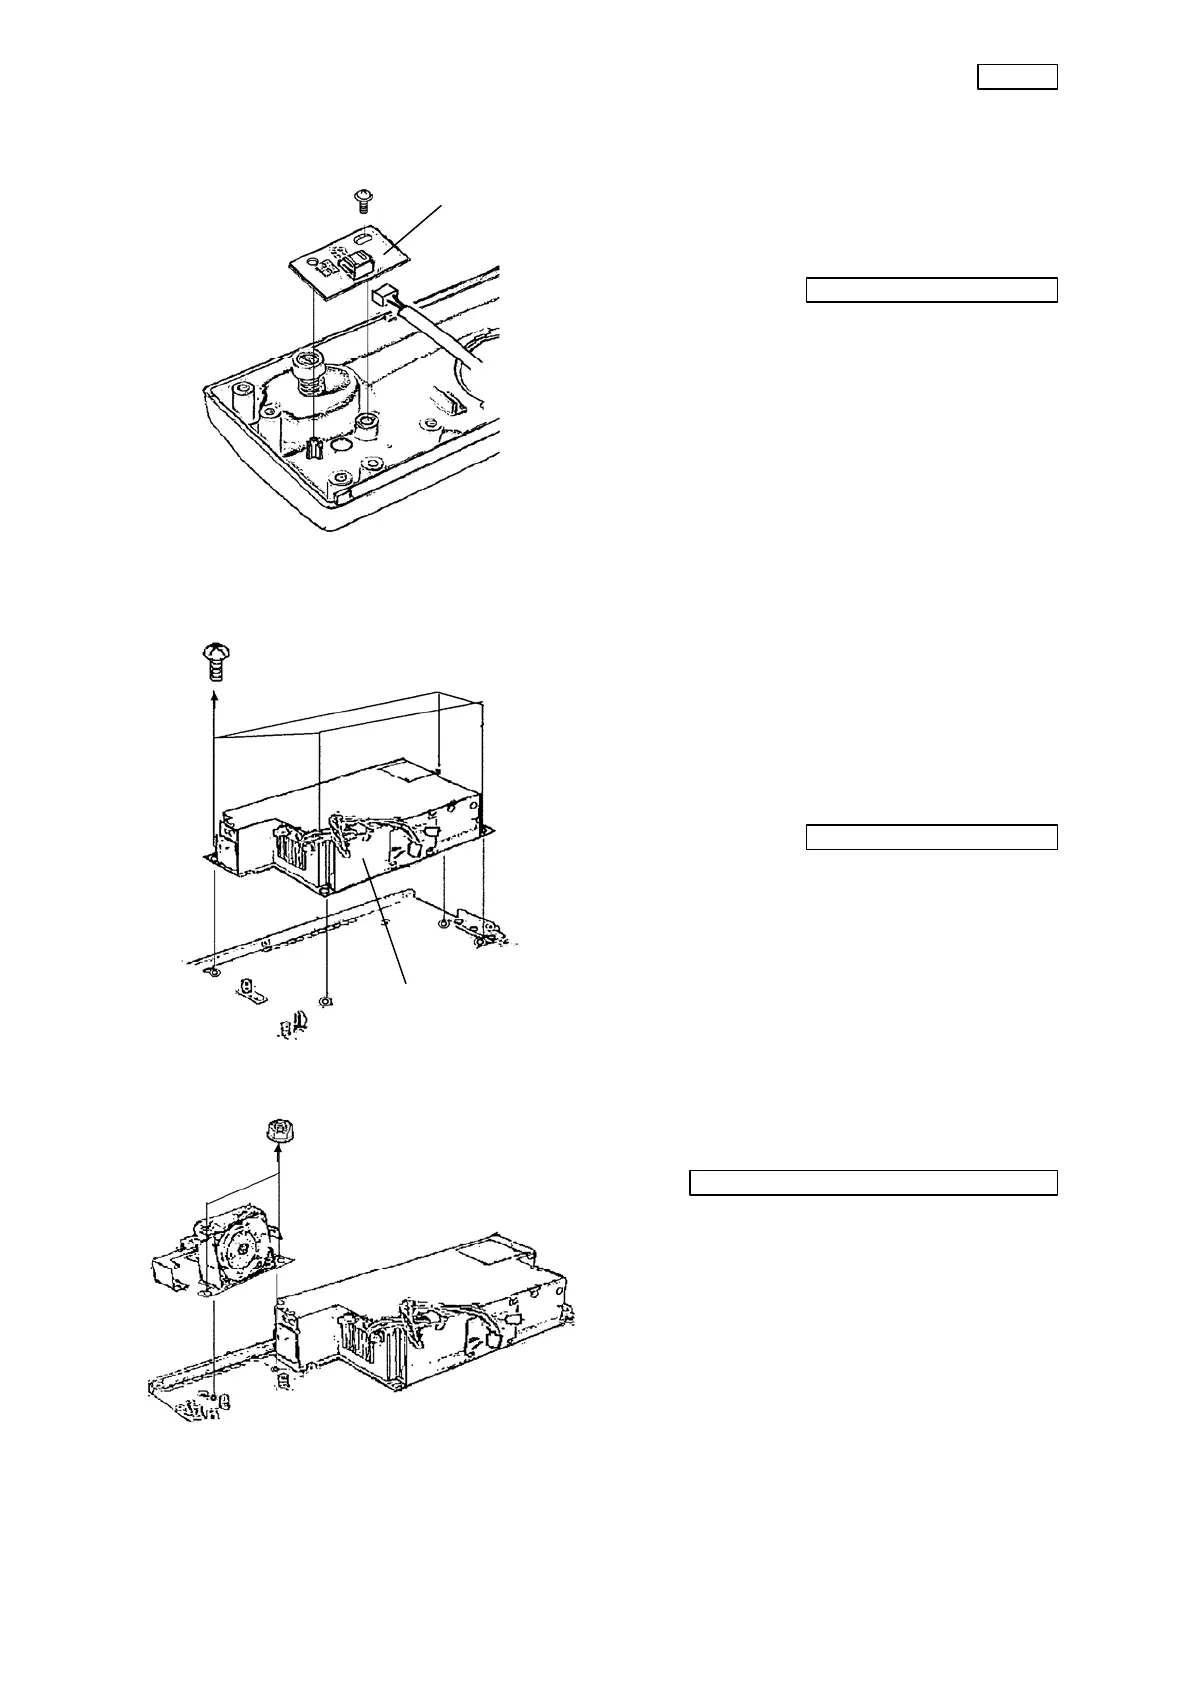
3-7. Power supply unit
(1) Remove the cable from the connectors of
the CPU board and the video board.
(2) Remove the connector from the fan unit.
(3) Remove the four screws (CCUK3x4SZ)
that secure the power supply unit.
Phillips screwdriver No. 2
(4) Remove the power supply unit from the
chassis.
3-8. Fan and switch unit
(1) Remove the two nuts (C6N3Z) that secure
the fan and the switch unit.
Box screwdriver (opposite side 5.5mm)
(2) Remove the fan and the switch unit from
the chassis.
Power supply unit
Front panel LED board