USG-400
Installation and Connection 3-10 ISSUE1
Disconnection
1. Preparing the stored tool
Prepare the hex wrench that has been stored after the connection.
All screws used in this disconnection should be handled by the hex wrench.
2. Disconnecting the communication cable 0.25m
Loosen the plugs of the communication cable 0.25 m connected to the rear
panels of the ultrasonic generator and compatible electrosurgical generator
by loosening the screws on both sides of each plug by hand, and then
unplug the plugs.
3. Removing the docking plug cover
Remove the docking plug cover from the rear panel of the ultrasonic
generator.
4. Removing the fixture plates from the compatible electrosurgical generator
remove screws from the fixture plates attached to the rear panel of the
compatible electrosurgical generator.
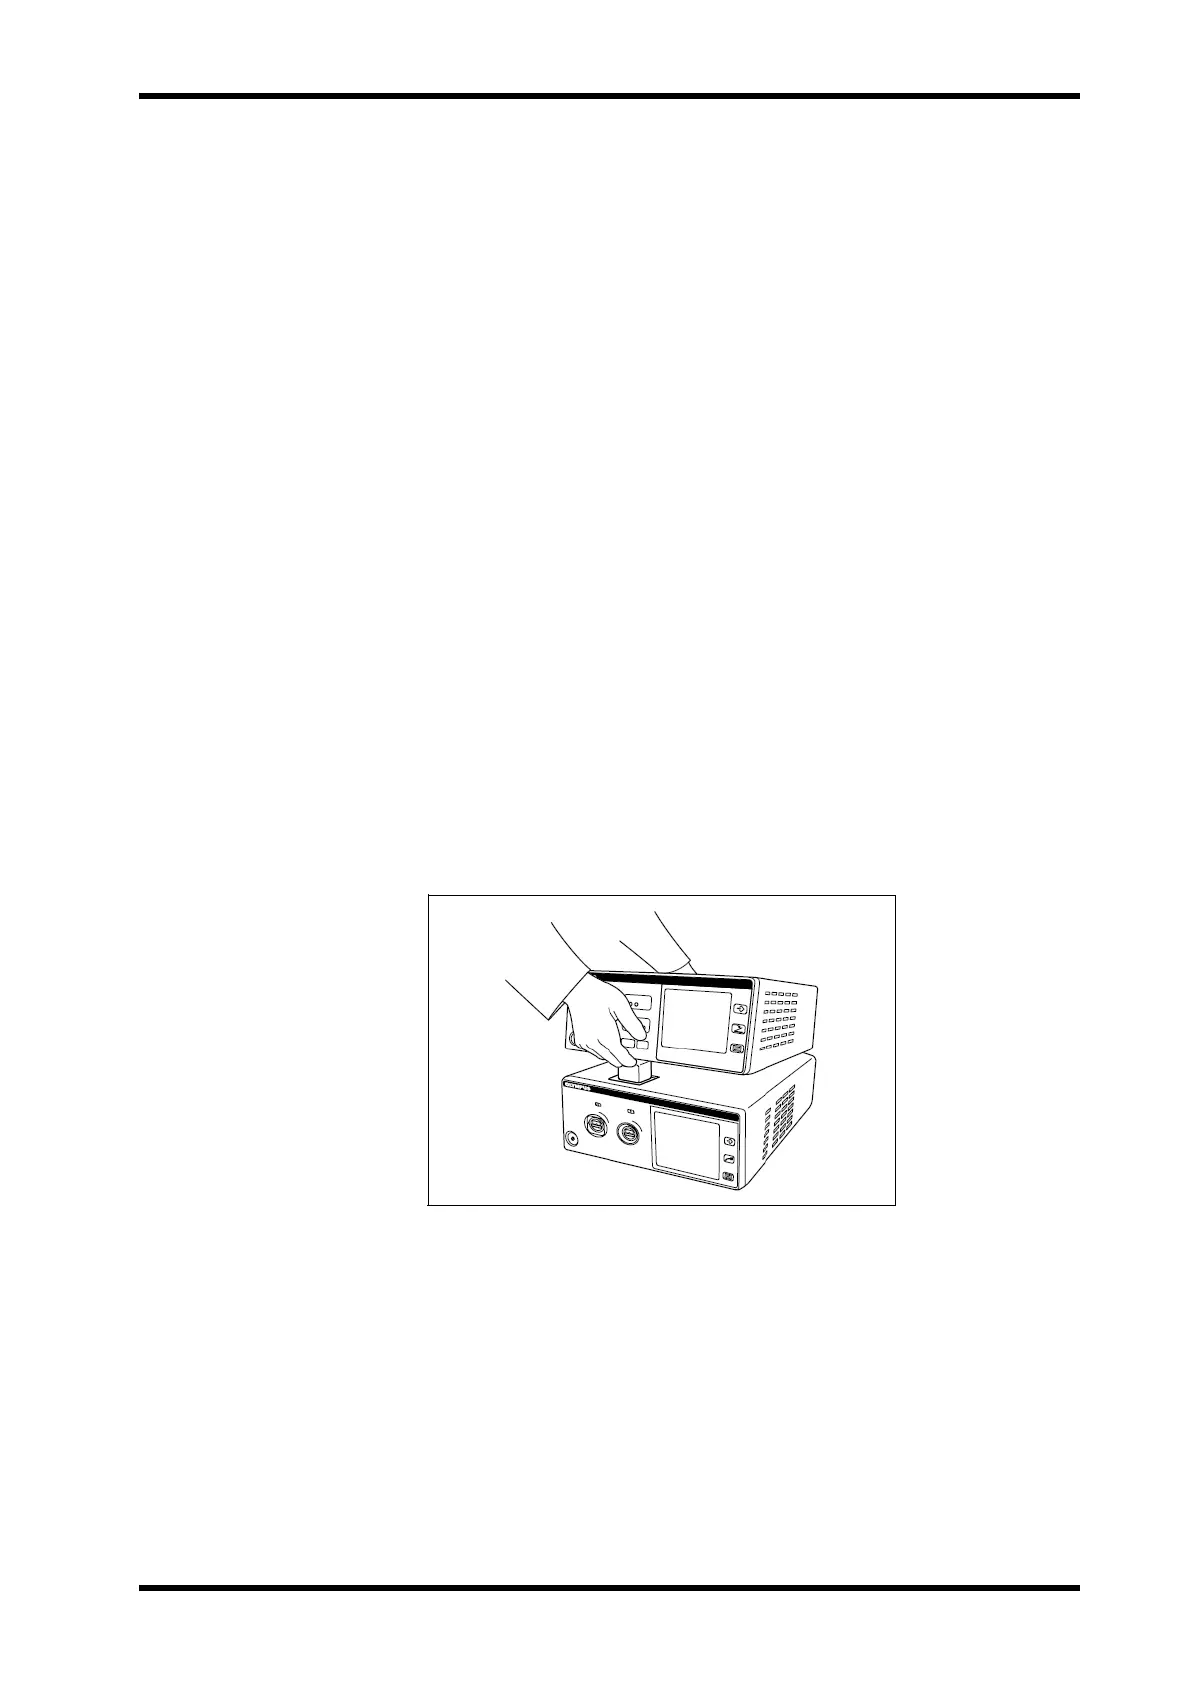
5. Separating the generators
Hold the front side of the compatible electrosurgical generator and lift it (see
Figure 3.10).
6. Removing the docking plug screws.
Remove screws from the four positions around the docking plug.
7. Removing the fixture plates from the ultrasonic generator.
Remove screws from the fixture plates attached to the rear panel of the
ultrasonic generator.
Figure 3.10