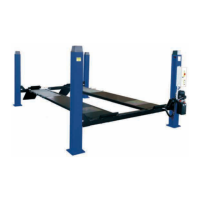
FISSAGGIOALSUOLODELLECOLONNE
Farscenderelapiattaforma(vedereistruzionid’uso)finoacirca30
cm.daterra.
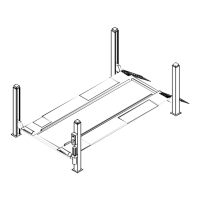
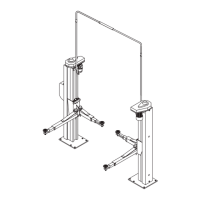
Posizionarelecolonneinmodotalecheipattiniinnylon(posterio-
re37elaterale38)sianoacontattoconlecolonne(Fig.53).
Effettuarelamessaapiombodellecolonnespessorandodovene
-
cessariolepiastredibase.
L’operazionedispessoramentodeveesserelapiùampiapos
-
sibileesempreinprossimitàdeiforidifissaggio.
Premereilpulsantedisalita
(SB1inFig.50)edeffettuareuna
corsacompleta;durantetalecor
-
saébenecontrollare(seneces
-
sariofermandosiogni20-30cm.)
cheloscorrimentodelletraverse
avvengaregolarmentesenza
anomalisfregamenti.
Sedurantequestaoperazionesi
verificanomalfunzionamentié
necessariorivederelamessaa
piombodellecolonne.
Fig.53 Regolazionepattini
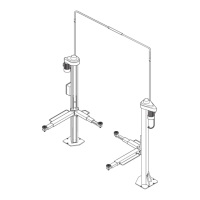
Alterminedellasalitacontrollareilcor
-
rettofunzionamentodelfinecorsasali
-
ta(pos.39,Fig.54)esenecessarioef
-
fettuarelaregistrazionespostandola
levadiscattodelmicrointerruttore.
Fig.54
Farescenderelapiattaformaarrestan
-
dosiacirca30cm.dalsuolo,procedere
quindiallaforaturadelpavimentoattra
-
versoiforidellepiastredibasedelle
colonne.
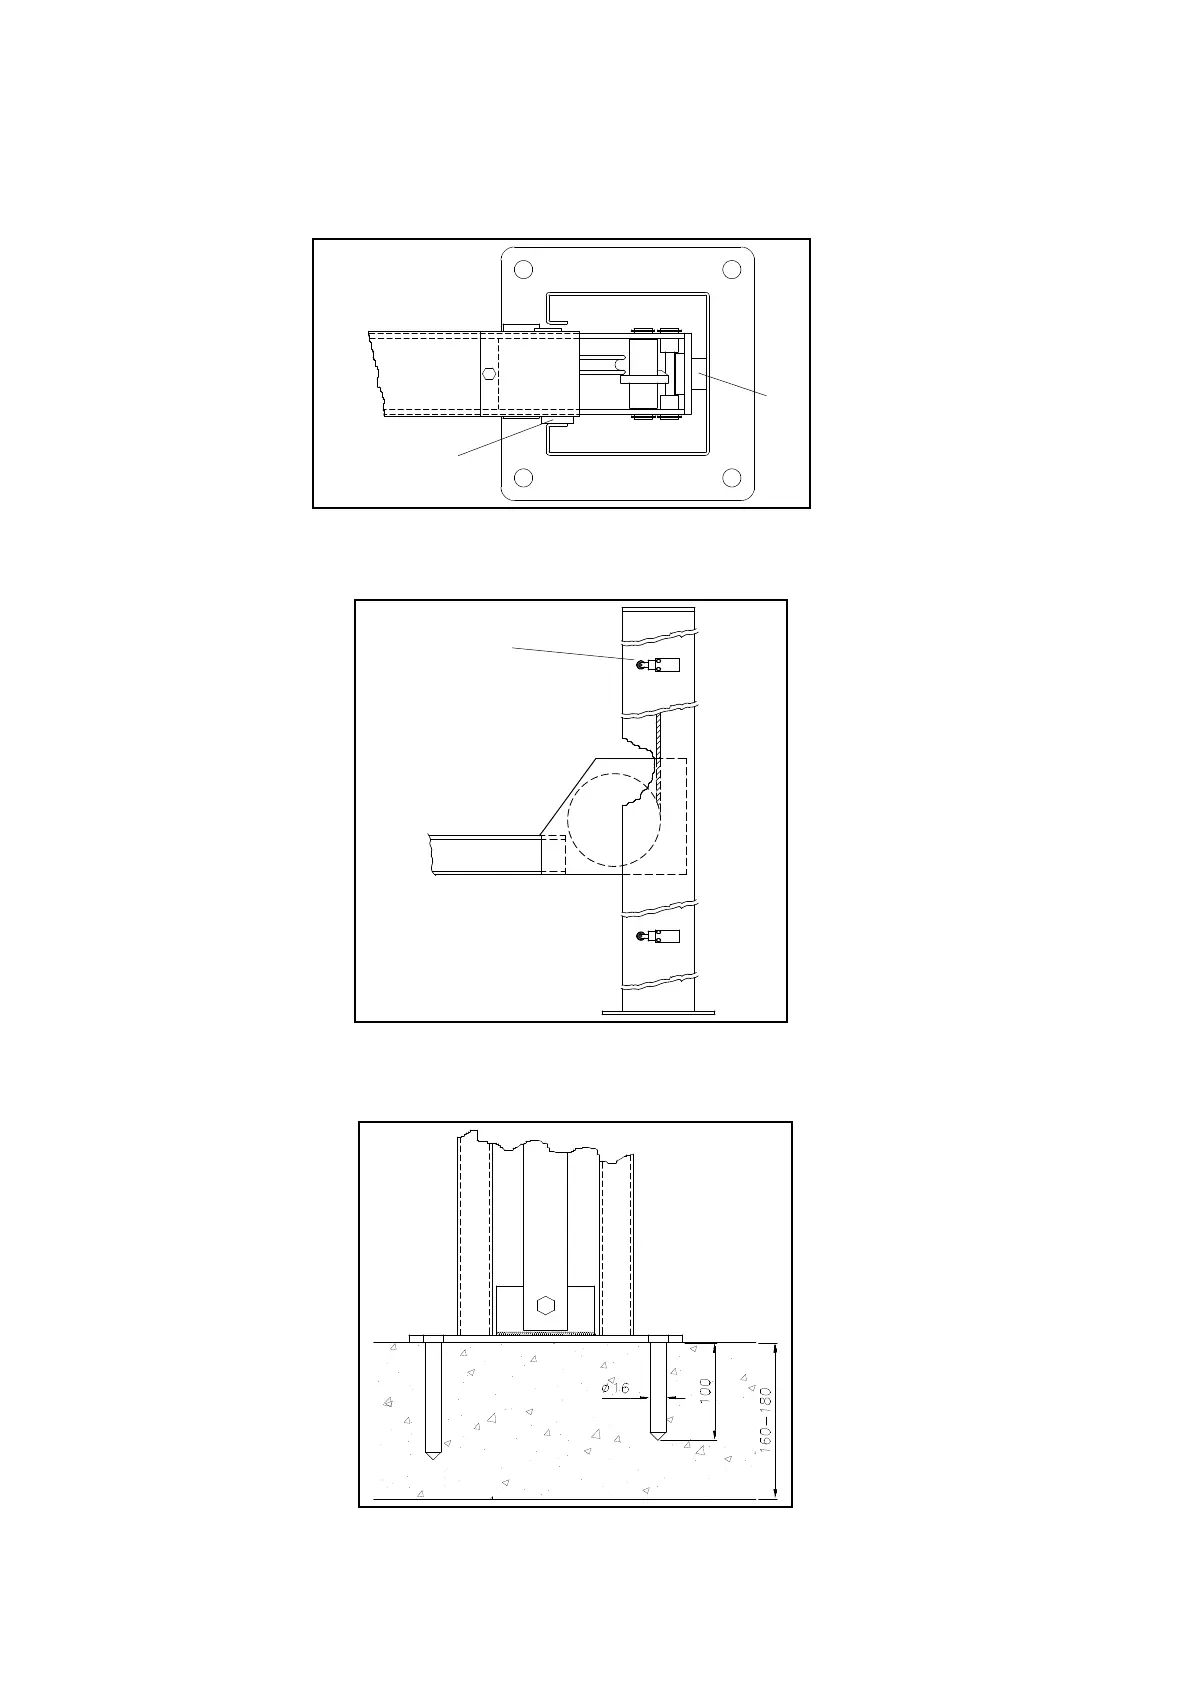
PerilfissaggiousaretasselliØ16mm.,
M10,lunghi65mm.,tipoFISCHER
SLM10oequivalenti(HILTIHBM10).
.
Serrareleviticonchiavedinamometri
-
catarataa35Nm.
Fig.55 Fissaggiodellecolonne
SECURINGTHEPOSTSTOTHEGROUND
Lowertheplatform(seeoperatinginstructions)untilitisabout30
cmfromtheground.
Positionthepostssothatthenylonshoes(rear37andside38)are
incontactwiththeposts(fig.53.
Plumbthepoststoensurethattheyareperfectlyperpendicularto
thefloor,insertingshimswherenecessaryunderthebaseplates.
Useshimsthatareaslargeaspossibleandalwaysinstall
themclosetotheanchorholes.
PressLIFTbutton(SB1infig.50)
andcompletetheliftcycle;during
thecyclecheckthatthecross-pie
-
cesslidefreelyandwithoutundue
rubbingfriction(youmaywantto
stoptheliftmotionevery20or30
cmtomakethisinspectioneasier).
Ifyounoticeanymalfunctionsdu
-
ringthisoperation,checkthatthe
postsareperfectlyperpendicular.
Fig.53 Shoeadjustment
Whentheliftcycleiscompleted,make
surethattheliftinglimitswitch(pos.39,
fig.54)isworkingproperlyand ifneces
-
sary,adjustmovingthemicroswitchre
-
leaselever.
Fig.54
Lowertheplatformuntilitisabout30
cmfromthegroundandthendrillinto
thefloorthroughthefixingholesinthe
baseplates.
UsescrewanchorssizeØ16mm,M
10,length65mm,typeFISCHERSLM
10orequivalent(HILTIHBM10).
Tightenthescrewswithatorque
wrenchsetto35Nm.
Fig.55 Postanchoring
30
36
37
39
 Loading...