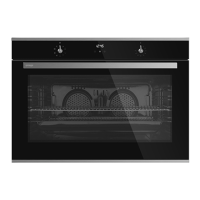
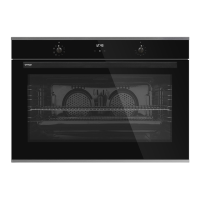
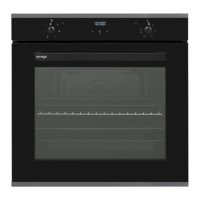
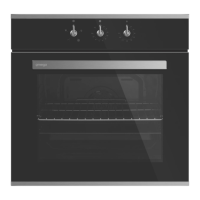
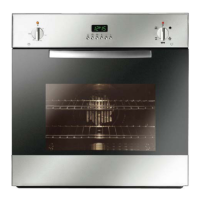
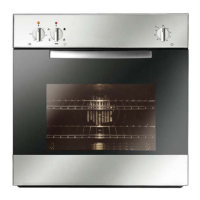
This document is an instruction manual for the Omega 90CM Built-In Electric Oven, covering models OBO960XTGG, OBO960X, OBO960X1, and OBO960XB. It provides essential information for installation, operation, maintenance, and troubleshooting, emphasizing safety and optimal performance.
Function Description
The Omega 90CM Built-In Electric Oven is designed for domestic household use, primarily for cooking food. It offers a range of cooking functions, including:
- Light Only: Illuminates the oven interior.
- Conventional: Utilizes both lower and upper heating elements for even heat distribution, suitable for baking cakes, biscuits, pastry, baked pasta, casseroles, roasts, and oven chips. Preheating for about 10 minutes is recommended.
- Steam Clean: Uses the lower heating element to generate steam, helping to loosen oils and dried food from the oven interior. Requires 0.5L of water in a tray at the bottom of the oven, run at 70°C for 30 minutes.
- Upper Element: Activates the upper heating element for grilling, ideal for toasting bread, cheese melts, browning dishes, and finishing off food. The oven door must be closed during this function.
- Maxi-Grill: Engages both upper heating elements for faster grilling and larger quantities of food. Suitable for browning meat (lamb/pork chops, cutlets), chicken, seafood (fish fillets, tuna steaks, Atlantic salmon), and crumb-topped dishes. The oven door must be closed.
- Maxi-Grill with Fan: Combines the grill element, upper heating element, and fan for complete, fast, and all-over grilling, achieving crispy skin on chicken and lightly browned meats/seafood. The oven door must be closed.
- Fan Assist: Circulates heat from the lower and upper heating elements using a fan, preventing food from burning on the surface and ensuring heat penetrates the food. Often results in faster browning for pastry compared to conventional cooking.
- Fan Forced: Uses a turbo heater and fan at the back of the oven to evenly disperse heat, suitable for cooking multiple dishes on various shelves simultaneously. Preheating for about 10 minutes is recommended. When cooking with two trays, select the lowest suitable temperature and expect longer cooking times.
- Defrost: Uses the fan to circulate air, helping to defrost frozen food without cooking it. Food should be placed on a wire rack with an oven tray below to collect melting water.
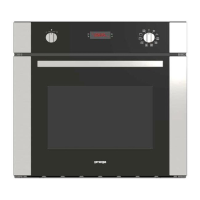
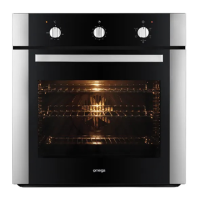
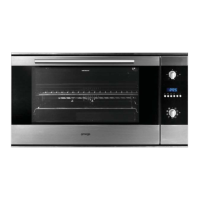
The oven features a control panel with a function control knob, a thermostat control knob, and a 3-button touch timer. The timer allows for time of day adjustment, minute minder setting, cooking duration timer, and fully automatic (delayed start) timer functions. A child lock feature prevents unauthorized adjustments to timer functions.
Important Technical Specifications
- Models: OBO960XTGG, OBO960X, OBO960X1, OBO960XB
- Voltage Rating: 220-240V ~50Hz
- Power Rating: 3600W
- Supply Connection: Hardwired to power supply
- Dimensions (Length x Depth x Height): 900 mm x 570 mm x 595 mm
- Cavity (L): 129 Liters
- Oven Lamp: Type E14, AC220V-240V, 15W, Temperature rating 300°C
- Installation Requirements:
- Adjacent furniture must withstand a minimum temperature rise of 100°C above ambient.
- Minimum distance between worktop and top panel of the oven: 50mm (if installed below a hob).
- Minimum distance between worktop and top of oven control panel: 25mm (if installed below a hob).
- Rangehood minimum height: 65 cm from cooktop (70 cm without rangehood).
- Ventilation space must be allowed beside and behind the oven.
- Electrical connection requires a circuit breaker with a contact opening of at least 3mm, not located above the appliance and no more than 1.25m away.
- The appliance must be correctly earthed.
- Not to be installed behind a decorative door to avoid overheating.
Usage Features
- Initial Use: Before first use, run the oven empty at maximum temperature for 45 minutes to eliminate odors from insulation materials and heater elements. Ensure proper ventilation during this process.
- Controls:
- Function Control Knob: Selects the desired cooking function.
- Thermostat Control Knob: Sets the desired cooking temperature. The thermostat light indicates when the oven is heating.
- Touch Button Timer:
- Time of Day Adjustment: Set after initial power-on or power reset.
- Minute Minder: A non-cooking timer (max 10 hours) with an audible buzzer.
- Cooking Duration Timer: Sets a specific cooking time, after which the oven turns off.
- Fully Automatic Timer: Allows for a delayed start and a set cooking duration.
- Child Lock: Automatically activates 30 seconds after a timer function is set, preventing unauthorized adjustments. Deactivated by pressing and holding the central timer button for 3 seconds.
- Buzzer Tone Settings: Three different buzzer tones can be selected.
- Display Brightness Settings: Eight brightness settings are available for the display.
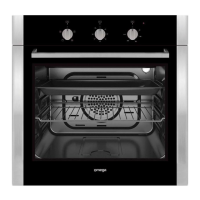
- Accessories: Includes a tray and wire rack. Accessories have a "step" safety feature to prevent accidental full pull-out. Glass containers, cake pans, and special oven trays can also be used.
- Energy Saving: Use appropriate cookware size, lids to reduce cooking times, minimize liquid/fat, and avoid opening the oven door frequently.
- Cooling Fan: Operates during heated functions to cool the oven door and kitchen cabinet, reducing condensation. It continues to run for some time after cooking.
Maintenance Features
- Safety First: All cleaning and maintenance operations must be performed when the oven is cool and disconnected from the power outlet or turned off at the isolation switch.
- Exterior Cleaning: Use cream or liquid cleaners without abrasive particles. Avoid caustic creams, abrasive powders, rough wire wool, or hard tools. Clean spills immediately. Do not use steam cleaners.
- Interior Cleaning: Best performed when the oven is slightly warm. Remove side wire racks. Wipe with a soft cloth dampened with warm soapy water, rinse, and dry. Clean the oven door and rubber seal. For thorough cleaning, use dry and powder-type oven cleaners following product instructions.
- Oven Lamp Replacement:
- Disconnect the appliance from the power supply.
- Unscrew the glass cover counter-clockwise.
- Pull out the old lamp and replace it with a new E14, AC220V-240V, 15W, 300°C rated lamp.
- Remount the glass cover.
- Reconnect the appliance to the power supply.
- Troubleshooting: The manual provides guidance for common issues such as the oven not operating (check power, fuse, timer), not heating (check temperature setting), interior lamp not lighting (check/replace lamps), and uneven cooking (adjust shelf locations, cooking period, heat values). Initial smoking is normal due to protective oils burning off. For further problems, contact an Authorized Service Centre.
- Warranty: The product is covered by a manufacturer's warranty (24 months for the appliance, additional 36 months for sealed system parts in refrigeration appliances). Warranty claims require contacting Omega and providing product details, purchase date, and serial number. The warranty covers rectification of faults from defective materials, components, or workmanship but excludes normal wear and tear, damage from power surges, pest infestation, unauthorized repairs, misuse, or damage from improper cleaning products.