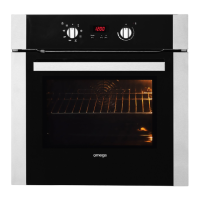
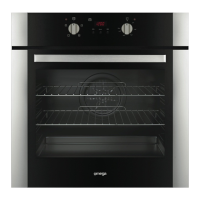
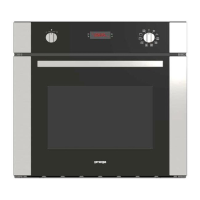
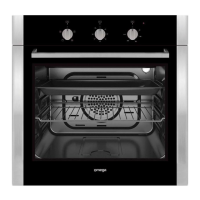
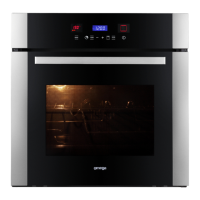
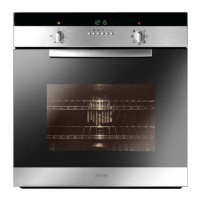
This document is an instruction manual for Omega electric ovens, specifically models OO651XR and OO652XR. It covers installation, electrical specifications, usage instructions, and maintenance.
Function Description
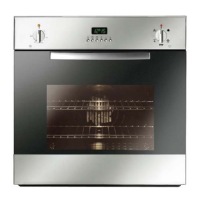
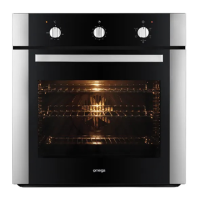
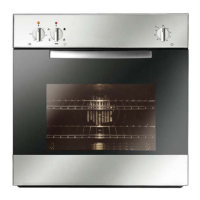
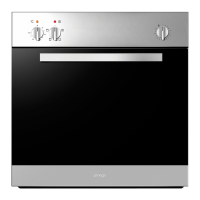
The Omega electric ovens are designed for standard household cooking. They offer various cooking systems, selectable via a mode knob. The ovens are intended solely for cooking foodstuffs and are not suitable for commercial or industrial purposes.
Cooking Functions (OO651XR, OO652XR):
- ZERO: Oven is off.
- LIGHT: Activates the oven light without heating.
- DEFROST: Thawing function without heat.
- FAN FORCED: Uses a fan to circulate hot air, suitable for multi-level cooking.
- Preset Temperature: 190°C
- Temperature Range: 50-250°C
- Heating Elements: 2300W
- FAN GRILL: Combines fan circulation with grilling for even browning.
- Preset Temperature: 230°C
- Temperature Range: 50-250°C
- Heating Elements: 2000W
- GRILL: Direct top heating for grilling.
- Preset Temperature: 230°C
- Temperature Range: 50-250°C
- Heating Elements: 2000W
Important Technical Specifications
Electrical Specifications:
- Absorbed Power:
- Oven top element/Grill: 2000W + 1000W
- Rear Element: 3000W
- Lamp: 25W
- Hot air fan motor: 25W
- Cooling fan motor: 25W
- Maximum absorbed power: (Refer to data plate)
- Supply voltage: (Refer to data plate)
- Connection: Requires a flexible cable of H05V2V2-F 3x1.5 mm² type. Must be earthed and connected via a multipole circuit breaker with a contact-to-contact gap of at least 3 mm.
Installation Dimensions:
- Option 1 (Under worktop):
- Cabinet width: 56 cm
- Cabinet height: 58.9 cm
- Oven width: 59.5 cm
- Oven height: 59.5 cm
- Minimum air circulation gap: 20 cm²
- Option 2 (In a column):
- Cabinet width: 56 cm
- Cabinet height: 58.9 cm
- Oven width: 59.5 cm
- Oven height: 59.5 cm
- Minimum air circulation gap: 20 cm² (not necessary if installed under worktop)
Usage Features
First Use:
- Before first use, heat the oven empty for approximately 15 minutes, ensuring each element is heated.
- Ensure the room is well-ventilated during this process, as a particular odor or small release of smoke is normal.
Control Systems:
- Mechanical Timer (OO651XR):
- A mechanical knob sets the cooking time from 0 to 120 minutes.
- The oven functions only when the timer is set to the hand symbol.
- An audible warning sounds when the set time expires.
- Electronic Control (OO652XR):
- Features a display and two knobs: a temperature knob and a mode (oven functions) knob.
- Programming Time Functions:
- Setting the time of day: Initial display shows "12:00" blinking. Press the central button for 3 seconds, then use "+" or "-" to adjust.
- Minute counter: Does not control the oven. Set by pressing the central button for 3 seconds until a specific symbol appears, then use "+" or "-" to set the desired time. Beeps when finished.
- Cooking time ("dur"): A semi-automatic function to set cooking duration. The oven switches off automatically after the set time. Set cooking mode and temperature first, then press the central button until "dur" appears, and adjust with "+" or "-".
- End of cooking time ("End"): Can be set as part of a programmed time. Press the central button twice consecutively until "End" appears, then adjust with "+" or "-".
- Programming automatic cooking: Allows setting both cooking duration and end time. The oven will start and stop automatically. The display shows "AUTO" when programmed.
- Alarm Timer: Sets a buzzer to sound after 0 to 60 minutes.
- Setting an oven function manually: Turn the mode knob to the desired position. The clock display shows "On" for a few seconds. Turn the Temp & Time selector to set the desired temperature. The control offers a preset temperature for each mode, adjustable within a MIN/MAX range. Preheat progress is indicated by flashing bars on the display.
Safety Precautions:
- Do not pull the appliance by the door handle.
- Use heat-protective kitchen gloves when placing or removing dishes.
- Do not place aluminum foil directly on the oven floor.
- Do not place heavy weights on the open oven door.
- Do not use the oven as a larder or for storage.
- Ensure all controls are in the stop position after use.
- Only use high-temperature resistant dishes.
- Children must be supervised and prevented from playing with the appliance.
- Accessible parts become hot during use; keep young children away.
Maintenance Features
Cleaning:
- Do not use a steam cleaner.
- Switch off the oven before any cleaning operation inside the cavity.
- Allow the appliance to cool before unclipping the glass.
- Ensure the appliance is powered down before removing the back panel; replace it correctly after cleaning.
- Do not use harsh abrasive cleaners or sharp metal scrapers on the oven glass door to avoid scratching and shattering.
- Use a soft cloth to clean the electronic programmer window and oven door; avoid cleaning products, abrasive creams, or scouring sponges.
Oven Door Removal (for cleaning or maintenance):
- Open the door completely.
- Lift the hinge bracket into the slot.
- Hold the door firmly on both sides with both hands and close it.
- Remove the heavy door and place it in a convenient location.
- To replace, insert the upper and lower arms of the hinges into their respective slots, ensuring recesses hook onto the lips.
- Move hinge brackets back down.
- Close and open the door slowly to ensure it is securely in place.
- Warning: Ensure the oven is cool and power is off before removing the door to avoid electric shock or burns. The door is heavy and fragile; handle with care.
Replacement of Oven Light:
- Turn off power at the main supply (fuse or breaker box).
- Unscrew and remove the lens.
- Remove the light bulb from its socket.
- Replace with a new bulb of the same Volt and Watt (230V - 15W or 25W). Avoid touching the bulb with bare fingers.
- Screw the lens back on.
- Turn power back on.
- Warning: Ensure the oven and lights are cool and power is off before replacing the bulb to avoid electric shock or burns. Lenses must be in place during oven use and protect the bulb from breaking.
Troubleshooting:
- Oven does not operate: Check if unplugged, power source is off, household fuse is blown, or timer is not set correctly.
- Oven does not heat: Check if the heat setting is correct.
- Interior lighting lamp does not light: Lamps may be defective and need replacement.
- Uneven cooking: Control shelf locations, cooking period, and heat values according to the manual.
- Smoking when first used: Normal, due to protective oils burning off.
- Clock flashing on display: Indicates power failure or interruption.
- Fan continues after oven is off: Normal, the cooling fan behind the control panel remains active to cool the appliance.
Packaging and Recycling:
- Packing materials are recyclable; dispose of them in local authority containers.
- The appliance contains recyclable materials and is marked with a logo indicating it should not be mixed with other waste.
Installation:
- Installation should only be performed by qualified installers and technicians.
- The cabinet for installation must be open at the back for air circulation.
- All surfaces in contact with the oven must resist temperatures of approximately 90°C.