G
F
H
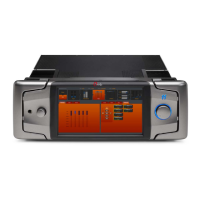
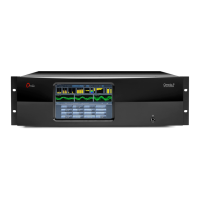
PhysICAl INsTAllATION
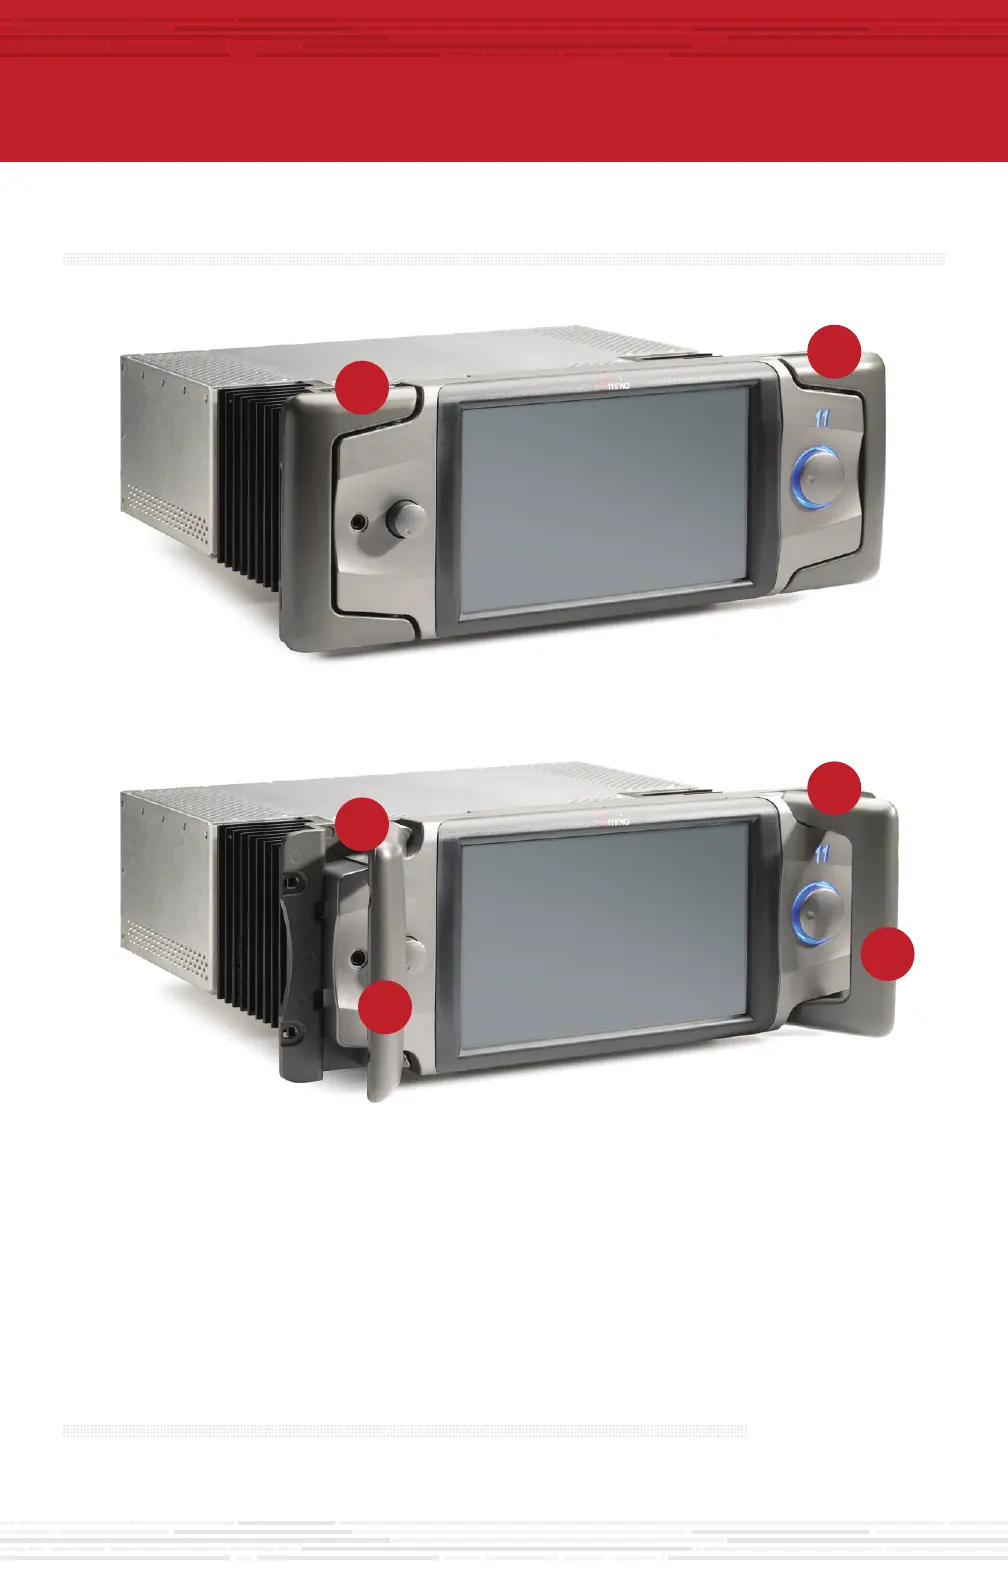
1. Locatethereleasepin(A)ontheinsidetopofeachhandleontheOmnia.11.
2. Slide and holdthereleasepins(A)outwardsandthenpullthehandles(B)towardsyouuntilyouhearaclick.
Makesureeachhandleissecurelylockedintotheforwardposition.
3. Usingthehandles(B), lift and slidetheOmnia.11intotheequipmentrackandsecurewithall4rackscrews.
4. Onceinstalledintotherack,locatethereleasepin(A)ontheinsidetopofeachhandle,slidethepintoward
youandfoldthehandles(B)backtotheirnormalposition.
AUdIO CONFIGURATION
AUdIO CONNECTIONs
1. Determinetheinputsandoutputsthatareappropriateforyourinstallationandfollowthe
appropriateinstructions.
AUDIO INPUT - Both analog and digital input sources may be connected simultaneously,
however, only the input source that has been selected in the Input menu will be active.
Input source selection will be covered later in this guide.
a. ForAnalogaudio,connectXLRaudiocablestotheleftandrightANALOGINPUTS(C)jacks.
b. ForDigitalaudio,connectXLRaudiocablestotheAESINPUT(D)jack.
c. ForanexistingLivewiresystem,thesingleLivewireEthernetconnectionisallthatisneededforaudioI/O
(exceptforthecompositeMPXoutputs).IMPORTANT: Do not connect an Ethernet cable at this time.
CONTINUE TO NETWORK CONFIGURATION
Youraudioconnectionsarecomplete.Continuetothe”NetworkConfiguration”instructions.
CONTINUE TO AUdIO CONFIGURATION
Yourphysicalinstallationiscomplete.Continuetothe”AudioConfiguration”instructions.
AUDIO OUTPUT - All outputs are active simultaneously.
a. ForAnalogaudio,connectXLRaudiocablestotheleftandrightANALOGOUTPUTSjacks(F).
b. ForDigitalaudio,connectXLRaudiocablestotheAESOUT1/2jacks(G).
c. ForadirectcompositeMPXconnection,connectanXLRcabletotheAESCOMPOSITEOUTjack(H).
Note:IfyouwillbeusingconventionalAES/EBUL/RdigitalaudiotofeedyourSTLorFMexciter,besure
anypre-emphasisandlimiters(ifpresent)arefullydefeatedintheexciter.TheOmniamustbetheonly
deviceprovidingthepre-emphasissoitsownde-emphasisontheAES/EBUoutputbeingusedmust
alsobe“Off”.AlsonotethatiftheSTLusesacodec(isnotlinear),theOmniamustbelocatedatthe
transmittersiteforbestperformanceandsoundquality.
d. ForanexistingLivewiresystem,thesingleLivewireEthernetconnectionisallthatisneededforaudioI/O
(exceptforthecompositeMPXoutputs).IMPORTANT: Do not connect an Ethernet cable at this time.
NETWORK CONFIGURATION
INsTAllATION hElP
Formore details abouttheOmnia.11,or to download thefullmanual
pleasevisithttps://www.telosalliance.com/Omnia/Omnia11
Ifyouhavemorequestions,calltheTelosAlliance24/7SupportTeamat
+1 (216) 622-0247,oremailusatsupport@telosalliance.com,we’dbe
happytohelpyouout.
1. Touch the “Setup” button (L). The Network
configurationscreenwillbedisplayed(M).
2. Touchthewhitefield(N)totherightofIPAddress
labeltoenterastaticIPaddress.Note:TheOmnia.11
requires2freestaticIPaddressesonyournetwork
(DHCP is not supported), the one that you enter
andtheonedirectlyabovetheonethatyouenter.
Forexample,if you enter 192.168.0.125 as the IP
Address,bothitand192.168.0.126needtobeopen
onthenetwork.
3. Theon-screenkeyboardwillpopup(O).Touchthe
“0-9*/=” button to shift the keyboard to number
entrymode.
4. Touch the backspace key to delete the current
informationdigitbydigit,thenenteryourdesiredIP
addressfromthekeyboard.
5. TouchOK(Q)andthekeyboardwillnolongerdisplay.
6. IfyournetworkrequireschangestoSubnetMaskor
Gatewayvalues,touchthewhitefieldstotheright
ofthoselabelstochangethevaluesviathepop-up
keyboard.
7. Once your values have been entered, touch the
“APPLY” button (R). The system will display an
option to either "Reboot Now" or Reboot Later".
Touch“RebootNow”torebootthesystemandapply
thenewparameters.
NETWORK PARAmETER sETUP
2. MakesurethatnocablesarepluggedintoeitherEthernetport.
3. ConnecttheOmnia.11toACMains(I).
4. Oncethesystemhasbootedupcompletely,connectoneendoftheEthernetcabletothetopLivewire/100BT
port(J)onthebackoftheOmnia.11.ConnecttheotherendoftheEthernetcabletoaconfiguredEthernet
switch(K)toallowaccesstothenetwork.
RACK mOUNTING
AUdIO CONFIGURATION (CONT.)
A
A
A
A
B
B
D
C
L
M
N
R
O
P Q
 Loading...