00033027.DOC, Version 1.0
19/23
2
1
3
1
2
3
Balanced use with XLR connectors
1 = Ground / Shield
2 = Hot (+)
3 = Cold (-)
For unbalanced use pin 1 and pin 3 have to be bridged
Input Output
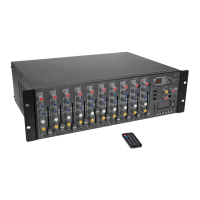
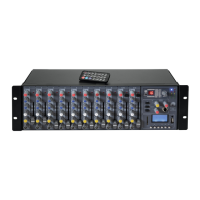
6. INSTALLATION
This device is built for 19" racks (483 mm). This rack should be a double-door rack where you can open the
front panel and the rear panel. The rack should be provided with a cooling fan. When mounting the device
into the rack, please make sure that there is enough space around the device so that the heated air can be
passed on. Steady overheating will damage your device. You can fix the device with four screws M6 in the
rack. If several devices are to be installed, make sure that you leave 1 unit space between the devices.
7. CONNECTIONS
All connections have to be made or changed only if the mixer and all audio devices connected to it is/are
switched off!
1. Connect the outputs of the audio sources to the INPUT jacks.
2. A PA amplifier for speakers, mixers or a subsequent unit with line level can be connected to the XLR
connectors OUTPUT.
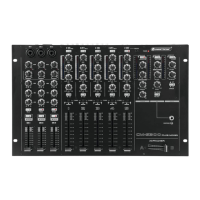
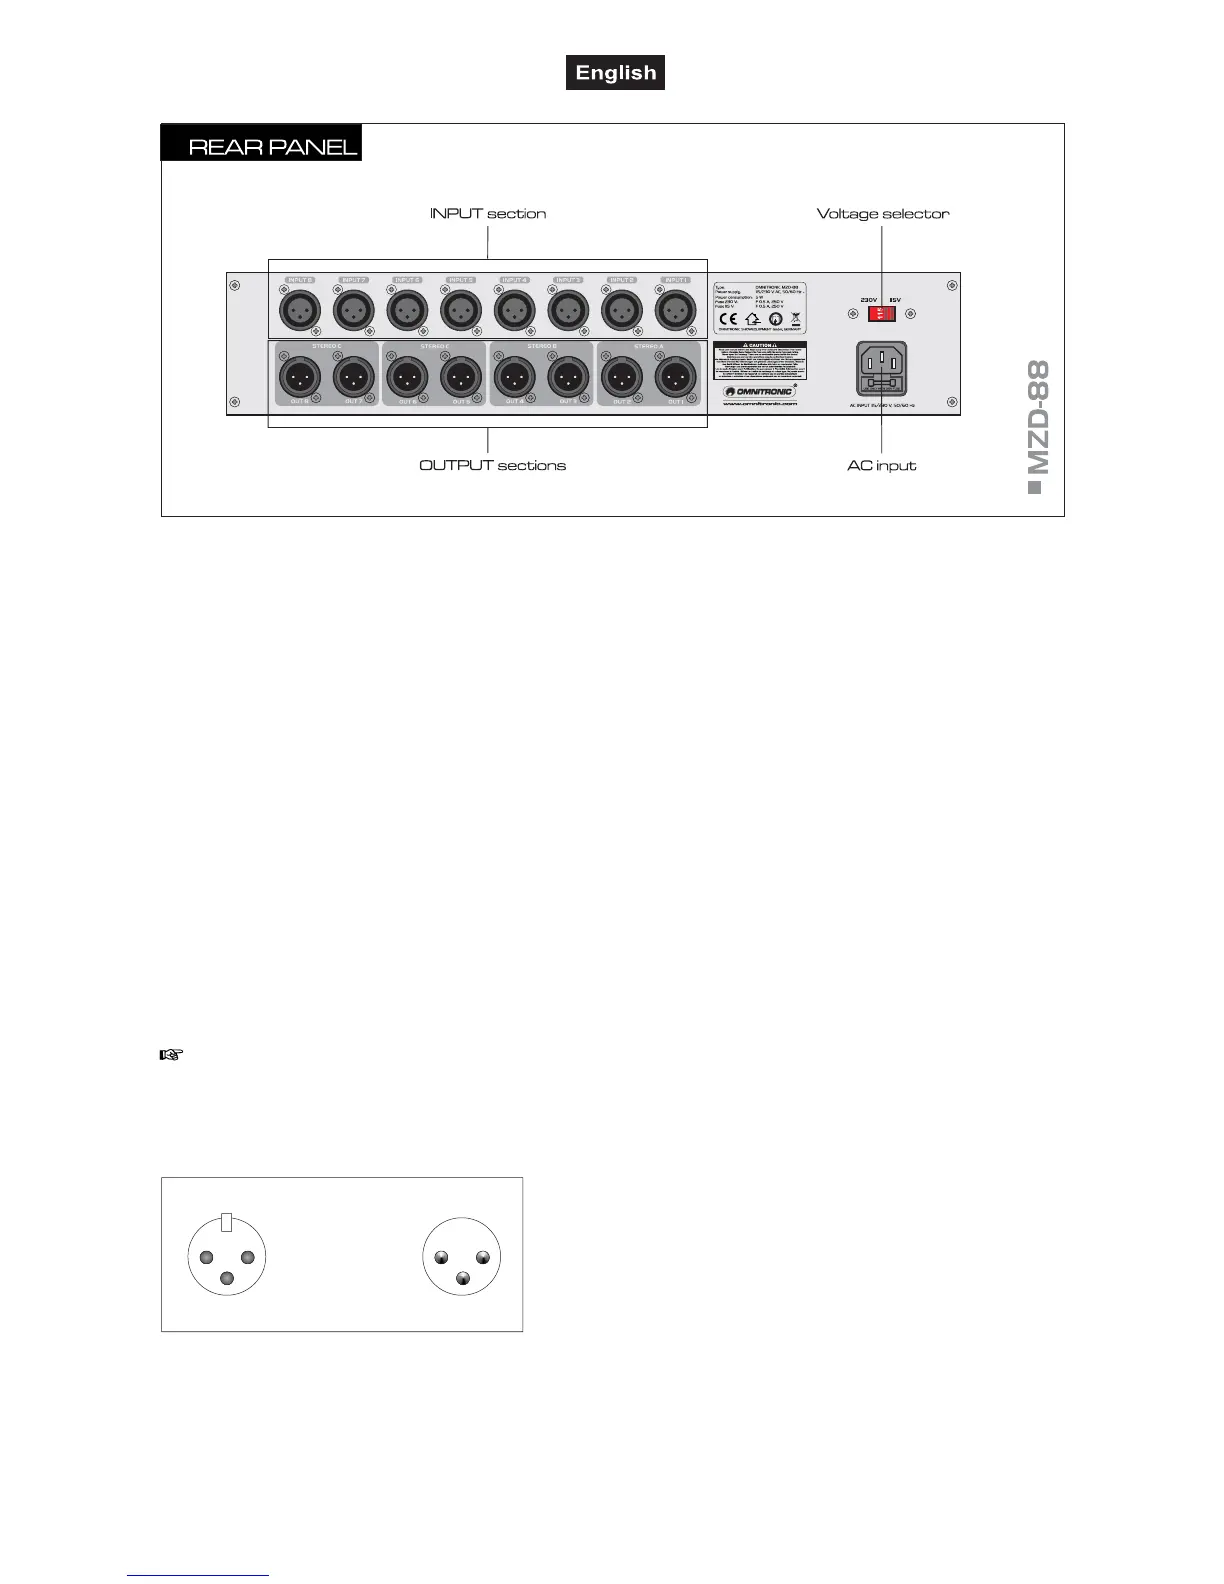
■ Inputs
XLR inputs (bal.) for connecting audio units units with line
level outputs.
■ Zone outputs
Each zone disposes of a stereo output (2x XLR, bal.) fo
left and right. The PAN control directs the signal to the
respective output.
outputs STEREO A for PA zone 1,
outputs STEREO B for PA zone 2,
outputs STEREO C for PA zone 3,
outputs STEREO D for PA zone 4,
■ Voltage selector
Make sure this switch is properly set.
■ AC input with fuseholder
Used to plug the supplied power cord in. Only replace the
fuse when the device is disconnected from mains. Only
use fuses of the same rating and power. The correct fuse
value is specified on the rear panel.