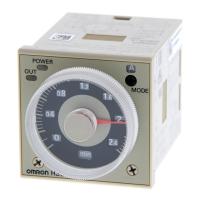
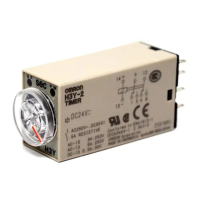
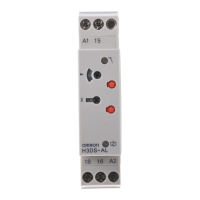
Application (Continued)
INTERVAL Power-ON Start/
Power-OFF reset
Refer to Figures A, B, and C
1. Power is applied to pins 2 and
10.
2. Jumper start input, pins 3 and 6
together.
3. Jumper one side of power
(either pin 2 or 10) to COM of
output relay (pin 11).
4. Load is activated through pin 9
(normally open contact) and the
other side of power not
connected to COM (pin 11).
5. Time period begins upon
application of power, the
time period begins, output relay
energizes and contacts transfer,
activating load. The load is
activate only during timing
period
6. Reset timer by applying a switch
closure to reset input (pins 3
and 7) or by removing power
from pins 2 or 10.
CYCLE One-Shot
Power-ON Short/Power-OFF
Reset
Refer to Figures A, B, and C
1. Power is applied to pins 2 and
10.
2. Jumper start input, pins 3 and 6
together.
3. Jumper one side of power
(either pin 2 or 10) to COM of
output relay (pin 11).
3. Load is activated through pin 9
(normally open contact) and the
other side of power not
connected to COM (pin 11).
4. Once start input is closed (pins
3 and 6), output relay energizes
and contacts transfer, activating
load.
5. Time period begins upon
application of power, output
relay cycles OFF for the set
time and then ON for only one
cycle.
Product Operation and Setup Instructions 1A983
6. Reset timer by applying a switch
closure to reset input (pins 3
and 7) or by removing power
from pins 2 or 10.
CYCLE One-Shot
Signal Start
Refer to Figures A, B, and C
1. Power is applied to pins 2 and
10.
2. Jumper one side of power
(either pin 2 or 10) to COM of
output relay (pin 11).
3. Load is activated through pin 9
(normally open contact) and the
other side of power not
connected to COM (pin 11).
4. Once start input is closed,
output relay cycles OFF for the
set time and then ON for only
one cycle.
5. Reset timer by applying a switch
closure to reset input (pins 3
and 7) or by removing power
from pins 2 or 10.
SIGNAL ON-DELAY/OFF-DELAY
Refer to Figures A, B, and C
1. Power is applied to pins 2 and
10.
2. Jumper one side of power
(either pin 2 or 10) to COM of
output relay (pin 11).
4. Load is activated through pin 9
(normally open contact) and the
other side of power not
connected to COM (pin 11).
5. Time period begin each time
start input is closed and
opened. Load is activated when
the accumulated time from the
last start input closure equals
the set time. The load is also
activate for the set time period
immediately after the start input
is opened.
6. Reset timer by applying a switch
closure to reset input (pins 3
and 7) or by removing power
from pins 2 or 10.
SIGNAL OFF-DELAY ( ll )
Refer to Figures A, B, and C
1. Power is applied to pins 2 and
10.
2. Jumper one side of power
(either pin 2 or 10) to COM of
output relay (pin 11).
3. Load is activated through pin 9
(normally open contact) and the
other side of power not
connected to COM (pin 11).
4. Load is activated for the
duration of the set time period
only after the start input has
been closed then opened.
5. Reset timer by applying a switch
closure to reset input (pins 3
and 7) or by removing power
from pins 2 or 10.
 Loading...