4
SETTING THE TIME AND DATE, AND CODING YOUR METER
Setting the time and date, and coding your meter
Setting the time and date
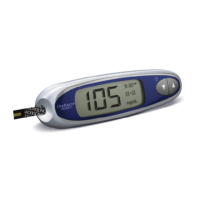
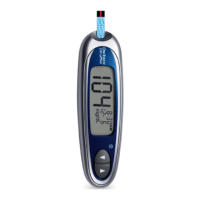
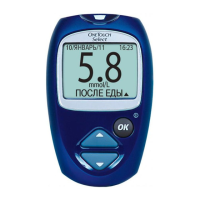
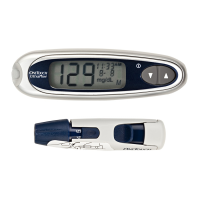
Your OneTouch® UltraEasy™ Meter comes with the time, date and unit of measure pre-set. Before using your meter for the rst time or if
you change the meter battery, you should check and update the time and date. Make sure you complete steps 1 to 7 below to ensure your
desired settings are saved.
Turn the meter on
Press and hold ▼ for ve seconds until the start-up test screen appears. After the
start-up test screen, the pre-set time and date will appear on the display for ve
seconds. The hour will now start ashing.
NOTE: If a setting does not need to be updated, simply wait ve seconds.
The meter display will automatically advance to the next setting.
Set the hour
With the hour ashing on the display, press and release ▲ or ▼ to go forward or
backward one hour. To move faster, hold the ▲ or ▼ buttons down.
When the correct hour appears on the display, wait ve seconds. Your entry will be saved
and you will move to the next setting. The minutes will now start ashing.
Set the minutes
Press ▲ or ▼ to change the minutes. When you have the correct minutes on the
display, wait ve seconds to move to the next setting. AM or PM will now start ashing.
WARNING: If your display shows mmol/L rather than mg/dL, contact your local LifeScan Representative. You
cannot change the unit of measure. Use of the wrong unit of measure may cause you to misinterpret your blood
glucose level, and may lead to incorrect treatment.

 Loading...