12
Getting to Know the CD Receiver—Continued
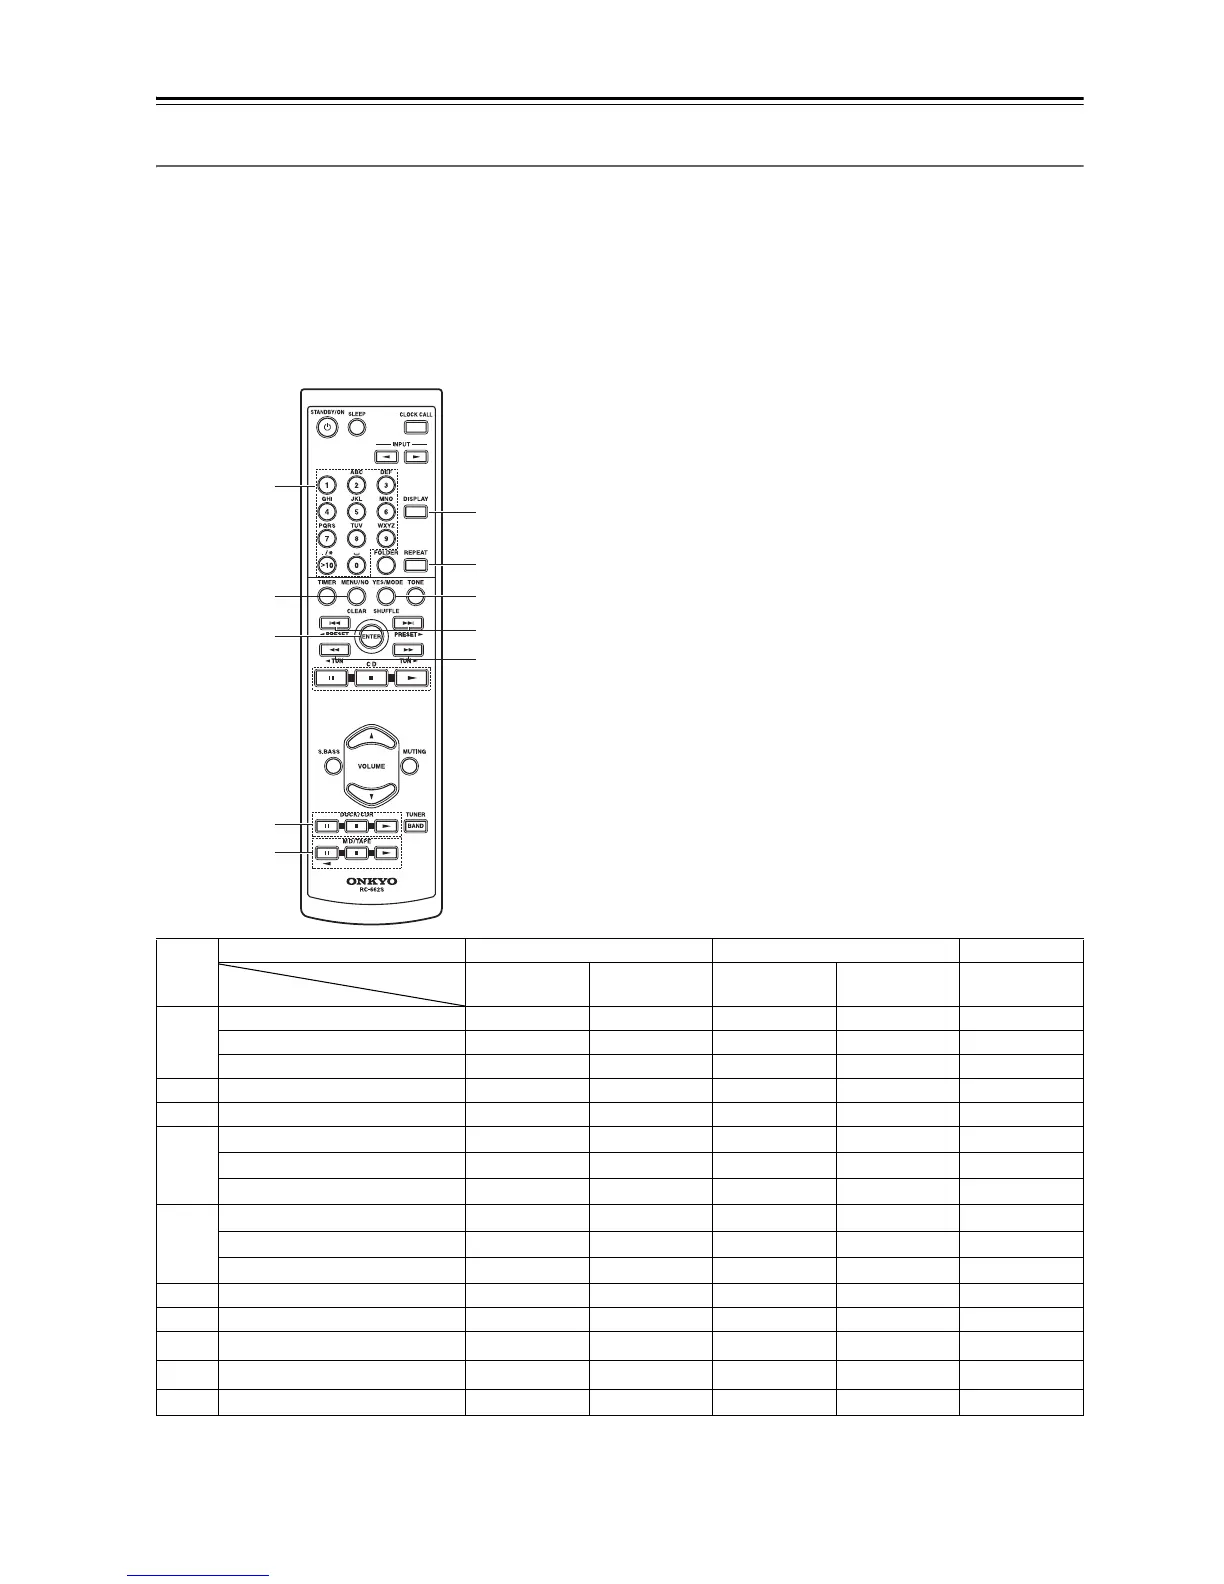
Controlling an Onkyo MD Recorder, Cassette Deck, or RI Dock
Explanation of buttons for using the Onkyo MD recorder, cassette deck, RI Dock, or CD recorder when connected
to the MD/TAPE jack, DOCK/CDR or OPTICAL DIGITAL IN (CR-725DAB only) jack of the CD receiver.
• See pages 19-23 for instructions on connecting the components.
• Connecting an Onkyo component to the CD receiver with an u cable allows you to control the component with the
CD receiver’s remote controller. In addition, when playback is started on the component, the CD receiver will auto-
matically select it as the input source.
• It will also be necessary to change the input display titles to correspond to the equipment that is connected (see
page 28).
Example: Shows the case of h:
the [YES/MODE/SHUFFLE] button.
• When the cassette deck is connected to the MD/TAPE
jack of the CD receiver and the input source is set to
“TAPE”, it works as a DOLBY NR button.
• When the CD recorder is connected to the
DOCK/CDR IN/OUT jack of the CD receiver and the
input source is set to “DOCK”, it operates as the
SHUFFLE button; when the input source is set to
“CD-R”, it operates as the MODE button.
The operation of the buttons is the same when the CD
recorder is connected to the OPTICAL DIGITAL IN
jack, and the input source is set to “CD-R/dig”.
• Refer to the instruction manual for each connected component for details. For column items with no notation: buttons
will not function when pressed.
6
7
8
9
bk
4
1
2
5
3
Jack MD/TAPE DOCK/CDR DIGITAL IN
TAPE MD DOCK CD-R CD-R/dig
a
1 ~ 9 1 ~ 9 1 ~ 9 1 ~ 9
0 10/0 10/0 10/0
>10 >10 >10 >10
b
MENU/NO/CLEAR CLEAR MODE CLEAR CLEAR
c
ENTER ENTER SELECT ENTER ENTER
d
DOCK/CDR 1 111
DOCK/CDR 2 222
DOCK/CDR 3 333
e
MD/TAPE 111
MD/TAPE 222
MD/TAPE 3 (t) t3
f
DISPLAY DISPLAY BACKLIGHT DISPLAY DISPLAY
g
REPEAT REV MODE REPEAT REPEAT REPEAT REPEAT
h
YES/MODE/SHUFFLE DOLBY NR MODE
SHUFFLE
*1
*1. In “Cursor Mode” it works as a MENU button.
MODE MODE
i
7/65/47/6
7/6
*2
*2. In “Cursor Mode” it can be used for navigation menus.
7/67/6
j
5/45/45/45/45/4
Button
Input source
 Loading...