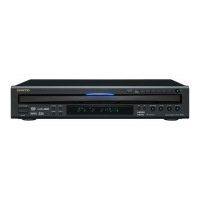
11
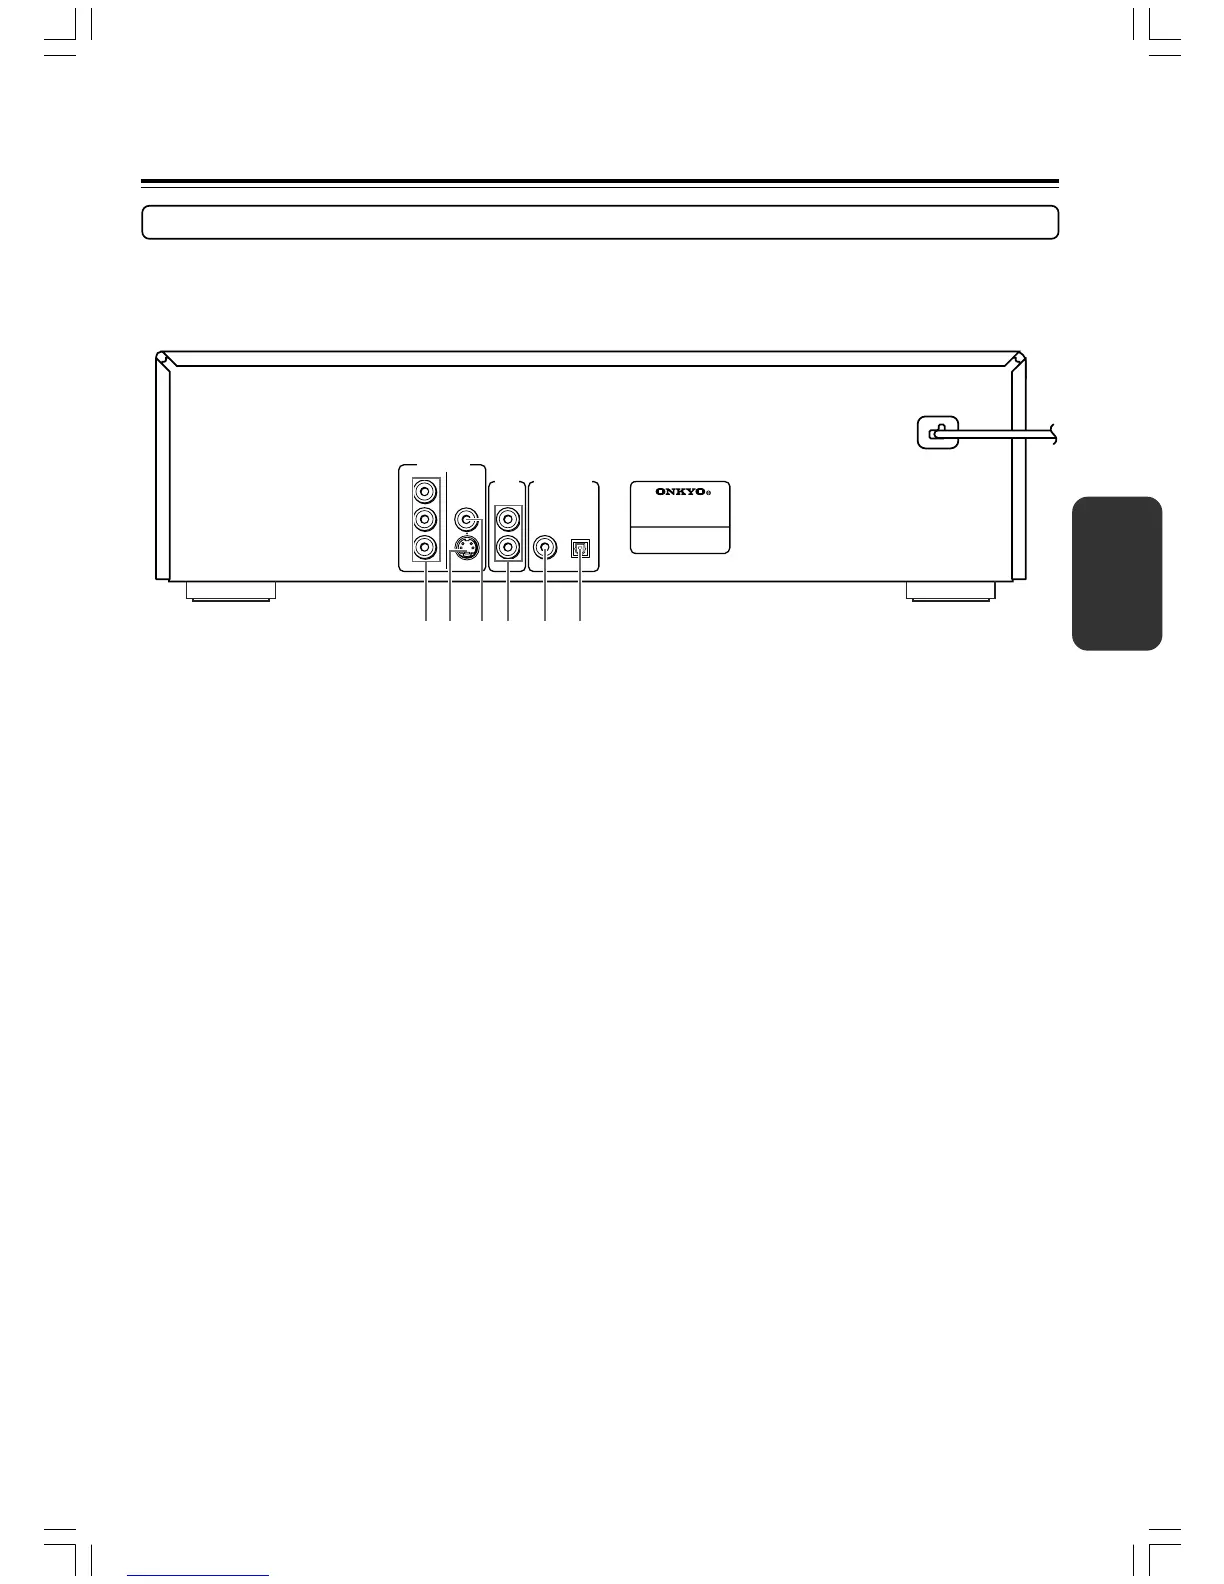
Rear Panel
For operational instructions, see the page indicated in brackets [ ].
1
VIDEO OUTPUT COMPONENT (P
R
/P
B
/Y) jacks [15]
If your TV has component inputs, you can connect a component
video cable to your TV and to your DVD Changer for ideal
video quality. The component video cable only carries the video
signal; remember to connect the left and right audio cables.
If you connect a TV that is compatible with a Progressive scan
signal, you can enjoy both Interlaced and Progressive scan.
2 VIDEO OUTPUT S VIDEO jack [15]
If your TV has a S-Video jack, you can connect an S-Video
cable to your TV and to your DVD Changer for improved video
quality. The S-Video cable only carries the video signal;
remember to connect the left and right audio cables.
3 VIDEO OUTPUT VIDEO jack [14]
Connect a video cable to this jack and to the Video Input jack on
your TV.
OPTICAL
COMPONENT
VIDEO OUTPUT
AUDIO
OUTPUT
DIGITAL OUTPUT
VIDEO
S
VIDEO
P
B
P
R
Y
L
R
COAXIAL
MODEL NO.
DV
-
CP
500
DVD CHANGER
12 3 4 5 6
Control Position and Names
4 AUDIO OUTPUT jacks [14-16]
Insert audio cables (left and rights) to these jacks on your DVD
Changer and to the corresponding Audio Input jacks (left and
right) on your TV or receiver.
5 DIGITAL OUTPUT COAXIAL jack [16]
Use coaxial cable to connect your DVD Changer to an AV
component that features digital input capability. If the
component has a Dobly Digital or DTS decoder, you can enjoy
theater-quality multichannel sound.
6 DIGITAL OUTPUT OPTICAL jack [16]
Use optical cable to connect your DVD Changer to an AV
component that features digital input capability. If the
component has a Dolby Digital or DTS decoder, you can enjoy
theater-quality multichannel sound.
 Loading...