Remote controller
6
i;;ii_
1
2
3
4
5
_DDD
DDDD
QDQ_
6
7
8
9
10
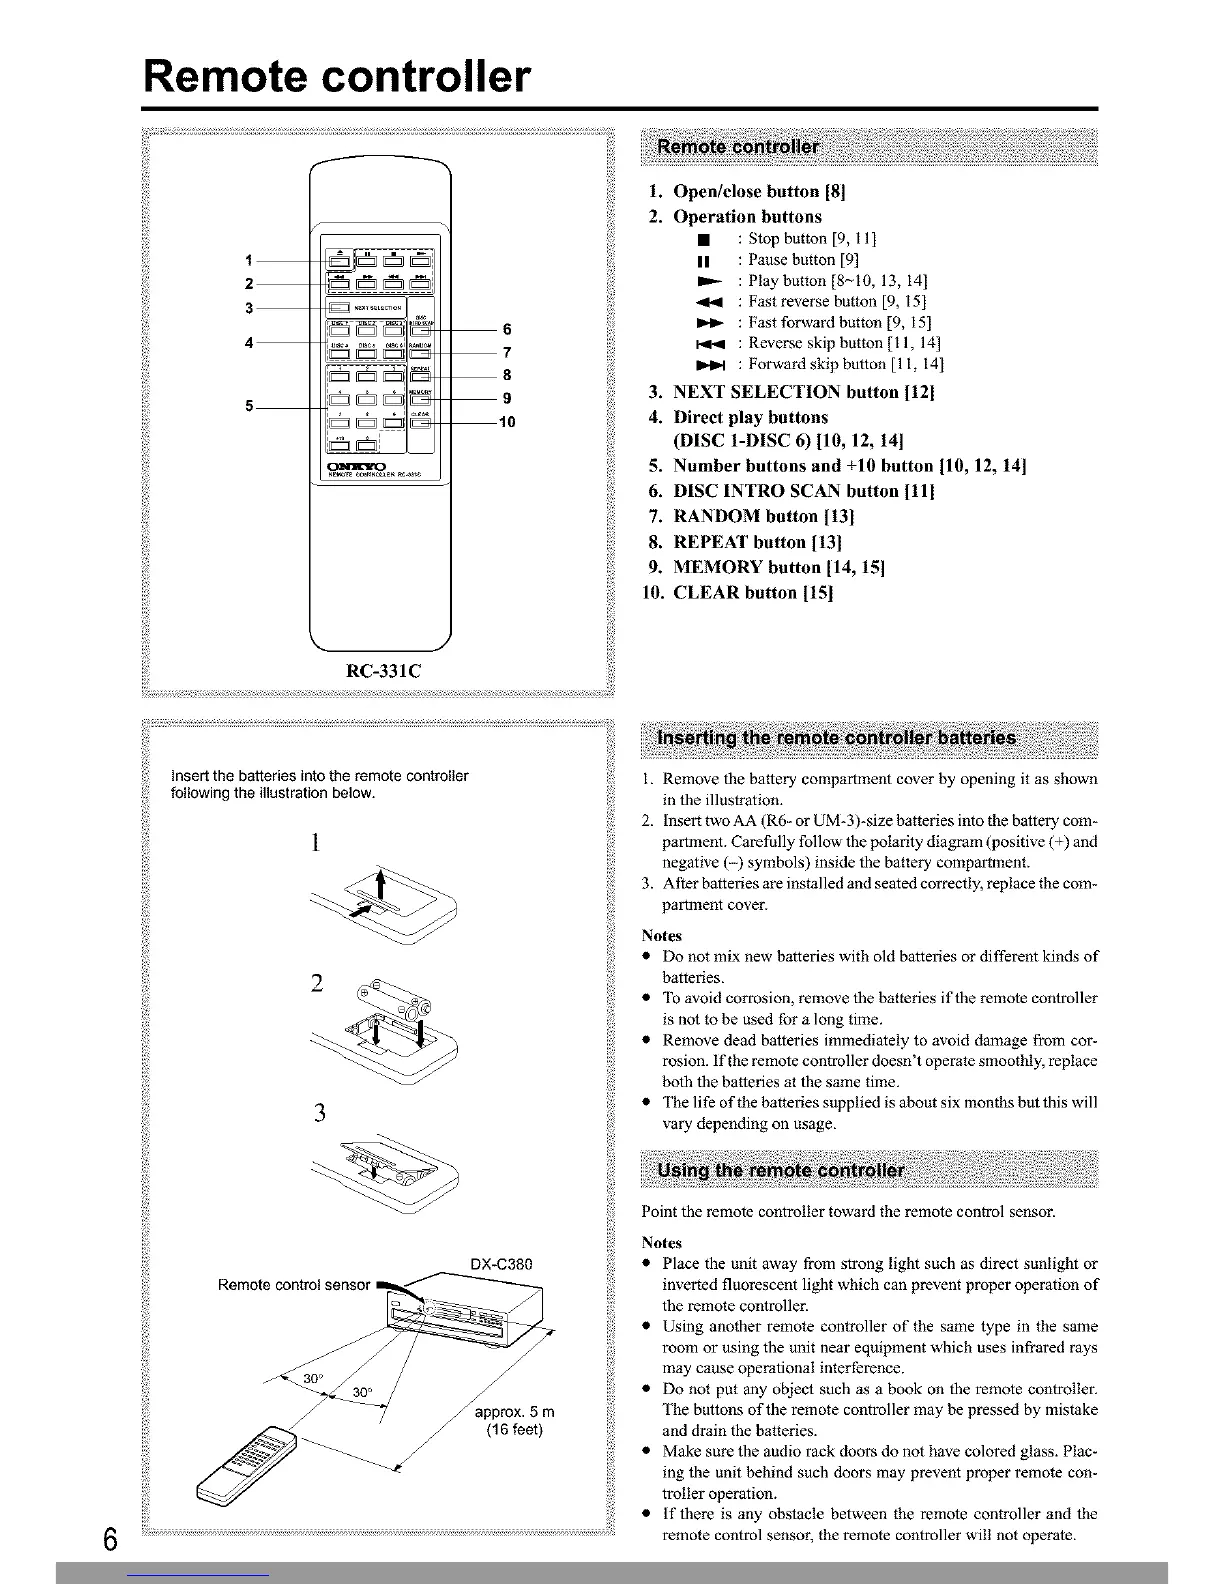
RC-331C
Insert the batteries into the remote controller
following the illustration below.
]
2
3
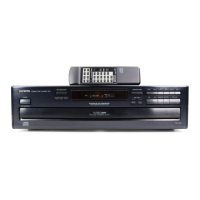
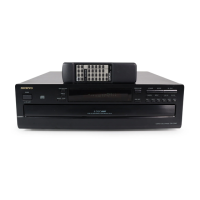
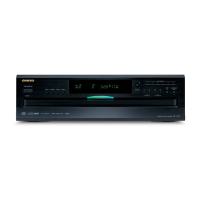
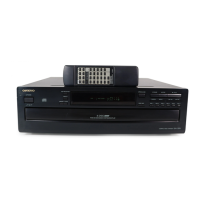
DX-C380
/
/
_approx. 5 m
/ _ (16 feet)
1. Open/close button [81
2. Operation buttons
• : Stop button [9, 11]
II : Pause button [9]
: Play button [8_I0, 13, 14]
_l_ : Fast reverse button [9, 15]
: Fast forward button [9, 15]
: Reverse skip button [! 1, 14]
: Forward skip button [1 I, 14]
3. NEXT SELECTION button [12]
4. Direct play buttons
(DISC I-DISC 6) [10, 12, 14]
5. Number buttons and +10 button [10, 12, 14]
6. DISC INTRO SCAN button [11]
7. RANDOM button [131
8. REPEAT button [131
9. MEMORY button [14, 15]
10. CLEAR button 1151
I. Remove the battery compartment cover by opening it as shown
in the illustration.
2. Insert two AA (R6- or UM-3)-size batteries into the battery com-
partment. Carefully follow the polarity diagram (positive (+) and
negative (-) symbols) inside the battery compartment.
3. After batteries are installed and seated correctly, replace the com-
partment cover.
Notes
• DO not mix new batteries with old batteries or different kinds of
batteries.
• _ib avoid corrosion, remove the batteries if the remote controller
is not to be used for a long time.
• Remove dead batteries immediately to avoid damage from cor-
rosion, if the remote controller doesn't operate smoothly, replace
both the batteries at the same time.
• The life of the batteries supplied is about six months but this will
vary depending on usage_
Point the remote controller toward the remote control sensor.
Notes
• Place the unit away from strong light such as direct sunlight or
inverted fluorescent light which can prevent proper operation of
the remote controller.
• Using another remote controller of the same type in the same
room or using the unit near equipment which uses infrared rays
may cause operational interference.
• Do not put any object such as a book on the remote controller.
The buttons of the remote controller may be pressed by mistake
and drain the batteries.
• Make sure the audio rack doors do not have colored glass. Plac-
ing the unit behind such doors may prevent proper remote con-
troller operation.
• If there is any obstacle between the remote controller and the
remote control sensor, the remote controller will not operate.
This Manual: http://www.manuallib.com/onkyo/dx-c380-compact-disc-changer-manual.html
 Loading...