6A- 24 1973 OPEL SERVICE: MANUAL
on front side of timing chain to permit reinstallation
in original position.
Timing Chain Cover and Timing
Chain installation
Reinstall timing chain cover by reversing removal
procedures, pay particular attention to the following
points.
1. Clean all parts, check for wear and replace as
required. The Parts Department supplies either the
two sprockets complete with chain or the chain
alone. It is not permissible to replace sprockets alone.
The chain tensioner is, with the, exception of the
tensioner body, only available as a complete unit.
2. Turn crankshaft so that key for sprocket is on top
and vertical. Assemble chain’, with camshaft
sprocket, then put chain on crankshaft sprocket al-
ready installed. Be sure paint dot
on chain is in front
so that chain moves in same direction as prior to
disassembly.
3. Make sure camshaft sprocket mark is in alignment
with mark on support and chain in parallel with
damper block.
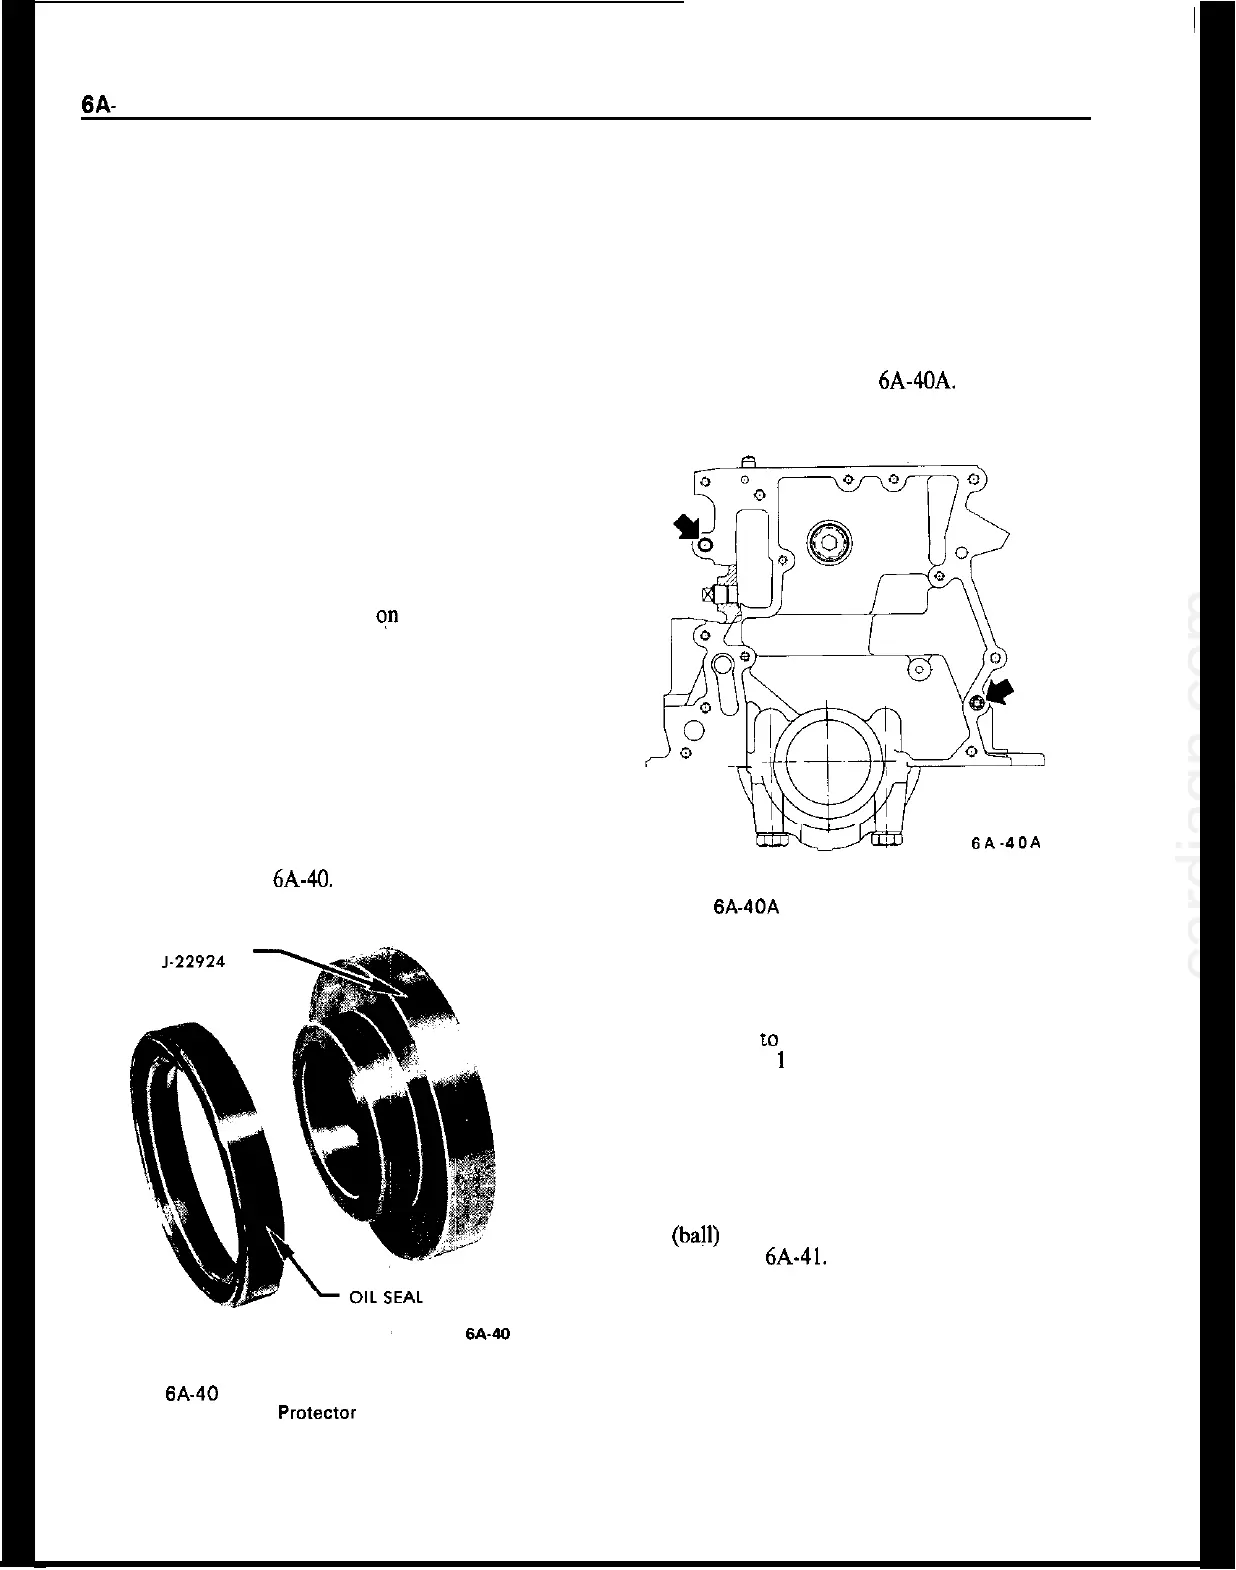
4. To install new timing case oil seal, drive out oil
seal from the rear using a drift. Coat circumference
of oil seal sparingly with suitable sealer and press seal
in, using tool J-22924. Take care not to damage tim-
ing case. See Figure
6A-40.
5. Inspect chain tensioner for proper operation and
reusability.
6. Install timing case rubber gaskets to cylinder
block. Stick on with grease as necessary. Gaskets will
somewhat overlap with oil pan gasket.
7. Position timing cover onto guide pin in upper left
corner of cylinder block and insert centering bolt
through timing chain cover into lower right corner
of cylinder block. See Figure
6A-40A. No sealing is
required.
SA-40.4
Figure
6A-40A
Installing Timing Chain Cover
INSTALLER
Figure
6A-40
Installing Timing Cover Oil Seal on
Protector
It is not necessary to use crankshaft bolt to install
seal when cover is off engine.
8. Install cylinder head
After sprocket has been attached to camshaft, re-
check alignment
LO
see that chain has not slipped. At
this time both No.
1
and No. 4 pistons will be at TDC
position. No. 4 piston will be in tiring position and
No. 1 piston up on exhaust stroke. To time engine to
fire on No. 1 cylinder, rotate crankshaft 360 degrees.
This will position the timing mark 180 degrees from
original alignment of camshaft sprocket and support
bracket, and will completely close No. 1 intake and
exhaust valves. Also, the timing mark on the fly-
wheel
(ball) and cylinder block (pointer) will coin-
cide. See Figure
6A-41.
Replacing Timing Cover Oil Seal
(Engine Installed)
1. Remove fan belts.
2. Remove crankshaft pulley bolt and remove pulley.
3. Insert screwdriver behind seal and rest screw-
driver on crankshaft pin. Pry out oil seal.