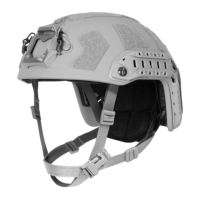
4
“PRE-LOAD” THE FITBAND
• You can set the shape of the tband to match the shape of
your head for long term comfort.
• Push or pull the rear tband liner tabs (used for height
adjustment in step 3) to adjust the tband tension from a
round to more oval shape.
• Hold each rear tband liner tab with your hand in the location
that sets the tband tension in the optimal shape and then
tighten the back screws to lock the tabs in place.
5
TIGHTEN BACK SCREWS
• Tighten the back screws to lock the rear tband liner tabs,
chinstrap and side rails permanently in place.
• If you don’t do this, all of the adjustments you just made will
slip and the helmet will likely come apart.
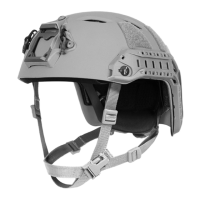
3
ADJUST FITBAND HEIGHT
• Put the helmet on and turn the dial to tighten the tband
until it feels secure. Look up at the sky. If the dial digs into
your neck, it is too low.
• You can adjust the height of the dial by sliding the rear
tband liner tabs that attach it to the inside of the shell up
and down.
• Set the dial at the height that is most comfortable for you.
9