Basic connection
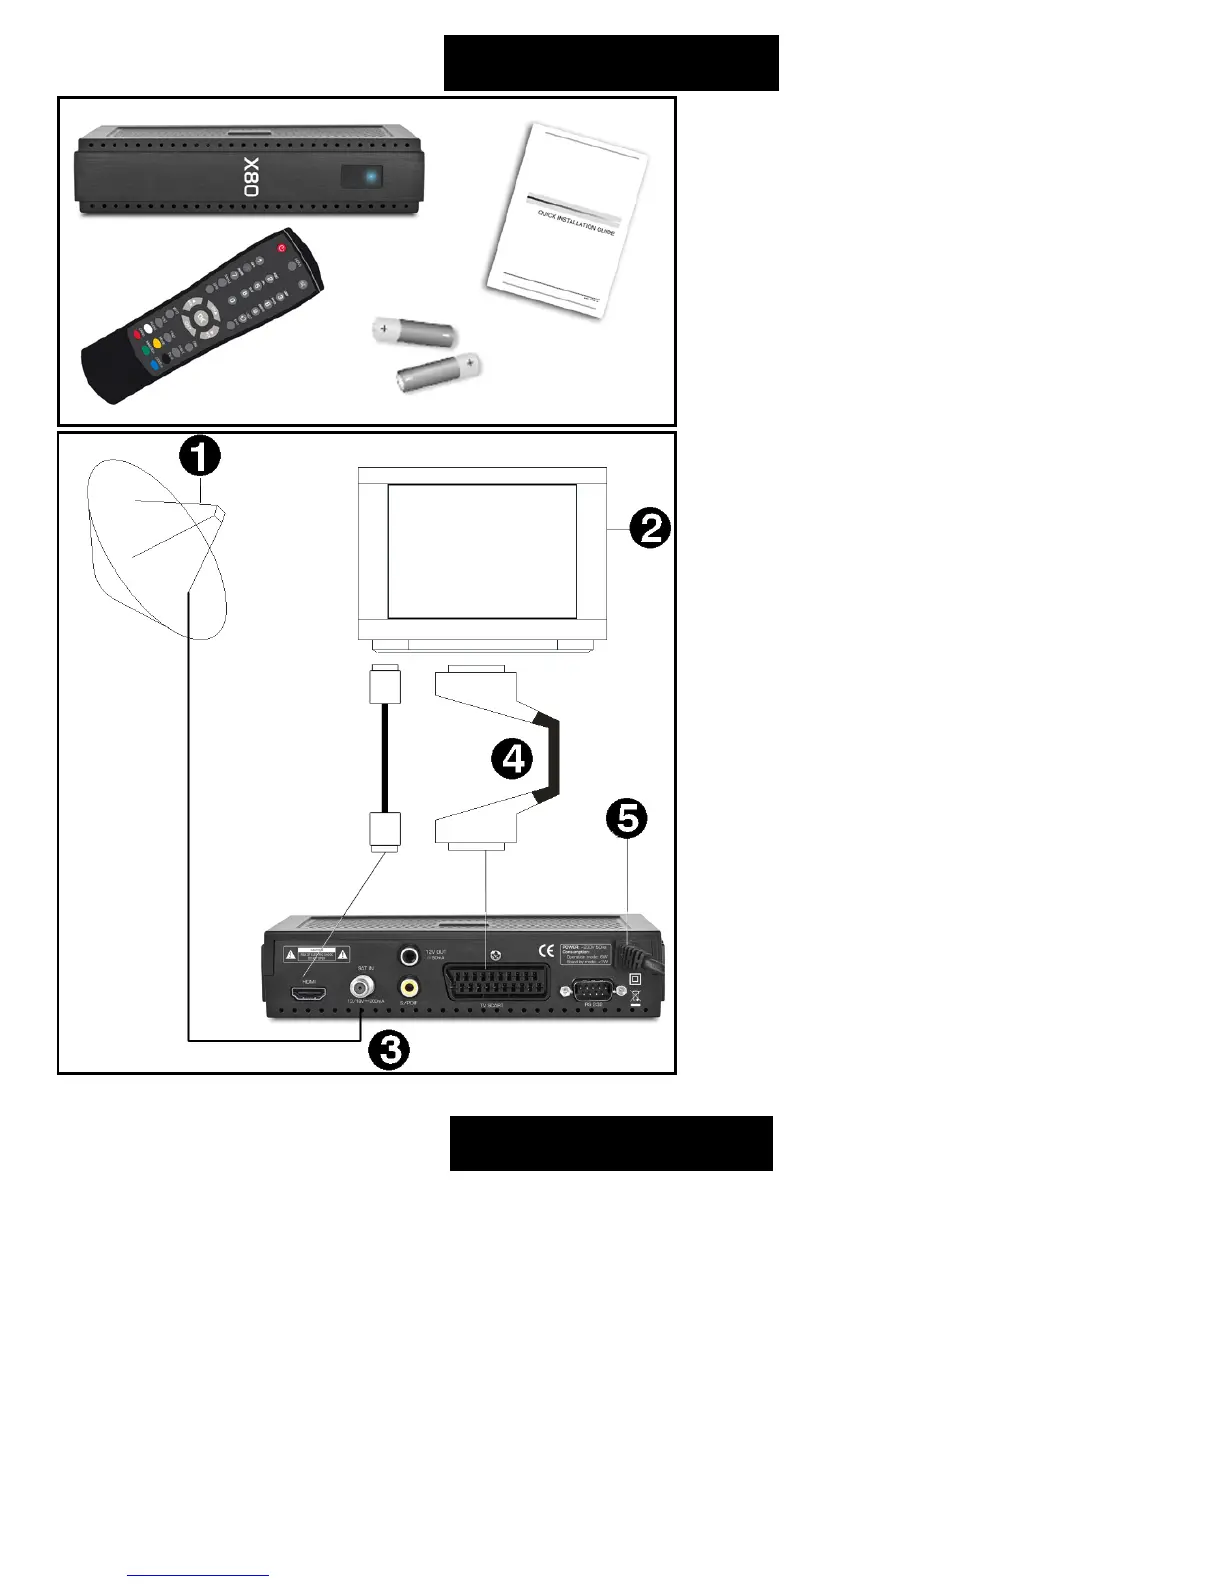
After purchasing receiver, unpack it and check to
make sure that all of the following items are
included in the packaging:
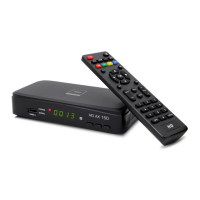
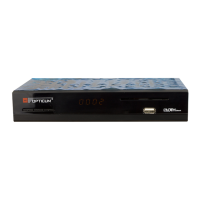
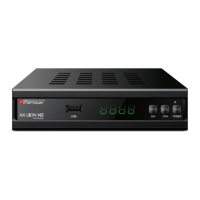
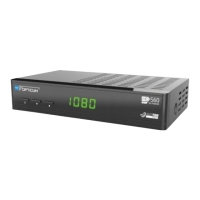
• Receiver
• Remote controller
• Quick Start manual
• Batteries - 2x AAA (optional)
To install the batteries in the remote control,
remove the flap protecting the battery
compartment If inside the chamber there are
used batteries, they must be removed. Then put
new batteries inside. When installing the
battery, pay special attention on the polarity -
the direction of insertion of both batteries. The
correct polarity of batteries is drawn on a
description inside the battery compartment in
the remote control. After installing the batteries,
place protecting flap on its original position.
Next, connect cable from LNB/ANTENNA (1 on
picture) to receiver’s (3) SAT IN connector. Using
HDMI or SCART cable (4) connect receiver with
TV Set (2). Finally, at the end connect main cord
(5) to main socket.
Turn on the TV Set. After while on TV Set screen
You should see receiver’s OSD. If TV Set not
display receiver’s OSD, probably signal source is
set wrong in TV. Check TV Set documentation for
information how to change signal source.
Operating notes
Automatic Power Down
In accordance with actual European Union requirements, Your receiver is equipped with function "Automatic Power
Off". It works by switching the receiver into standby mode after a period of 3 hours after the last active use. In practice
this means that if during this time the receiver will not be given any command by using the remote control or keypad
on the front panel, the receiver turns off. Turning off the receiver will be preceded (2 minutes previous) by a relevant
message appears on the TV screen. Please also note that this feature is enabled by default in software versions
dedicated for European Union countries, but at Your own request, You can disable it using the appropriate functions in
the receiver menu.