Page 7
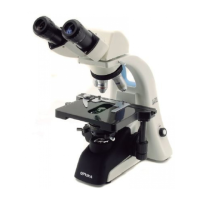
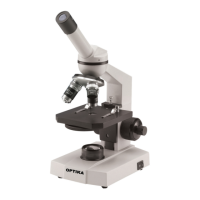
3.0 UNPACKING AND ASSEMBLY
The microscope is located in a styrofoam moulded packaging. After removing the adhesive tape from
all packaging, lift the top half of the packaging. Pay attention not to drop or damage the optical com-
ponents(objectivesandeyepieces).Extractthemicroscopefromitspackagingwithbothhands(one
aroundthetoparmandonearoundthebase)andplaceitonastablesurface.Keepitawayfrom
solvents, chemical vapors and excessive moisture. Avoid high temperature environments, the direct
sunshineandexcessivevibrations,whichcouldaffecttheperformanceoftheinstrument.
3.1 Operating environment
Temperature: : 10 - 36°C (50 – 96.8°F)
Relative humidity: 0 – 85% up to 30°C (86°F)
3.2 Unpacking microscope
Control the packaging to ensure that all material is present. We recommend that you take note of all
the accessories to facilitate any future orders of spare parts and technical support calls. Make sure
that in the packaging no small accessories or small parts remain. Please keep the original packaging
in a safe place for future transport needs of microscope or accessories.
Nevertouchtheglasssurfacessuchaslensesorlters.Tracesofgreaseorotherresiduescanredu-
cethevisionqualityofthenalimageandcorrodethesurfaceoflensesinashorttime.
3.3 Installing the microscope
Settheopticalheadonthetoparmthroughthelockingscrew.Inserttheeyepiecesintothetubesand
lockthemwiththesmallscrewswhicharelocatedtothesideofthetubes.Removetheprotectivelm
from the stage of the microscope.
3.4 Connect the mains plug into the socket at the base