Do you have a question about the Optoma HD23 and is the answer not in the manual?
| Matrix size | 0.65 \ |
|---|---|
| Native aspect ratio | 16:9 |
| Projection distance | 1.5 - 12.5 m |
| Projection technology | DLP |
| Supported aspect ratios | 4:3 |
| Contrast ratio (typical) | 5000:1 |
| Screen size compatibility | 38 - 300 \ |
| Projector native resolution | 1080p (1920x1080) |
| Throw ratio | 1.5 - 1.8:1 |
| Zoom capability | Yes |
| Focal length range | 22.41 - 26.82 mm |
| Aperture range (F-F) | 2.55 - 2.87 |
| Lamp power | 230 W |
| Lamps quantity | 1 lamp(s) |
| Light source type | Lamp |
| Service life of light source | 2500 h |
| Service life of light source (economic mode) | 4000 h |
| 3D | No |
| Supported video modes | 1080i, 720p |
| Analog signal format system | NTSC, PAL, SECAM |
| HDMI version | 1.3 |
| Audio (L/R) in | 0 |
| USB 2.0 ports quantity | - |
| Connectivity technology | Wired |
| Noise level | 29 dB |
| Placement | Desktop |
| Product type | Standard throw projector |
| Product color | White |
| Market positioning | Home cinema |
| Power source | AC |
| AC input voltage | 110 - 220 V |
| AC input frequency | 50 - 60 Hz |
| Power consumption (standby) | 1 W |
| Power consumption (typical) | 220 W |
| Depth | 234 mm |
|---|---|
| Width | 324 mm |
| Height | 97 mm |
| Weight | 2900 g |
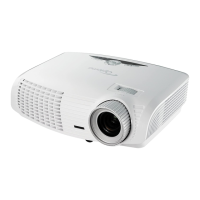
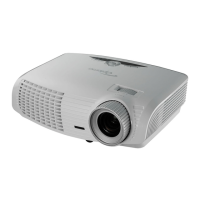
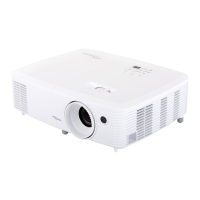
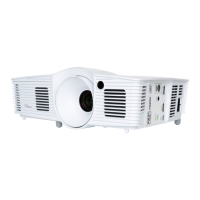
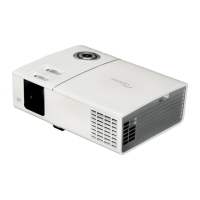
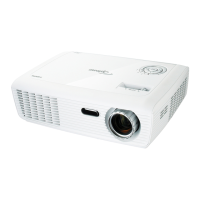
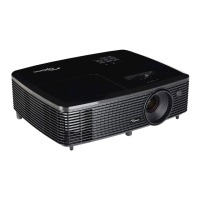
Presents key features and specifications of the projector models.
Details supported computer video resolutions and sync frequencies.
Lists necessary tools and provides an overview of the projector for disassembly.
Step-by-step guide for removing the lamp cover module.
Instructions for safely removing the projector's lamp module.
Procedure for removing the focus ring assembly.
Guide on how to detach the projector's top cover.
Steps to remove the keypad and zoom ring components.
Instructions for removing the top internal shielding.
Guide for detaching the main circuit board assembly.
Procedure for removing the projector's optical engine module.
Steps to remove the color wheel assembly.
Instructions for removing the DMD chip and its board.
Procedure for removing the projector's rod module.
Guide for detaching the internal system fan.
Steps to remove the lamp blower assembly.
Procedure for removing the lamp driver circuit board.
Instructions for removing the Low Voltage Power Supply module.
Guide for removing the infrared receiver component.
Steps for removing the bottom internal shielding.
Procedure for removing the security bar cap.
Guide for removing the input/output port cover.
Procedure for adjusting the optical rod for image alignment.
Instructions on how to reset or update the projector's lamp usage hours.
Explains projector status based on LED indicator patterns.
Outlines troubleshooting steps for common projector symptoms.
Lists required equipment for testing and alignment.
Instructions on how to enter different service modes for diagnostics.
Procedure to reset On-Screen Display settings to default.
Specifies environmental and setup conditions for testing.
Details tests and inspections for various projector components.
Guidelines for testing projector functionality via PC connection.
Procedures for testing video input signals (CVBS, HDTV, HDMI).
Steps for calibrating video and PC display settings.
Methods for measuring brightness, contrast, and uniformity.
Procedure to calculate the W-factory parameter after component replacement.
Covers functional inspection and specific checks for exterior and print patterns.
Details the process for upgrading projector firmware via USB.
Outlines the procedure for upgrading the 8051 microcontroller firmware.
Explains Extended Display Identification Data and its purpose.
Lists the necessary software and hardware for EDID upgrade.
Details the connection setup for the EDID upgrade process.
Step-by-step guide for inputting EDID data via different interfaces.
Defines the structure and meaning of PCBA (Printed Circuit Board Assembly) codes.