5
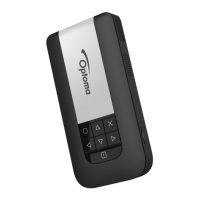
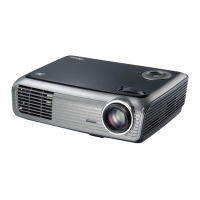
SWITCH ON
1. Press the Power button.
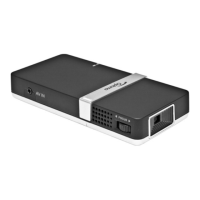
USING A TRIPOD STAND
1. Screw a standard tripod into the
screw hole on the projector.
B
Projection Distance (A) Screen Size - Width (B) Screen Size - Height (C) Screen Diagonal (D)
Meter inch (mm) (inch) (mm) (inch) (mm) (inch)
0.245 9.6 111 4.4 63 2.5 128 5.0
0.500 19.7 227 8.9 128 5.0 261 10.3
0.700 27.6 318 12.5 179 7.0 365 14.4
0.975 38.4 443 17.4 249 9.8 508 20.0
1.500 59.1 682 26.8 384 15.1 782 30.8
2.000 78.7 909 35.8 511 20.1 1043 41.1
2.500 98.4 1136 44.7 639 25.2 1304 51.3
3.215 126.6 1461 57.5 822 32.4 1677 66.0
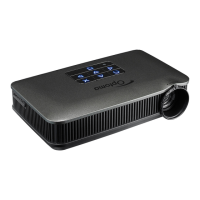
ADJUSTING THE PROJECTED IMAGE
1
1. Adjust Focus (
1
) until image is
clear.
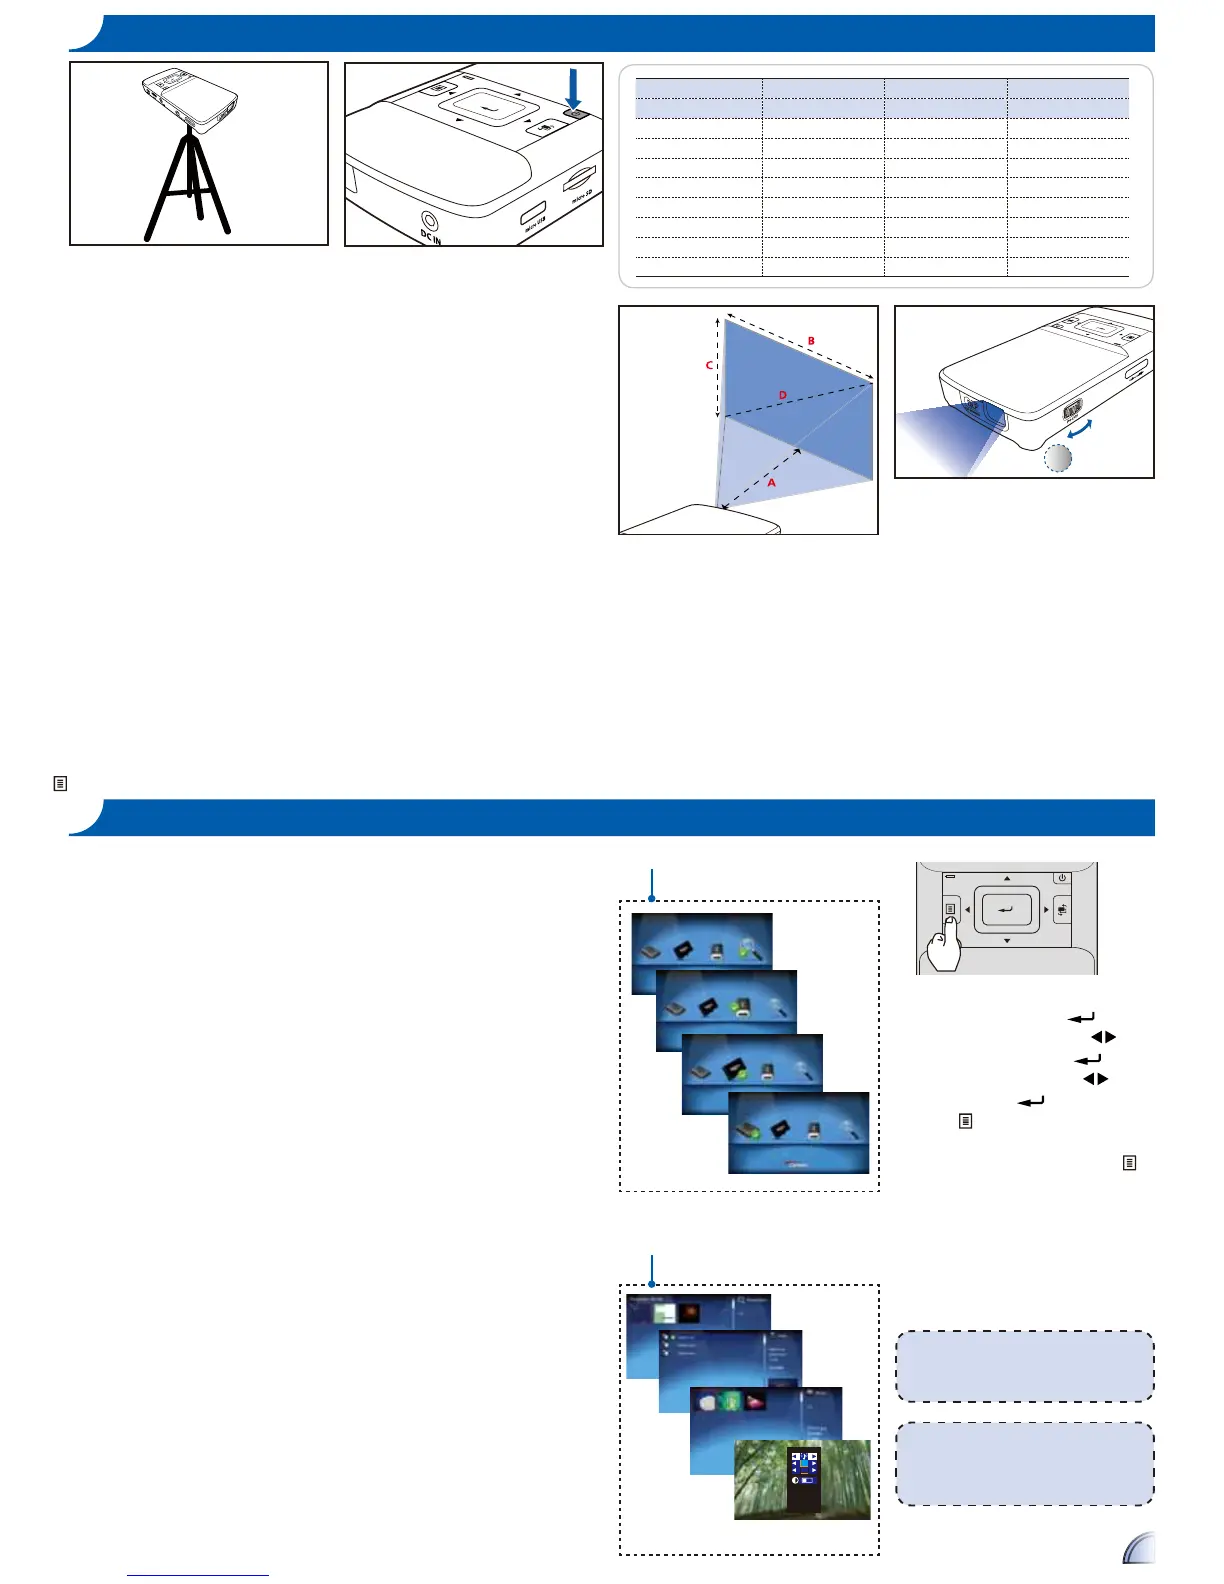
HOW TO USE THE MENU
Main menu
<Note>
The first time you use the projector, you
can select your preferred language from
the quick menu after the startup screen
displays.
1. Display the Main Menu. ( )
2. Highlight the desired option (
)
3. Enter the desired option. (
)
4. Highlight the desired item. (
▲▼
)
5. Select the item. (
)
6. Press (
) to go up one directory.
Under external signal mode, press (
)
to bring out the OSD.
The OSD disappears in 5 seconds if •
there is no OSD operation.
The projector will automatically shut •
down if the projector is left idle at
its main menu or file browser for 3
minutes.
Item
<Note>
External signal mode is applicable for
connecting VGA, Composite, HDMI and
Component signals.
DOWNLOADING THE PC SOFTWARE
Use the PC software to encode and transfer all file types to the
Projector.
To install the PC software:
1. Connect the Projector for data transfer (see previous item).
2. Browse the Projector internal memory (like a USB memory stick)
for a folder called "PC Software".
3. In this folder, double-click on the file called "Setup" or "setup.
exe" to begin the installation process, then follow the on screen
instructions.
Note: You can find Arcsoft license key on Quick Start Guide
4. After the installation, the "Arcsoft Media Convertor" application is
launched.
5. To convert and transfer files to the Projector, drag and drop files
to the Arcsoft Media Convertor application window.
THIS PRODUCT IS LICENSED UNDER THE MPEG-4 VISUAL PATENT
PORTFOLIO LICENSE FOR THE PERSONAL AND NON-COMMERCIAL USE OF
A CONSUMER FOR (i) ENCODING VIDEO IN COMPLIANCE WITH THE MPEG-
4 VISUAL STANDARD ("MPEG-4 VIDEO") AND/OR (ii) DECODING MPEG-4
VIDEO THAT WAS ENCODED BY A CONSUMER ENGAGED IN A PERSONAL
AND NONCOMMERCIAL ACTIVITY AND/OR WAS OBTAINED FROM A VIDEO
PROVIDER LICENSED BY MPEG LA TO PROVIDE MPEG-4 VIDEO.
NO LICENSE IS GRANTED OR SHALL BE IMPLIED FOR ANY OTHER USE.
ADDITIONAL INFORMATION INCLUDING THAT RELATING TO PROMOTIONAL,
INTERNAL AND COMMERCIAL USES AND LICENSING MAY BE OBTAINED
FROM MPEG LA, LLC. SEE HTTP://WWW.MPEGLA.COM.
F

 Loading...