Note: Do not install the phono lead at this time.
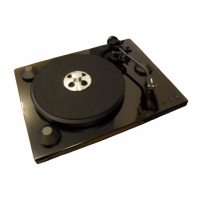
- Carefully remove the platter.
- Remove the three transit screws
- Install the platter without the drive belt
Assess the suspension calibration
Note: The correct approach to assess or calibrate the suspension system is the following:
- Always start with the suspension module located near the tone arm then move to the rear
left module and finally to the front left module
- Never remove more than one supsension cover at the time. When the assessement or
calibration is completed install the suspension cover on that module before moving to the
next.
- Remove the cover on the right suspension module
- Locate the suspension gauge in the packaging
- Position the suspension gauge on the subchassis. If the lip is above or below the level of
the plinth, a suspension calibration will be required.
- Proceed to step one of the next topic if the lip of the gauge falls below the surface of the
plinth.
- Proceed to step five of the next topic if the lip of the gauge is above the surface of the
plinth.
Calibrate the suspension
The springs supplied with your Alexandria are the following:
Grey_ in the front left module
Red_ in the rear left module
Green_in the right module
This spring combination will accommodate most tone arms. In the unlikely event that you require
a different spring that the one supplied, we can supply a yellow spring which is between the grey
and red in strenght and a blue spring which is stiffer then the green. The color coding can be seen
from the inside prt of the spring at the wider en.
ALEXANDRIA MK III
Owner’s manual
 Loading...