22
EN
fig. 5 fig. 6
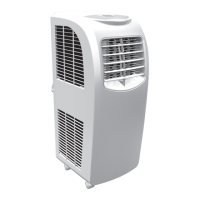
3 Grasp the unit with one hand and the hose coupling with the other hand, or
one person grabs the unit, and the other person gently pulls the blow hose
to stretch.
Note: Do not disconnect the hose assembly from the unit. Do not swing out
the unit when tightening the hose.
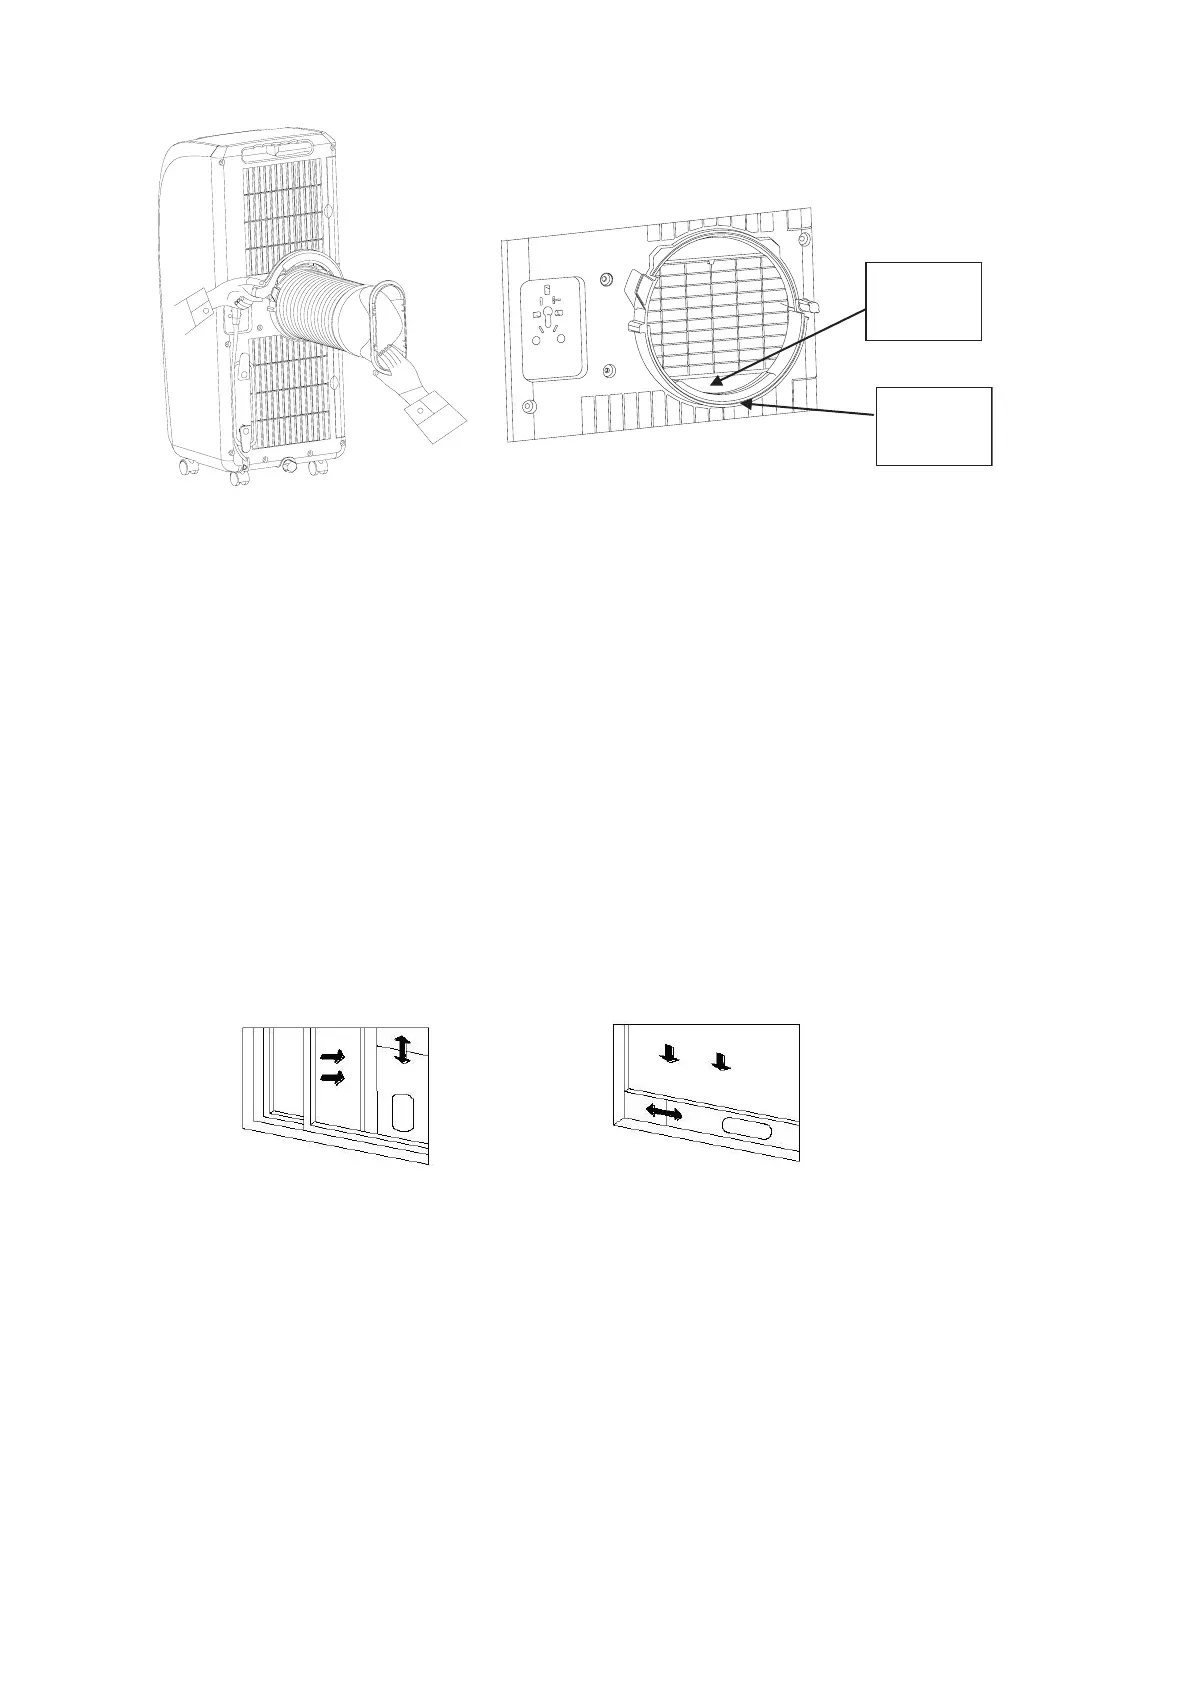
Installation of window sealing panel assembly (optional)
1 Open the window (sliding opening windows only) and place the sealing
assembly on the window, either vertically or horizontally (see Figures 7 and 8).
2 Extend the sealing assembly to the required length so that both ends of the
assembly touch the window frame and fasten the part of the assembly with
the copper screws.
fig. 7 fig. 8
(horizontal sliding window) (vertical sliding window)
3 If you do not have sliding open windows, it is necessary to loosen the hose
freely through a sloping window or balcony door or insert the end of the
hose into a less-used room where the hot air will not blow out. The window
and the balcony door are only minimal enough for the hose to be removed
from the hose. Otherwise, air conditioning will not work well enough.
stopper
inside the
connection
projection at
the bottom of
the channel
 Loading...