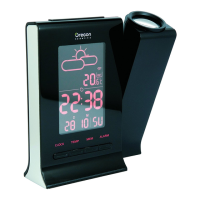
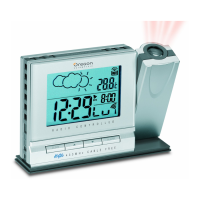
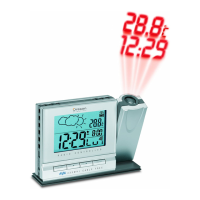
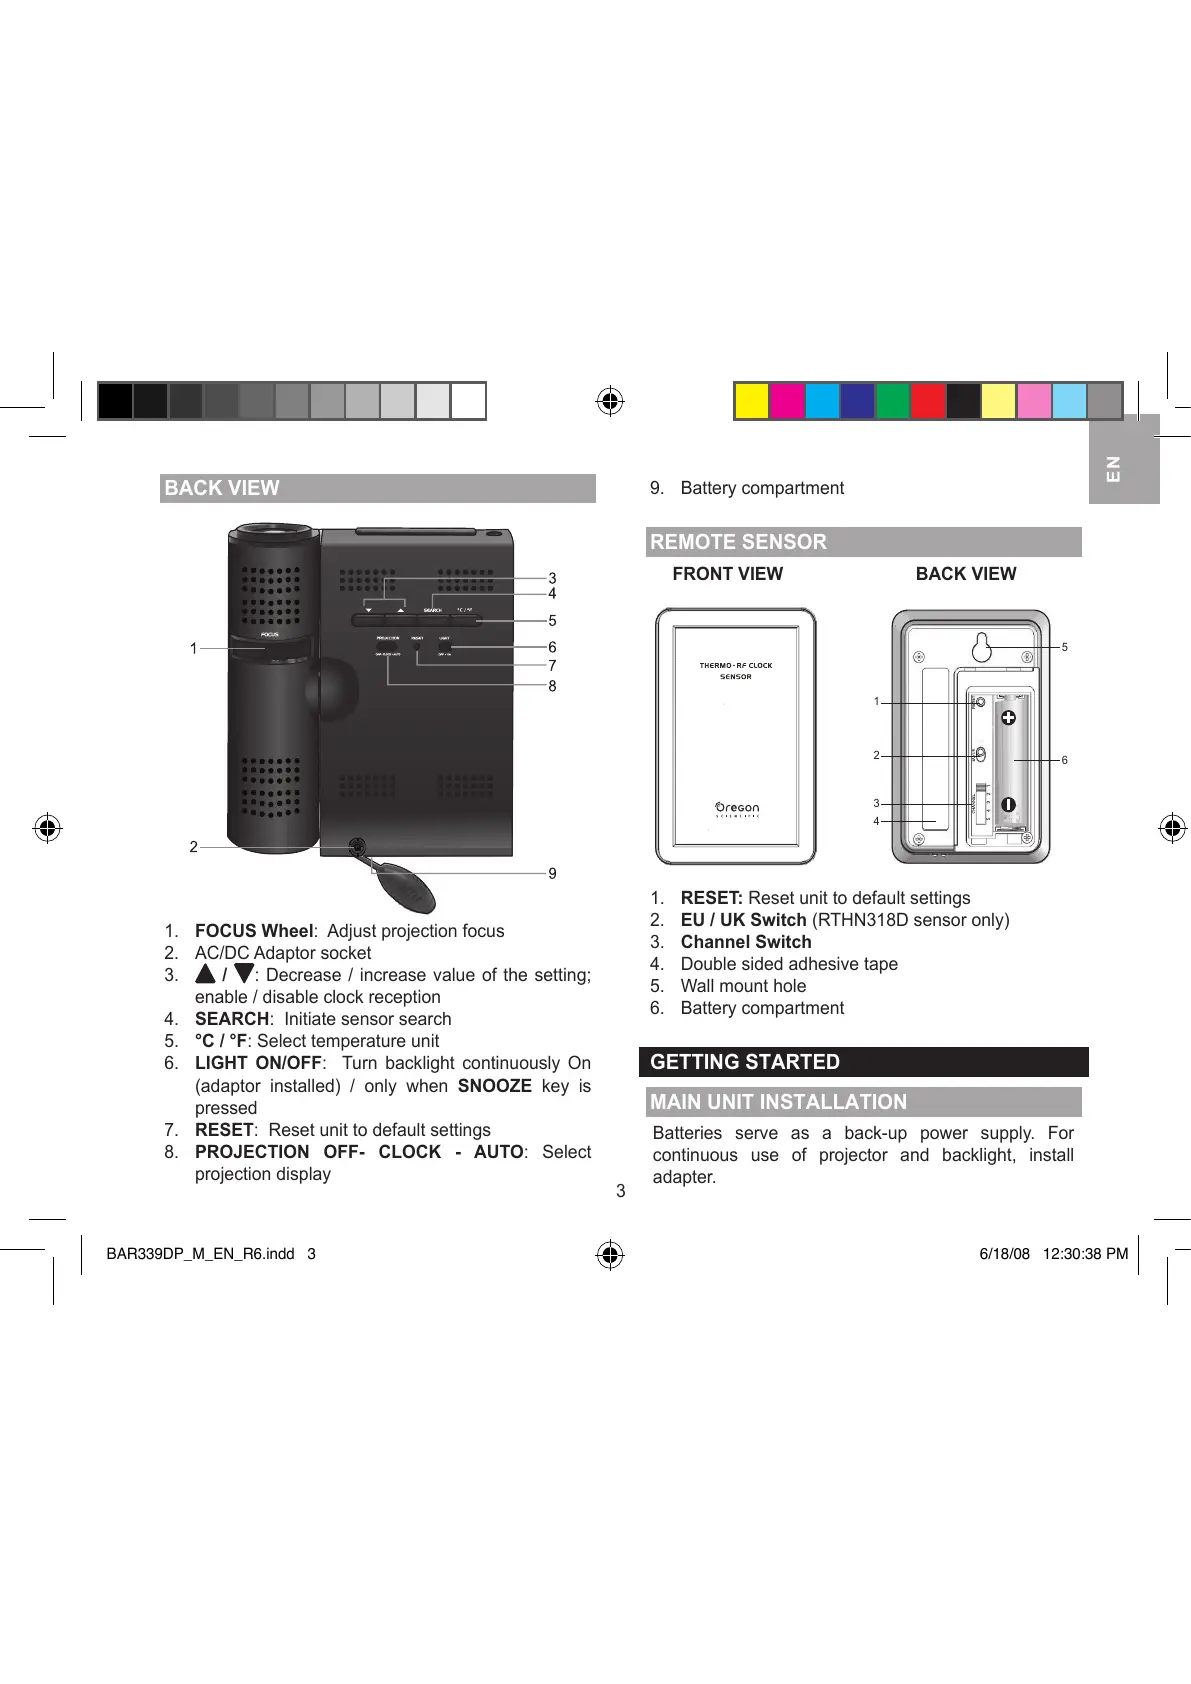
BACK VIEW
1. FOCUS Wheel: Adjust projection focus
2. AC/DC Adaptor socket
3.
/ : Decrease / increase value of the setting;
enable / disable clock reception
4. SEARCH: Initiate sensor search
5. °C / °F: Select temperature unit
6. LIGHT ON/OFF: Turn backlight continuously On
(adaptor installed) / only when SNOOZE key is
pressed
7. RESET: Reset unit to default settings
8. PROJECTION OFF- CLOCK - AUTO: Select
projection display
9. Battery compartment
REMOTE SENSOR
FRONT VIEW BACK VIEW
1. RESET: Reset unit to default settings
2. EU / UK Switch (RTHN318D sensor only)
3. Channel Switch
4. Double sided adhesive tape
5. Wall mount hole
6. Battery compartment
GETTING STARTED
MAIN UNIT INSTALLATION
Batteries serve as a back-up power supply. For
continuous use of projector and backlight, install
adapter.