POR
3
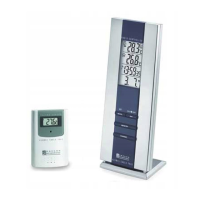
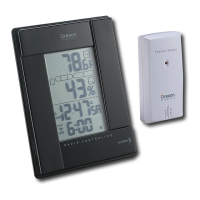
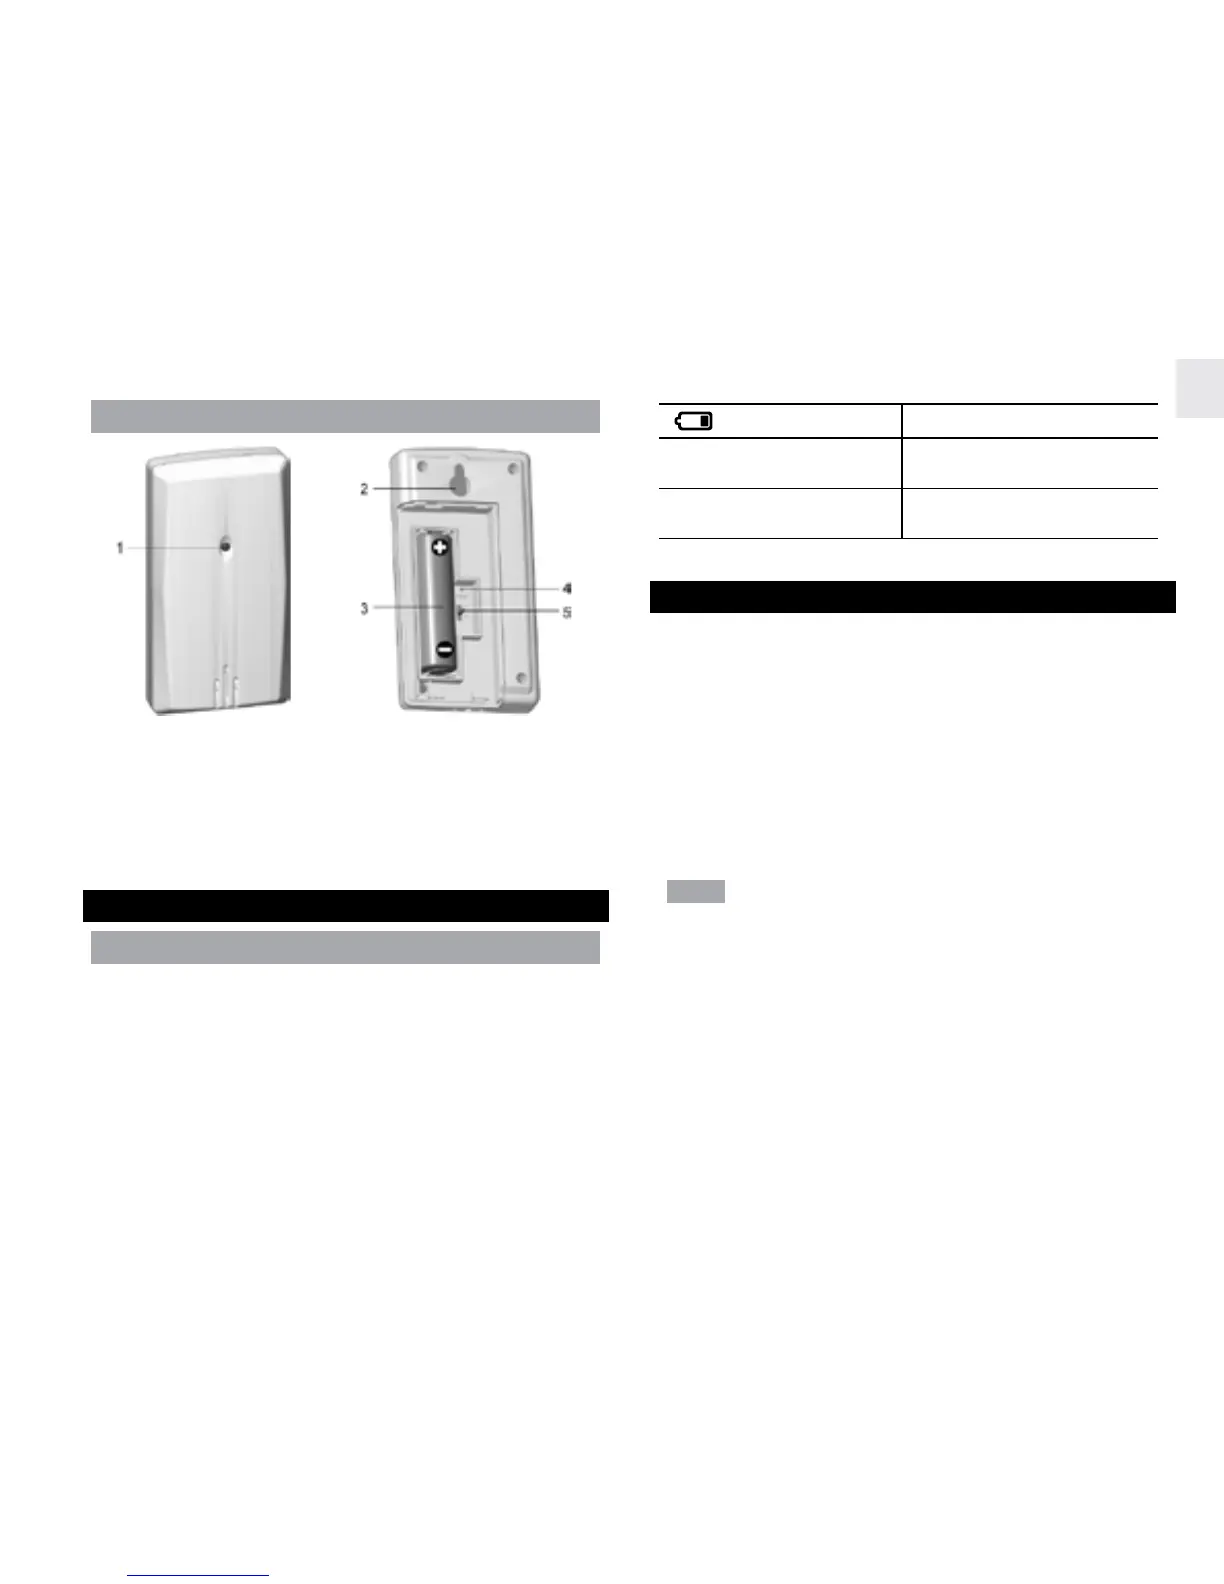
SENSOR REMOTO
1. Indicador LED de status
2. Orifício para montagem em parede
3. Compartimento de pilhas
4. Orifício de RESET
5. Interruptor CHANNEL
PRIMEIROS PASSOS
INSERÇÃO DE PILHAS
1. Remova a tampa do compartimento de pilhas.
2. Insira as pilhas, fazendo a correspondência das
polaridades.
3. Pressione RESET após a troca da pilha.
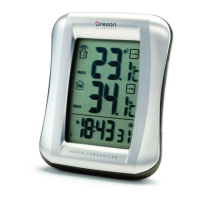
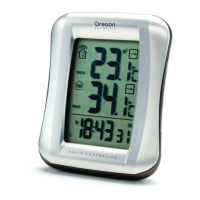
LOCAL
SIGNIFICADO
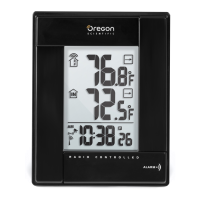
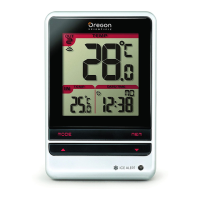
Relógio / alarme
Pilhas da unidade
principal fracas
Área de temperatura
externa e umidade
Pilhas do sensor fracas
SENSOR REMOTO
A unidade principal pode coletar dados de até 3
sensores.
Para ajustar o sensor:
1. Abra o compartimento de pilhas.
2. Selecione um canal e pressione RESET.
3. Feche a tampa do compartimento de pilhas.
4. Posicione o sensor a uma distância de 30 m (98
pés) da unidade principal usando a base de mesa
ou montagem em parede.
DICA A posição ideal do sensor seria qualquer local no
exterior da casa, a uma altura não superior a 1,52 m (5
pés) e que possa ficar protegido da luz direta do sol ou
das condições de umidade para uma leitura exata.
 Loading...