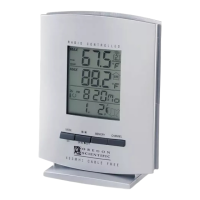
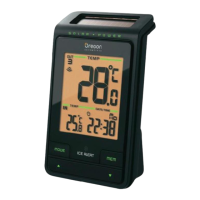
1. RESET: Reset unit to default settings
2. EU / UK: Select the nearest radio signal (RMR802
only)
3. °C / °F: Select temperature unit
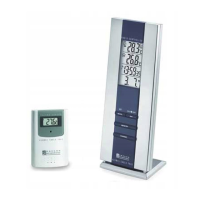
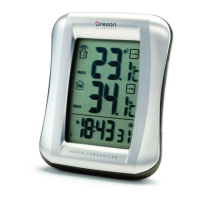
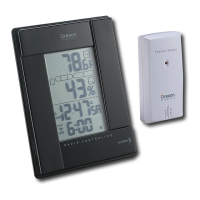
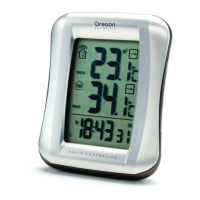
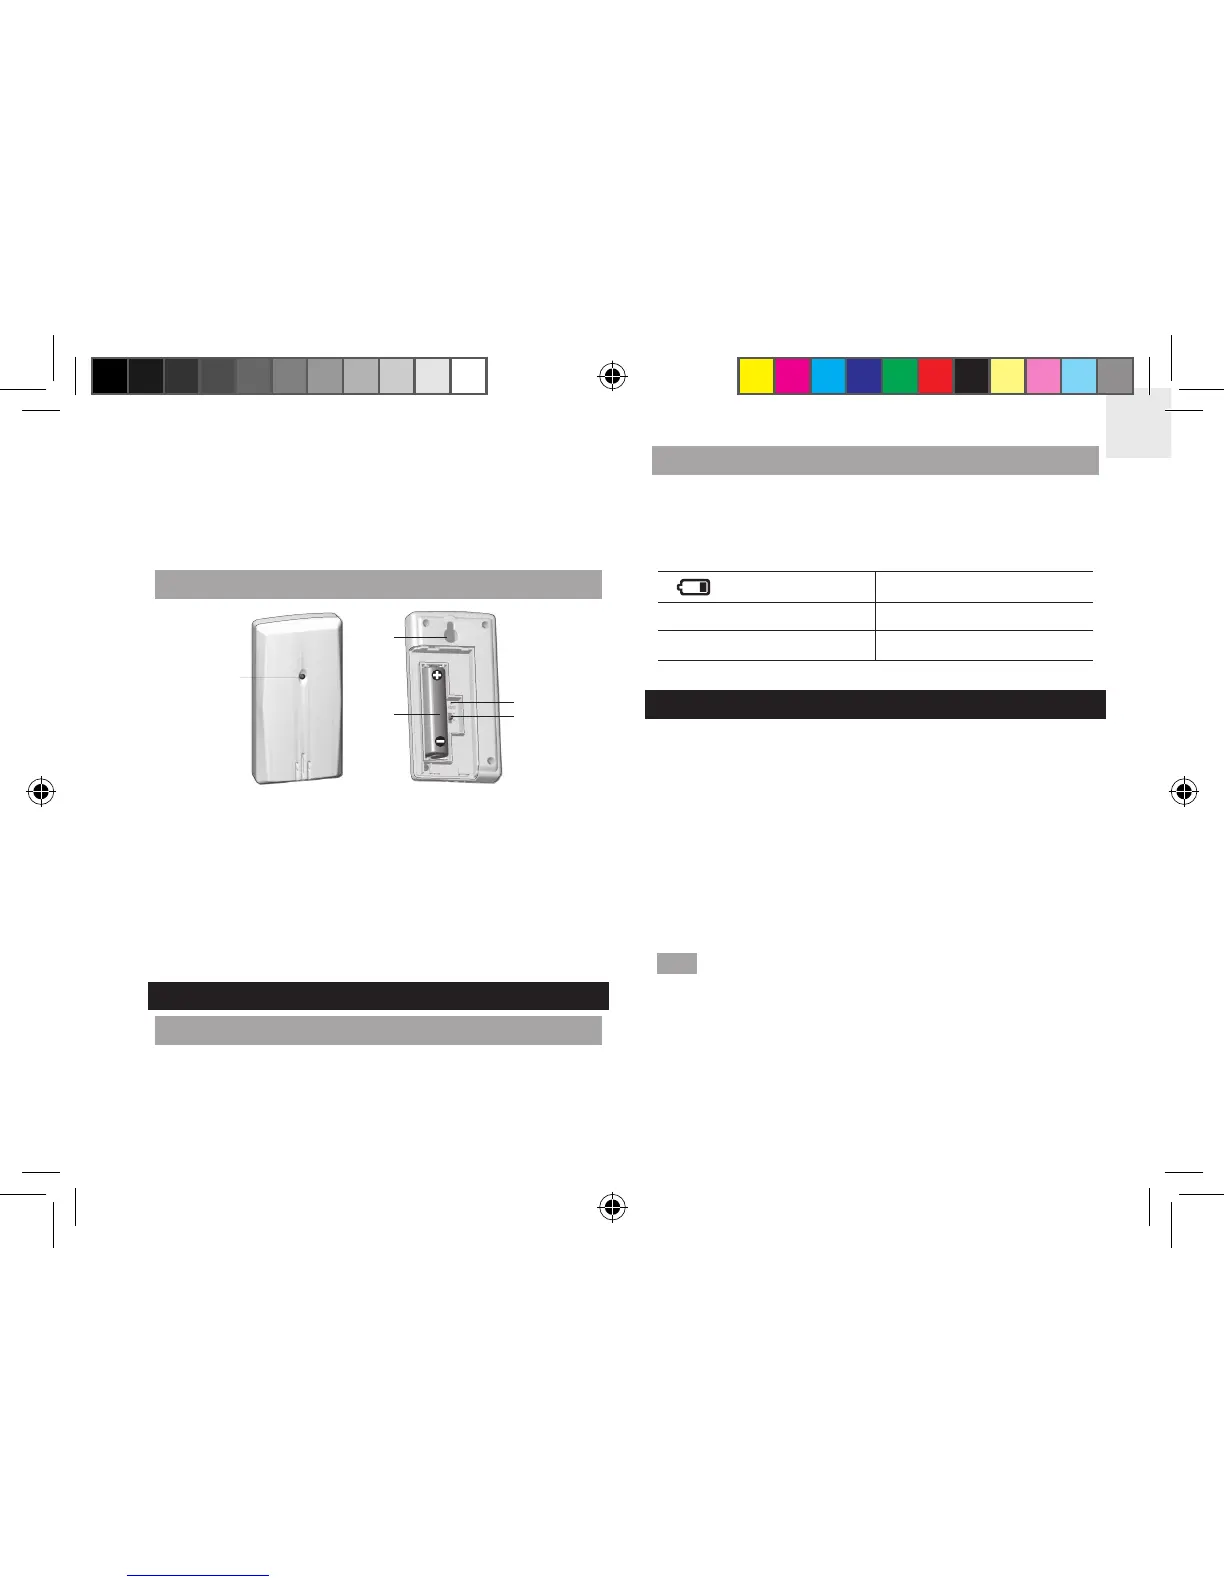
REMOTE SENSOR
1. LED status indicator
2. Wall mount hole
3. Battery compartment
4. RESET hole
5. CHANNEL switch
GETTING STARTED
SOLAR PANEL
The solar panel is an energy saving feature, which is an
environmentally friendly way to provide additional power
to the main unit and prolongs battery life. However, it
cannot replace battery power entirely.
INSERT BATTERIES
1. Remove the battery compartment.
2. Insert the batteries, matching the polarities.
3. Press RESET after each battery change.
LOCATION
MEANING
Clock / alarm Main unit batteries low
Outdoor temperature Sensor batteries low
REMOTE SENSOR
The main unit can collect data from up to 3 sensors.
To set up the sensor:
1. Open the battery compartment.
2. Insert the battery, matching the polarities.
3. Select a channel then
press RESET.
4. Close the battery door.
5. Place the sensor within 30 m (98 ft) of the main unit
using the table stand or wall mount.
TIP Ideal placements for the sensor would be in any
location on the exterior of the home at a height of not
more than 1.5 m (5 ft) and which can shield it from direct
sunlight or wet conditions for an accurate reading.
 Loading...