3
GB
The clock and radio have separate low-battery indicators. Change
the batteries accordingly when the respective indicator lights up.
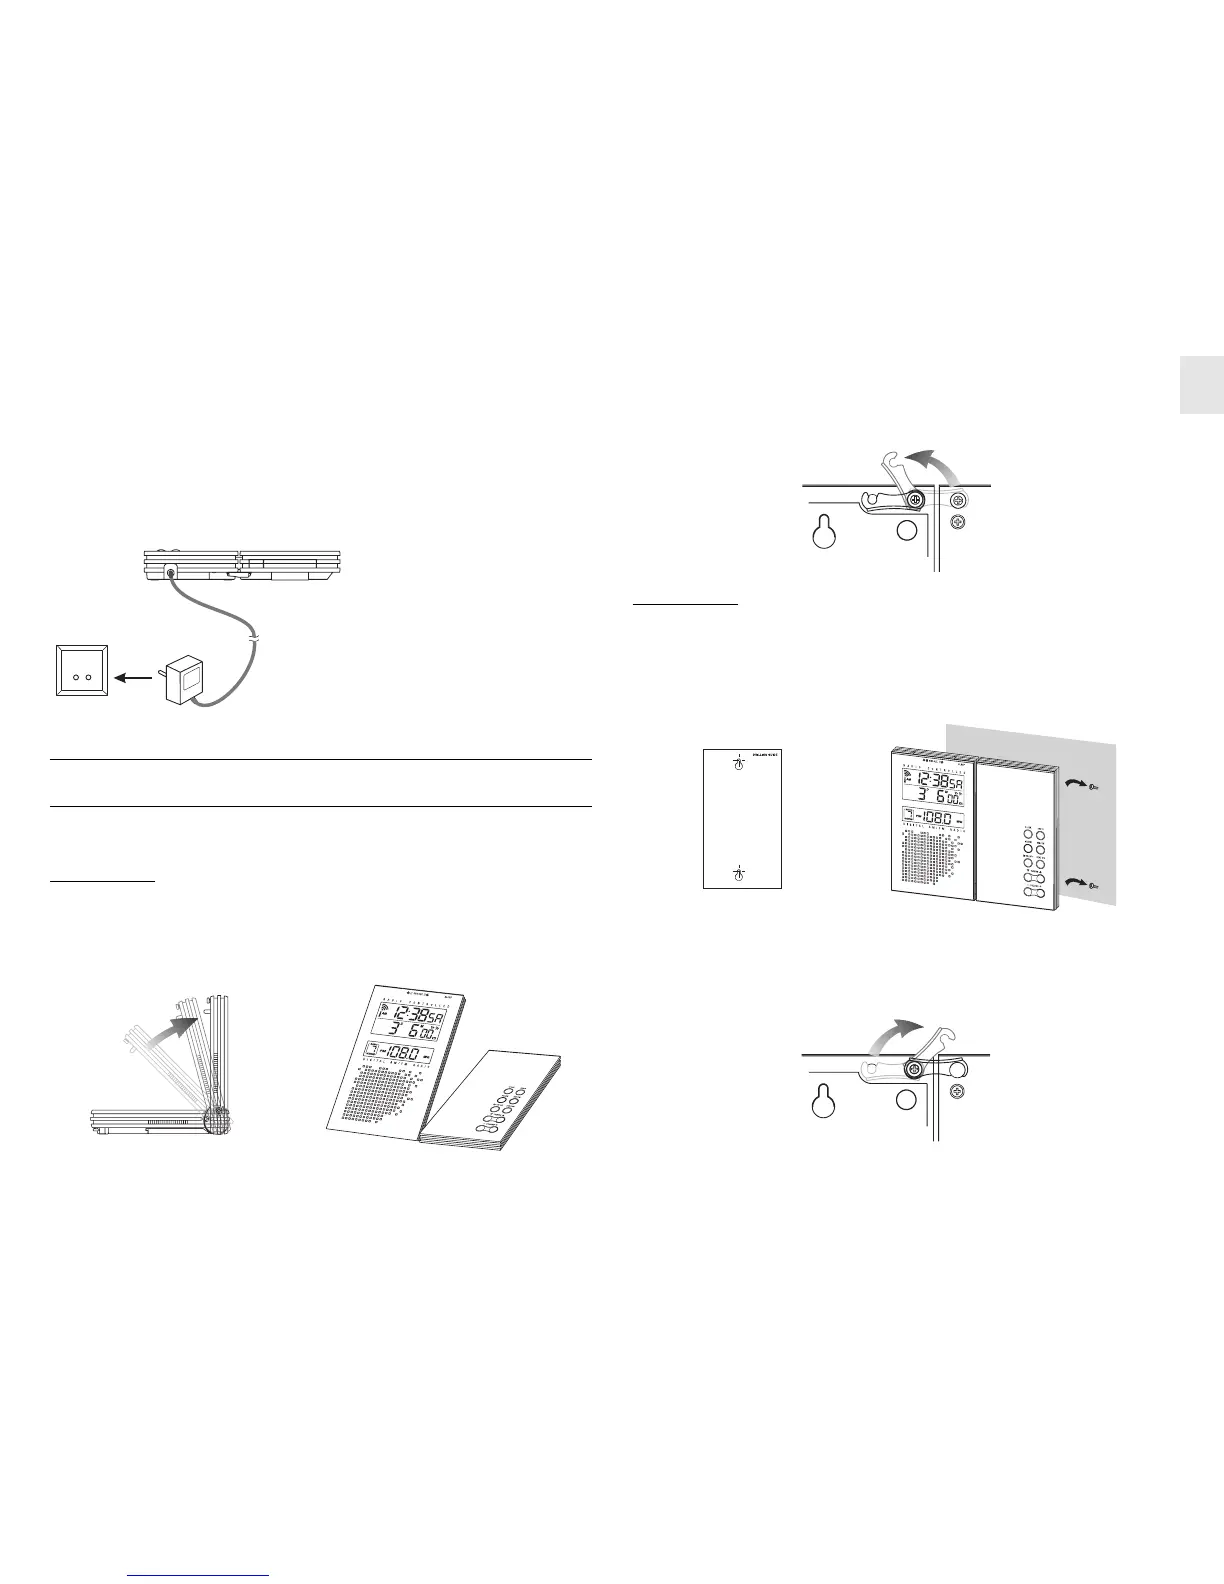
You can also obtain an AC/DC 4.5V power adapter from an author-
ized dealer. To connect it, plug it into the power adapter connector
and a wall socket.
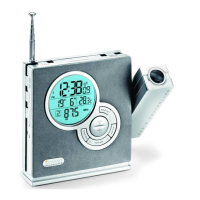
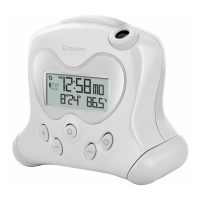
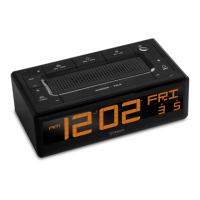
BEFORE YOU BEGIN
The RRM-112 is designed for table stand or wall mount.
Table Stand
Place the RRM-112 on a flat, sturdy surface. You can adjust the
display angle of the LCD by lifting up the LCD panel.
Note: Unlocking the latch on the back of the unit before lifting
up the LCD panel.
Wall Mount
Use the enclosed drilling guide to locate the two mounting screws
on your desired location on the wall, use the recessed holes on the
back of the unit to mount it on a wall.
Note: Lock the latch on the back of the unit to keep unit flat before
wall mount.
Note: The power adapter supplies
power to radio only. Clock can-
not be operated by the adapter
only. To turn on the radio by us-
ing the adapter, insert the clock
battery first.
 Loading...