POWER YOUR ALARM CLOCK
1. Install the supplied 3 UM4 1.5V AAA batteries to the battery compartment for back-up
usage, matching the polarity symbols (+ and -) marked inside.
2. Connect the supplied AC adapter to the Micro USB jack on the rear of the unit and plug
into a standard outlet.
3. The alarm clock enters standby mode and the time appears on the display.
Replace the batteries when displays, or when the display/backlight is dim. Press
RESET after each battery replacement.
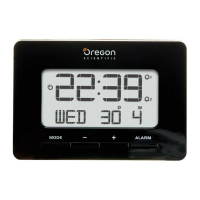
CLOCK RECEPTION
This clock is designed to single-band synchronize its clock automatically with a clock signal
( EU: DCF; UK: MSF)
Clock signal reception indicator:
To activate/deactivate signal reception:
• Press and hold to activate signal reception.
• Press and hold to deactivate signal reception.
 Loading...