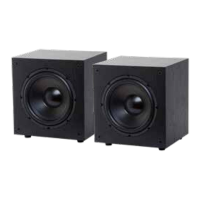
10
SUBV10 & 12 Manual
If your front speakers have already been installed into the wall and/or your
receiver or amplifying component has two pairs of main, front-channel speaker
terminals, wire one pair of terminals to the subwoofer and the other pair to your
main speakers; make sure to activate both pairs of outputs, i.e. pairs “A + B” or “1
+ 2,” on your receiver or amplifier’s speaker selector switch.
If your front speakers have already been installed into the wall and/or your have a
single pair of speaker output terminals, parallel the wires from these terminals so
that two + and two - wires come out from your amplifying component FOR EACH
CHANNEL, with one set of + / - wires running to your main speakers, and the other
+ / - set running to your subwoofer.
Alternate High-Level Wiring Options
Once all of your subwoofer connections have been made, flip the power switch to
its ‘ON’ position, i.e. with the number “1” on the switch pressed in. The indicator
light next to the three-position switch should now illuminate red.
Move the three-position switch on the rear panel from its ‘OFF’ position into its
‘ON’ or ‘AUTO’ position. If your subwoofer is set to ON, the indicator light should
illuminate green. In the AUTO position, the indicator will turn from red to turn
green once it receives a signal.
Powering On Your Subwoofer

 Loading...