4. PSU & electronics assembly
26 Original Prusa XL Dual-Head to Five-Head Upgrade
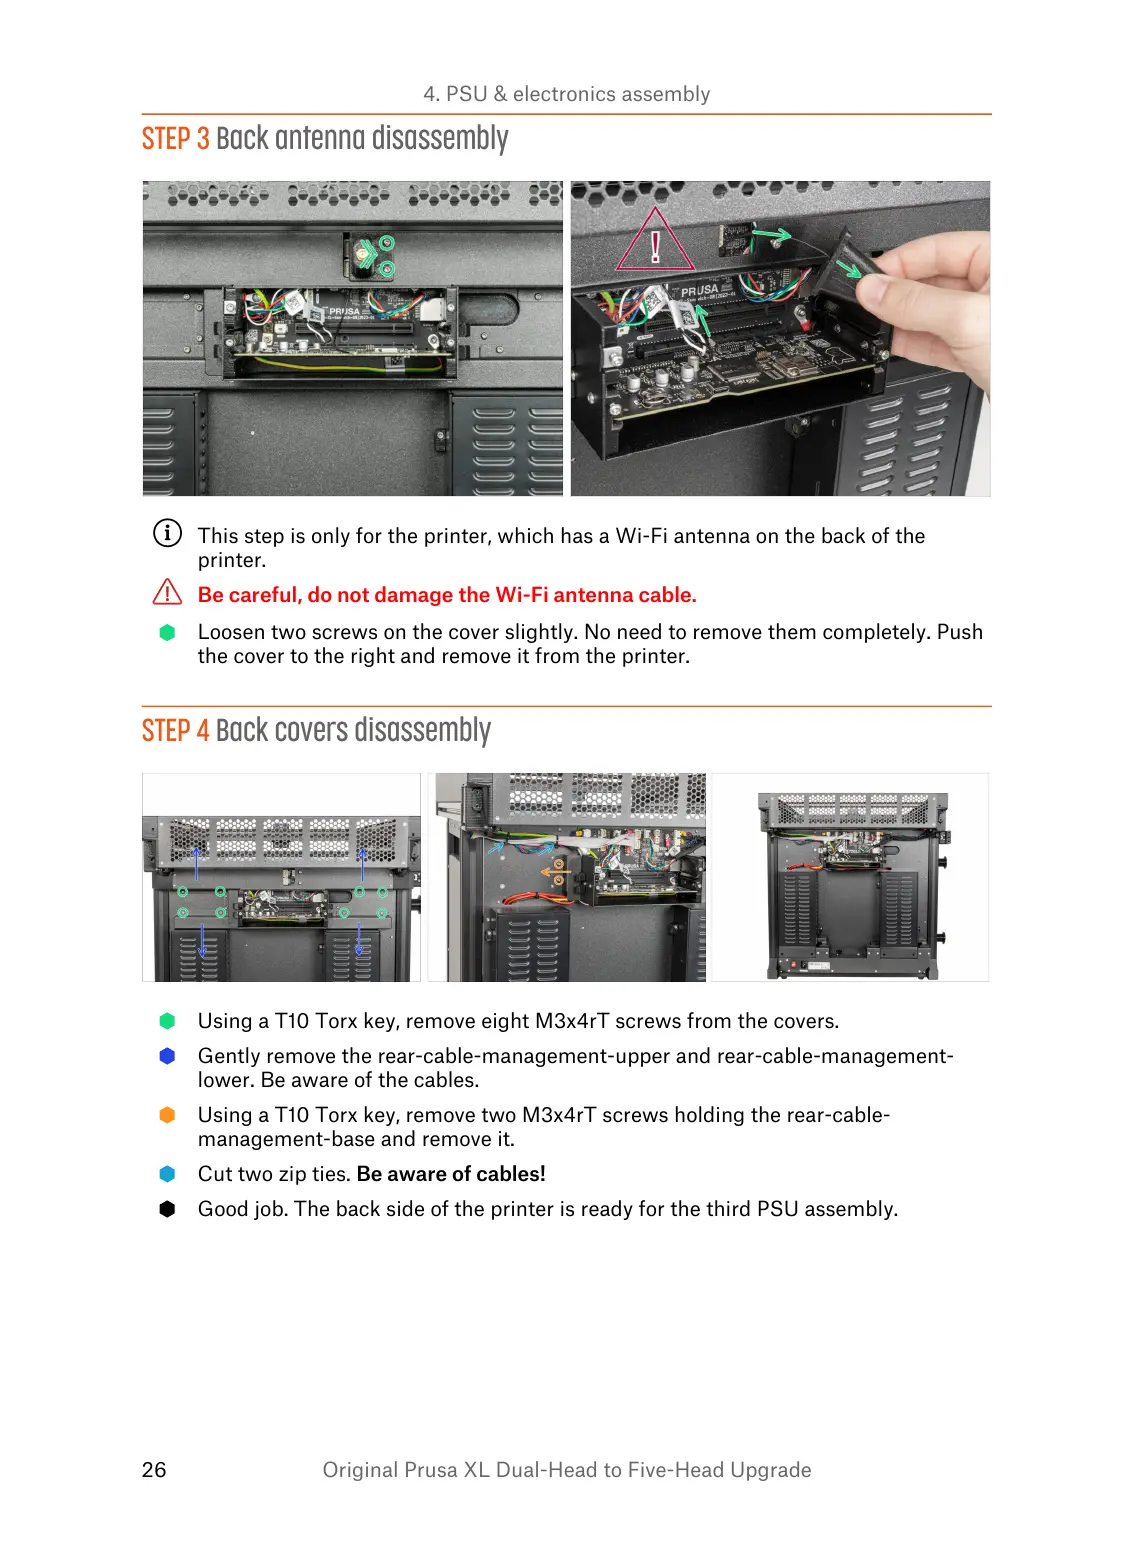
STEP 3 Back antenna disassembly
This step is only for the printer, which has a Wi-Fi antenna on the back of the
printer.
Be careful, do not damage the Wi-Fi antenna cable.
Loosen two screws on the cover slightly. No need to remove them completely. Push
the cover to the right and remove it from the printer.
STEP 4 Back covers disassembly
Using a T10 Torx key, remove eight M3x4rT screws from the covers.
Gently remove the rear-cable-management-upper and rear-cable-management-
lower. Be aware of the cables.
Using a T10 Torx key, remove two M3x4rT screws holding the rear-cable-
management-base and remove it.
Cut two zip ties. Be aware of cables!
Good job. The back side of the printer is ready for the third PSU assembly.
 Loading...