2. There are two latitude adjusting L-bolts (see Figure 4);
loosen one while tightening the other. By doing this you
will adjust the latitude of the mount. Continue adjusting
the mount until the pointer on the latitude scale is set
at the latitude of your observing site. If you don’t know
your latitude, consult a geographical atlas to find it. For
example, if your latitude is 35° North, set the pointer to
35. The latitude setting should not have to be adjusted
again unless you move to a different viewing location
some distance away.
3. Loosen the Dec. lock lever and rotate the telescope’s
optical tube until it is parallel with the right ascension
axis, as it is in Figure 4.
4. Move the tripod so the telescope tube and right ascen-
sion axis point roughly at Polaris. If you cannot see
Polaris directly from your observing site, consult a
compass and rotate the tripod so the telescope points
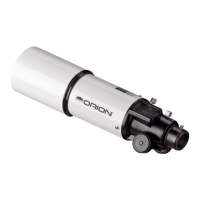
north. There is a label bearing a large “N” at the base
of the equatorial mount (Figure 6). It should be facing
north.
The equatorial mount is now polar aligned for casual
observing. More precise polar alignment is recommended
for astrophotography. For this we recommend using the
optional polar axis finder scope
From this point on in your observing session, you should
not make any further adjustments to the latitude of the
mount, nor should you move the tripod. Doing so will undo
the polar alignment. The telescope should be moved only
about its R.A. and Dec. axes.
Polar Alignment Using an Optional Polar Axis
Finder Scope
The SkyView Pro EQ mount can be equipped with an
optional polar axis finder scope (Figure 7a) housed inside
the right ascension axis of the mount. When properly
aligned and used, it makes accurate polar alignment quick
and easy to do.
To install the polar axis finder scope, remove the cap at
the base of the mount’s right ascension axis (Figure 7b)
and thread the polar axis finder scope into the equatorial
mount until tight.
Alignment of the Polar Axis Finder Scope
1. Loosen the Dec. lock lever and rotate the optical tube
on the declination axis so that the tube is at a 90° to
the right ascension axis (Figure 8). Tighten the Dec. lock
lever.
2. Look through the polar finder at a distant object (during
the day) and center it in the crosshairs. You may need
to adjust the latitude adjustment L-bolts and the tripod
position to do this.
3. Rotate the mount 180° about the R.A. axis. Again, it
may be convenient to remove the counterweights and
optical tube first.
4. Look through the polar finder again. Is the object being
viewed still centered on the crosshairs? If it is, then
no further adjustment is necessary. If not, then look
through the polar finder while rotating the mount about
the R.A. axis. You will notice that the object you have
previously centered moves in a circular path. Use the
three alignment setscrews on the polar axis finder to
redirect the crosshairs of the polar finder to the appar-
ent center of this circular path. Repeat this procedure
until the position that the crosshairs point to does not
rotate off-center when the mount is rotated in R.A. Once
this is accomplished, retighten the thumbscrews.
6
Figure 6. For polar alignment, position the tripod so that the
"N" label at the base of the mount faces north. The azimuth fine
adjustment knobs above it are used to make small adjustments
to the mount’s azimuth position. Be certain to loosen the tripod
attachment knob on the central support shaft before adjusting
these knobs.
Azimuth
adjustment
knobs
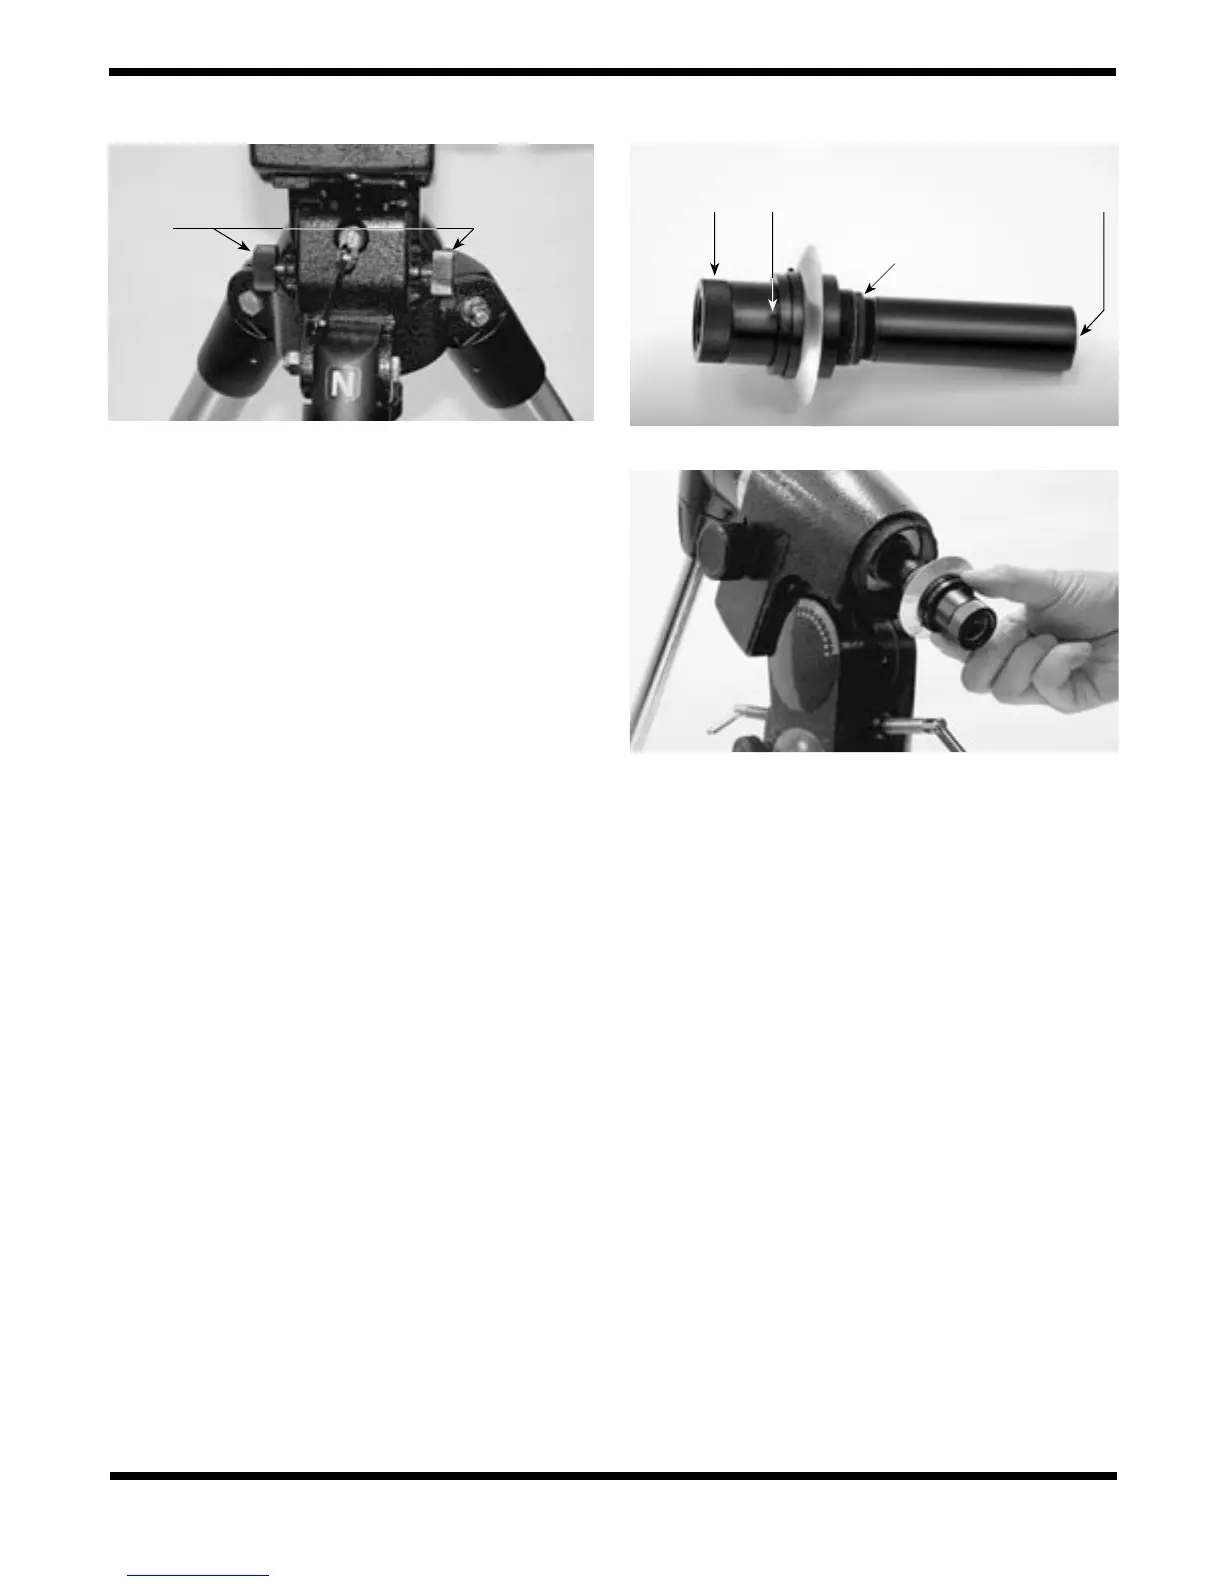
Figure 7a.
The optional polar axis finder scope.
Eyepiece
focus ring
Alignment
set-screws (3)
Focus
lock ring
Objective
lens
Figure 7b.
Installing the optional polar axis finder scope.
 Loading...