17
Whatever you choose to view, always start by inserting your
lowest-power (longest focal length) eyepiece to locate and
center the object. Low magnification yields a wide field of
view, which shows a larger area of sky in the eyepiece. This
makes finding and centering an object much easier. Trying to
find and center objects with a high power (narrow field of view)
eyepiece is like trying to find a needle in a haystack!
Once you’ve centered the object in the eyepiece, you can
switch to a higher magnification (shorter focal length) eye-
piece, if you wish. This is recommended for small and bright
objects, like planets and double stars. The Moon also takes
higher magnifications well.
The best rule of thumb with eyepiece selection is to start with
a low power, wide-field eyepiece, and then work your way up
in magnification. If the object looks better, try an even higher
magnification eyepiece. If the object looks worse, then back
off the magnification a little by using a lower-power eyepiece.
What to Expect
So what will you see with your telescope? You should be able
to see bands on Jupiter, the rings of Saturn, craters on the
Moon, the waxing and waning of Venus, and many bright
deep-sky objects. Do not expect to see color as you do in
NASA photos, since those are taken with long-exposure cam-
eras and have “false color” added. Our eyes are not sensitive
enough to see color in deep-sky objects except in a few of the
brightest ones.
Remember that you are seeing these objects using your own
telescope with your own eyes! The object you see in your eye-
piece is in real-time, and not some conveniently provided
image from an expensive space probe. Each session with
your telescope will be a learning experience. Each time you
work with your telescope it will get easier to use, and stellar
objects will become easier to find. Take it from us, there is big
difference between looking at a well-made full-color NASA
image of a deep-sky object in a lit room during the daytime,
and seeing that same object in your telescope at night. One
can merely be a pretty image someone gave to you. The other
is an experience you will never forget!
Objects to Observe
Now that you are all set up and ready to go, one critical deci-
sion must be made: what to look at?
A. The Moon
With its rocky surface, the Moon is one of the easiest and most
interesting targets to view with your telescope. Lunar craters,
marias, and even mountain ranges can all be clearly seen
from a distance of 238,000 miles away! With its ever-changing
phases, you’ll get a new view of the Moon every night. The
best time to observe our one and only natural satellite is dur-
ing a partial phase, that is, when the Moon is NOT full. During
partial phases, shadows are cast on the surface, which reveal
more detail, especially right along the border between the dark
and light portions of the disk (called the “terminator”). A full
Moon is too bright and devoid of surface shadows to yield a
pleasing view. Make sure to observe the Moon when it is well
above the horizon to get the sharpest images.
Use an optional Moon filter to dim the Moon when it is very
bright. It simply threads onto the bottom of the eyepieces (you
must first remove the eyepiece from the focuser to attach a fil-
ter). You’ll find that the Moon filter improves viewing comfort,
and also helps to bring out subtle features on the lunar sur-
face.
B. The Sun
You can change your nighttime telescope into a daytime Sun
viewer by installing an optional full-aperture solar filter over
the front opening of the Observer 70. The primary attraction is
sunspots, which change shape, appearance, and location
daily. Sunspots are directly related to magnetic activity in the
Sun. Many observers like to make drawings of sunspots to
monitor how the Sun is changing from day to day.
Important Note: Do not look at the Sun with any optical
instrument without a professionally made solar filter, or
permanent eye damage could result.
Magnification Limits
Every telescope has a useful magnification limit of
about 2X per millimeter of aperture. This comes to
140X for the Observer 70. Some telescope
manufacturers will use misleading claims of excess
magnification, such as “See distant galaxies at 640X!”.
While such magnifications are technically possible, the
actual image at that magnification would be an
indistinct blur.
Moderate magnifications are what give the best views.
It is better to view a small, but bright and detailed
image than a dim, unclear, oversized image.
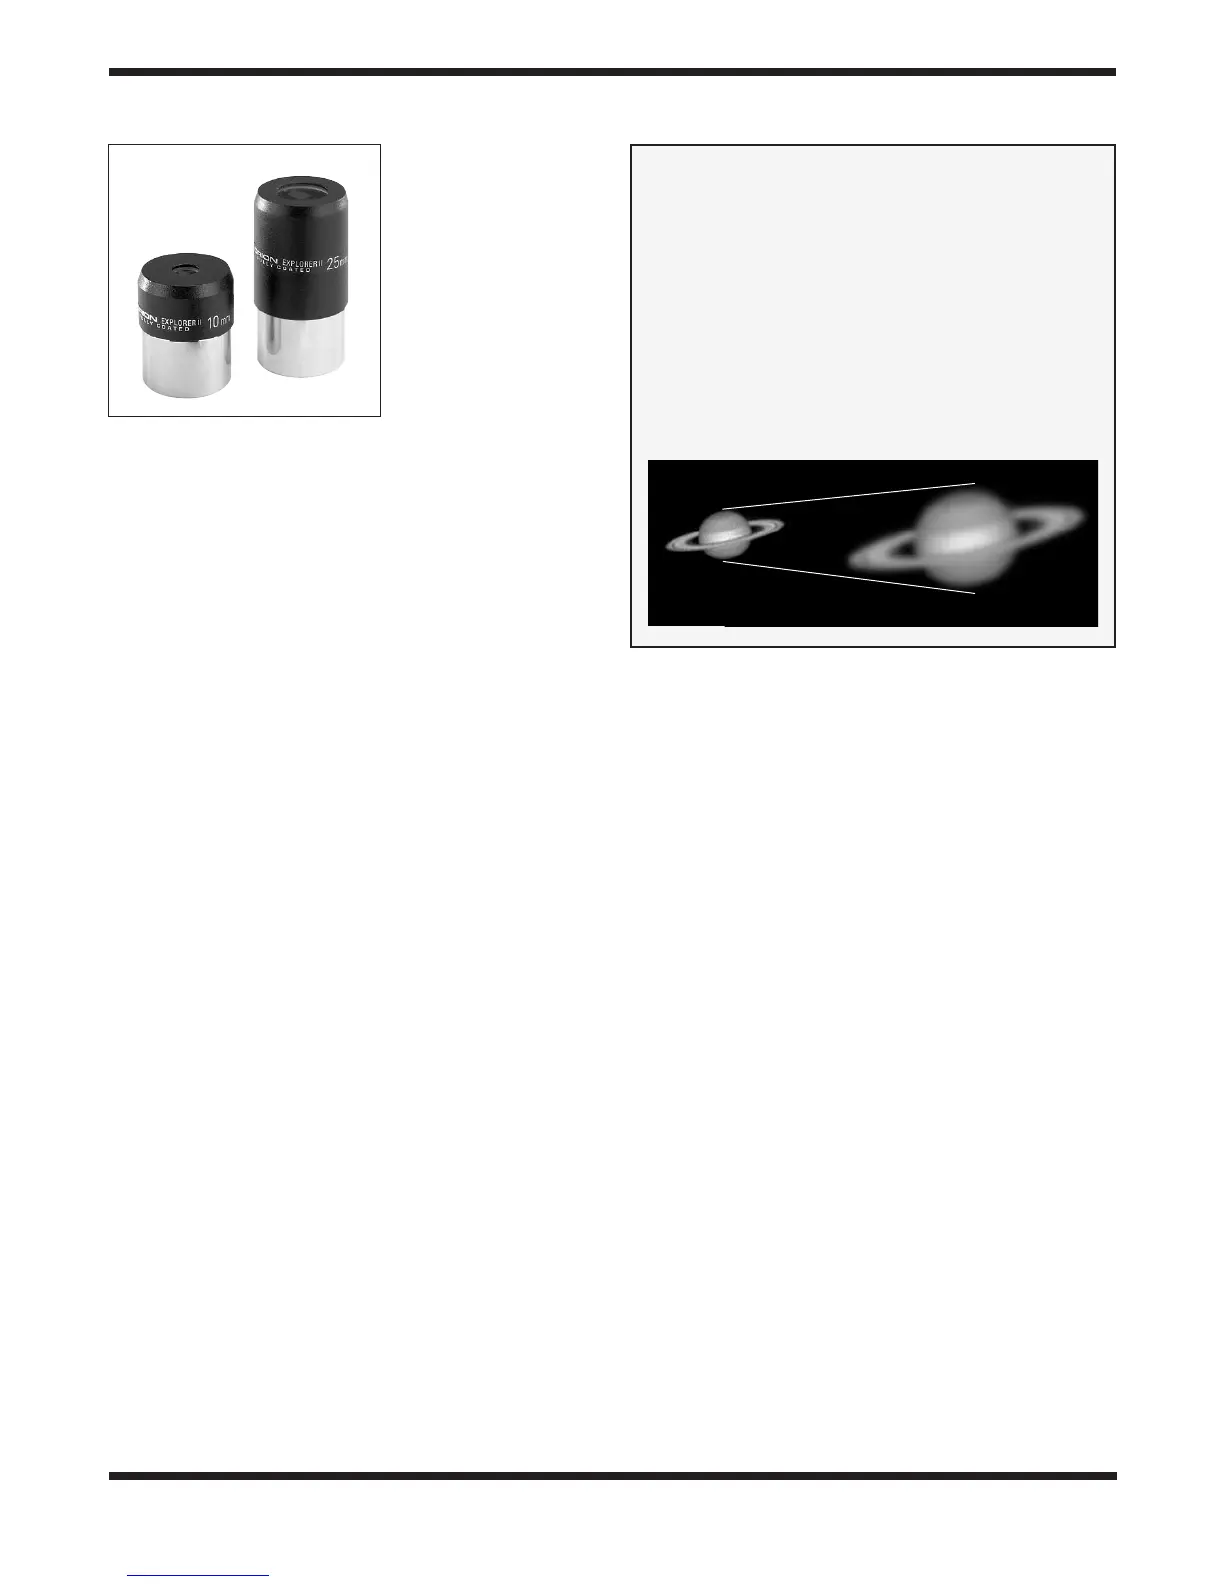
Figure 12.
The 10mm and 25mm
Explorer II eyepieces.