2
Table of Contents Page
I. Parts 2
II. Assembly 2
III. Preparing the Telescope For Operation 4
I V. Understanding and Using the
Equatorial Mount 6
V. Astronomical Observing 12
VI. Collimation of Your Telescope’s Optics 13
VII. Telescope Care and Maintenance 14
VIII. Useful Optional Accessories 15
IX. Specications 16
I. Parts
Unpack all of the parts and lay them out on the oor. Make
sure all the parts listed below and shown in Figure 1 are pres-
ent. Save the shipping box and packaging material. In the
unlikely event that you need to return the telescope, you must
use the original packaging. Initial assembly of the telescope
should take only about 15 minutes
Part Qty
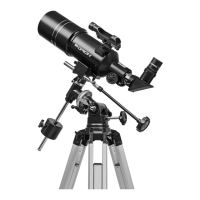
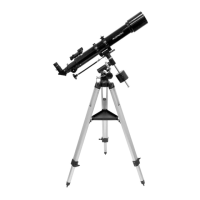
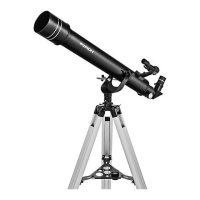
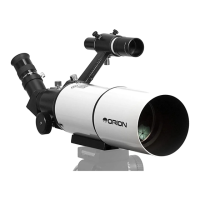
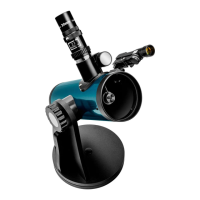
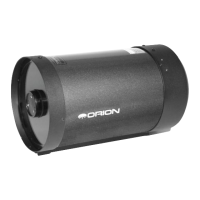
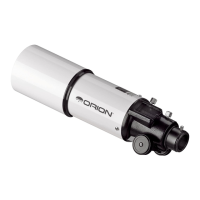
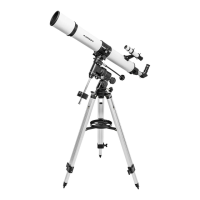
A, B, or C – Optical tube assembly 1
D, E, or F – Dust cover 1
G – Tripod 1
H – Equatorial mount 1
I – Accessory tray 1
J – Slow-motion cables 2
K – Counterweight shaft 1
L – 6x30 nder scope (90mm and 134mm models) 1
M – 25mm Plossl eyepiece, 1.25" 1
N – 10mm Plossl eyepiece, 1.25" 1
O – Mirror star diagonal, 1.25" (90mm model only) 1
P – Red dot nder scope (114mm model only) 1
Q – Counterweight 1
II. Assembly
1. Spread the tripod (G) legs apart and stand it on the ground
(Figure 2). You can extend the legs to the desired height
later using the leg lock knobs. For now just keep them fully
retracted.
2. Unscrew the accessory tray locking knob from the center
of the tripod leg brace. Then place the tray’s (I) center hole
over the center of the leg brace (Figure 3). Finally, screw
the tray locking knob clockwise into the threaded hole until
tight.
3. Now you will attach the equatorial mount (H) to the tripod.
Place the base of the mount over the tripod’s mounting
platform (Figure 4) , then tighten by turning the mount
attachment knob located under the mounting platform
clockwise until just lightly tightened (Figure 5).
4. Next, place the counterweight (Q) onto the counterweight
shaft (K), as shown in Figure 6. Loosen the counter-
weight lock knob to allow the counterweight to slide onto
the shaft, then tighten the knob. Then thread the counter-
weight shaft into the mount housing (Figure 7) until tight.
Alternatively, you could thread on the shaft rst and then
slide the counterweight onto it after removing the hex-head
bolt and washer from the bottom end of the shaft.
5. Attach the slow motion cables (J) to the gear shafts by
orienting the cable so that the thumbscrew seats in the
groove of the gear shaft, as shown in Figure 8. Then
rmly tighten the thumbscrew. The longer cable should be
attached to the declination gear shaft; the shorter cable to
the right ascension gear shaft (Figure 9).
The EQ mount is now properly attached to the tripod (Figure
10). Next, you’ll attach the optical tube to the EQ mount.
6. Before proceeding, make sure the right ascension and
declination lock knobs (see Figure 10 inset) are tightened
so that the mount won’t swivel accidentally when you’re
attaching the tube rings or the optical tube.
7. The optical tube (A, B, or C) arrives in the shipping box
with the tube ring(s) clamped around it, and the dovetail
mounting bar attached to the bottom of the tube rings.
After removing the tissue paper, make sure the tube ring
assembly is secured around the optical tube by lightly
tightening the tube ring clamp knobs (Figure 11).
8. Lift the optical tube and set the dovetail mounting bar into
the mount’s saddle as shown in Figure 11 (make sure the
saddle lock knob is backed sufficiently to allow the dovetail
bar to seat properly). When the dovetail bar is seated in
the saddle, tighten the saddle lock knob until tight.
9. Now you’ll attach the nder scope (P or L) to the optical
tube. For the 114mm reector models, it will be the red dot
nder scope (P). Push the bracket into the nder scope
base as shown in Figure 12 until it is all the way in. For
the 90mm refractor and 134mm reector, you will install
the 6x30 achromatic nder scope (L), which provides 6x
magnication and has a 30mm aperture. First remove the
two round thumb nuts near the focuser (see Figure 13).
(Do not remove the two small hex nuts underneath them!)
Warning: Never look directly at the Sun through
your telescope—even for an instant—without a
professionally made solar lter that completely
covers the front of the instrument, or permanent
eye damage could result. Young children should
use this telescope only with adult supervision.