5
and secure it by lightly tightening the thumbscrew on the
diagonal.
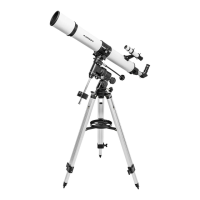
The telescope is now completely assembled! Before it can be
effectively used, however, there are a couple of things to do to
prepare the telescope for operation.
3. Preparing the Telescope
for Operation
Aligning and Using the Red Dot Finder Scope
The included red dot finder scope (Figure 11) makes point-
ing your telescope almost as easy as pointing your finger! It’s a
non-magnifying aiming device that superimposes a tiny LED red
dot on the sky, showing exactly where the telescope is pointed.
It permits easy object targeting prior to observation in the higher-
power main telescope.
Before you can use the red dot finder scope, you must remove
the small plastic tab sticking out from the battery compartment
(Figure 11). Doing so will allow the pre-installed 3V CR-2032
button cell battery to make contact with the finder scope’s elec-
tronic circuitry to power the finder’s red LED illuminator. The tab
can then be discarded.
To use the red dot finder scope properly, it must be aligned with
the main telescope. This is easiest to do during daylight hours,
before observing at night. Follow this procedure:
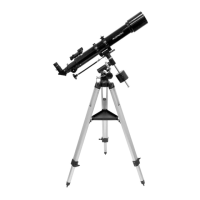
1. First, remove the dust cap (P) from the front of the tele-
scope.
2. Then, with the 25mm eyepiece already in the focuser from
step 8 above, point the telescope at a well-defined land
target (e.g., the top of a telephone pole) that’s at least a
quarter mile away. When pointing the telescope, be sure
to loosen the azimuth lock knob and micro-motion lock
knob (for coarse movement in altitude) to allow the tele-
scope to rotate freely about both axes.
3. Center the target in the eyepiece
Note: The image in the telescope will appear mirror reversed,
i.e., reversed left to right. This is normal for refractor tele-
scopes used for astronomical observing with a standard star
diagonal. (For terrestrial observing we recommend using an
optional “correct image” diagonal, which will serve up a cor-
rectly oriented view.)
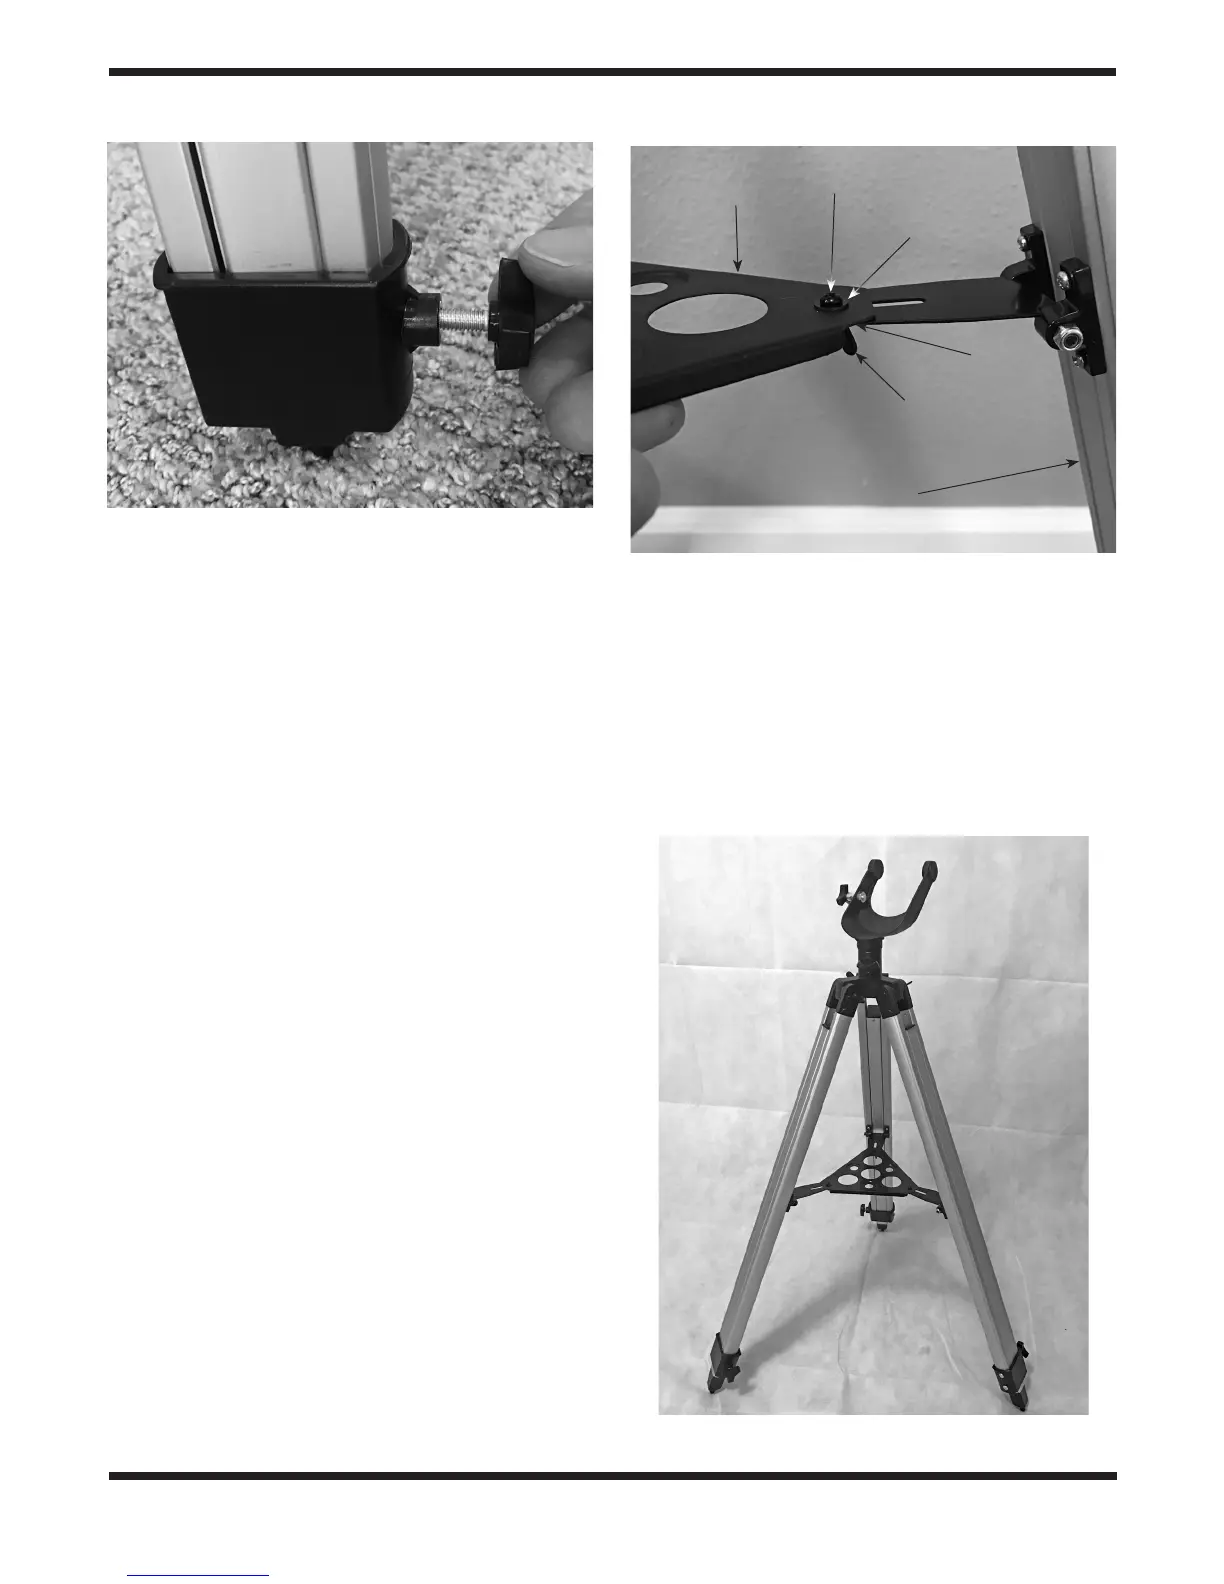
Figure 4. Thread a leg lock thumbscrew onto each tripod leg as
shown, being careful not to overtighten.
Figure 5. Attach the accessory tray to each of the tripod three
leg brace supports using the provided hardware.
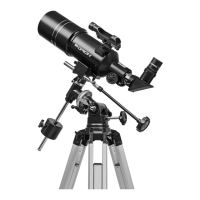
Figure 6. The assembled altazimuth mount and tripod.
Wing nut
Accessory tray
Screw head
Washer
Washer
Leg
 Loading...