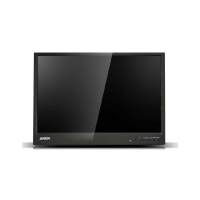
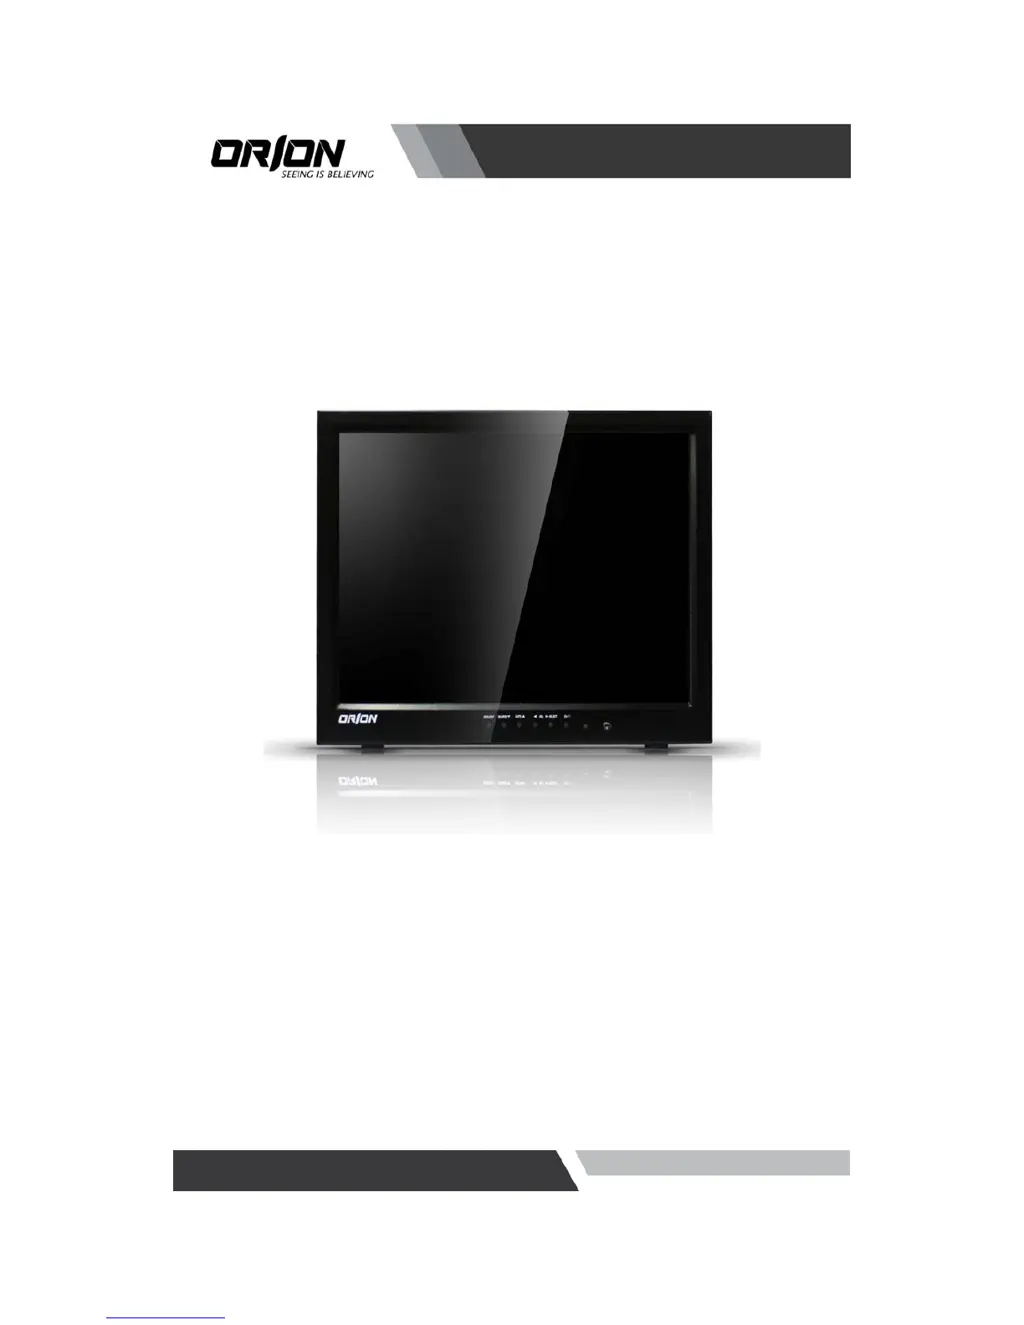
This document serves as the Installation and User's Guide for the ORION Premium Series 15" TFT-LCD Monitor, specifically designed for security applications. It provides comprehensive instructions and important information to ensure proper installation, operation, and maintenance of the device.
Function Description
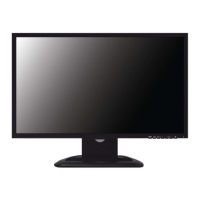
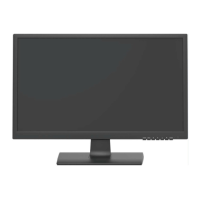
The ORION Premium Series 15" TFT-LCD Monitor is a display unit primarily intended for security surveillance systems. It functions as a visual output device, allowing users to monitor video feeds from various sources. The monitor supports multiple input types, including RGB, composite video (VIDEO1 and VIDEO2), and S-Video (Y/C), making it versatile for integration into different security setups. It also features video looping outputs for VIDEO1, VIDEO2, and S-Video, enabling the signal to be passed through to other display devices or recording equipment without requiring additional splitters. A TRIGGER IN port is also available for external control signals. The monitor is designed to provide clear and reliable visual feedback for critical security monitoring tasks.
Usage Features
The monitor offers a user-friendly interface for configuration and operation, primarily through its On-Screen Display (OSD) menu and control buttons.
Input Selection: Users can easily switch between different video input sources (VIDEO1, VIDEO2, S-VIDEO, RGB) using the SOURCE button, ensuring compatibility with various cameras and recording devices.
Picture Adjustment: The OSD menu provides extensive control over picture quality. Users can adjust parameters such as Contrast, Brightness, Color, Tint (for NTSC input), Sharpness, and Color Temperature to optimize the display for specific viewing conditions and preferences. This allows for clear visibility of details in surveillance footage.
Sound Control: The monitor includes sound adjustment features, allowing users to control Bass and Treble levels. This is useful when audio is part of the surveillance feed, enabling clear listening of environmental sounds.
RGB Setup: For RGB input, the monitor offers detailed setup options including H-Position, V-Position, Clock, Phase, and an Auto-Adjust function. These settings are crucial for achieving a stable and correctly scaled image from a PC source, eliminating issues like image flickering or incorrect sizing.
Function Menu: The Function menu provides additional utilities:
- Language Selection: Users can choose from English, French, German, Italian, and Spanish for the OSD menu, enhancing accessibility for a wider range of users.
- Button Lock: This feature allows users to lock the control buttons on the monitor, preventing accidental changes to settings, which is particularly useful in public or shared security environments.
- OSD Timer: This setting controls how long the OSD menu remains visible on the screen after inactivity.
- Default Settings: A "RESET" option is available to restore all monitor settings to their factory default values, useful for troubleshooting or resetting configurations.
Control Buttons: The physical control buttons on the monitor provide direct access to key functions:
- MENU/EXIT: Activates and exits the OSD menu.
- SOURCE/V: Selects the input source and navigates down in the OSD menu.
- AUTO/A: Moves right in the OSD menu and performs auto-adjustment for RGB sources.
- /SELECT: Increases volume and moves right in the OSD menu.
- (VOL): Decreases volume and moves left in the OSD menu.
- Power Button (6/1): Turns the monitor ON or OFF. An LED indicator next to the power switch shows the power status (Green for ON, Red for OFF).
The monitor is designed for easy installation, with clear instructions provided for connecting power, video inputs (DC 12V IN, RGB IN, VIDEO1 IN, VIDEO2 IN, S-VIDEO IN), and audio input (PC STEREO IN). The inclusion of video looping outputs simplifies system expansion.
Maintenance Features
The manual emphasizes several maintenance and safety guidelines to ensure the longevity and safe operation of the monitor.
Safety Warnings:
- Internal Access: Users are strictly warned against removing the back cover or touching internal components due to the risk of electric shock. All servicing should be performed by a qualified service center.
- Environmental Conditions: The monitor should be kept away from direct sunlight and heating appliances to prevent overheating. It should not be installed outdoors or near water to avoid damage, electric shock, or fire.
- Object Insertion: Never insert objects of any kind into the product's openings, as this can lead to fire or electric shock.
- Power Connection: The power cord must be connected tightly to a functional wall outlet. Defective cords or loose connections should not be used.
- Lightning and Thunder: During lightning or thunderstorms, the monitor should be unplugged from the wall outlet and not touched to prevent damage from electrical surges.
- Extended Non-Operation: If the monitor will not be used for a long period, it should be unplugged from the wall outlet.
- Abnormal Operation: In case of smoke or unusual noise from the monitor, it must be immediately unplugged, and a service center contacted.
Installation Cautions:
- Ventilation: The monitor requires proper ventilation and should be installed at a distance from walls (over 10cm) to prevent overheating. Openings must not be blocked by curtains, rugs, or similar surfaces.
- Stability: The monitor should be placed on a stable surface to prevent it from falling, which could cause damage or injury.
- Handling: When carrying the monitor, care must be taken not to damage the panel or drop it. Signal cables and the power cord should be unplugged before moving the monitor.
- Power Plug Handling: Always pull the power plug from the wall outlet by gripping the plug itself, not the cable, to prevent damage to internal wires, overheating, and fire.
- Viewing Distance: For optimal eye health, the monitor should be installed about 50cm from the eyes, with a viewing angle of 0-15 degrees below eye level.
- Panel Protection: The LCD panel should not be pressed with hands or sharp objects to prevent damage.
Cleaning Instructions:
- Unplug Before Cleaning: Always unplug the monitor from the wall outlet before cleaning.
- Cleaning Agents: Do not use liquid cleaners or chemical liquids, as they can cause fading or breakage.
- Cleaning Cloth: Use a soft, dry cloth for cleaning. Never touch the power plug with wet hands.
Troubleshooting: The manual includes a troubleshooting section to help users diagnose and resolve common issues such as no display, incorrect brightness, improper screen size for PC signals, or strange color display. This empowers users to address minor problems before contacting technical support.
Warranty Information: The product comes with a 2-year limited warranty covering defects in materials and workmanship, underscoring the manufacturer's commitment to quality. Contact information for support is provided for technical questions or issues with missing/damaged equipment.