7
“Seeing” and Transparency
Atmospheric conditions vary significantly from night to night.
“Seeing” refers to the steadiness of the Earth’s atmosphere at
a given time. In conditions of poor seeing, atmospheric turbu-
lence causes objects viewed through the telescope to “boil”. If,
when you look up at the sky with your naked eyes, the stars
are twinkling noticeably, the seeing is bad and you will be lim-
ited to viewing with low powers (bad seeing affects images at
high powers more severely). Planetary observing may also be
poor.
In conditions of good seeing, star twinkling is minimal and
images appear steady in the eyepiece. Seeing is best over-
head, worst at the horizon. Also, seeing generally gets better
after midnight, when much of the heat absorbed by the Earth
during the day has radiated off into space.
Especially important for observing faint objects is good
“transparency” - air free of moisture, smoke, and dust. All
tend to scatter light, which reduces an object’s brightness.
Transparency is judged by the magnitude of the faintest stars
you can see with the unaided eye (6th magnitude or fainter is
desirable).
If you cannot see stars of magnitude 3.5 or dimmer then con-
ditions are poor. Magnitude is a measure of how bright a star
is - the brighter a star is, the lower its magnitude will be. A
good star to remember for this is Megrez (mag. 3.4), which
is the star in the “Big Dipper” connecting the handle to the
“dipper”. If you cannot see Megrez, then you have fog, haze,
clouds, smog, or other conditions that are hindering your view-
ing. (See Figure 8)
Tracking Celestial Objects
The Earth is constantly rotating about its polar axis, complet-
ing one full rotation every 24 hours; this is what defines a
“day”. We do not feel the Earth rotating, but we see it at night
from the apparent movement of stars from east to west.
When you observe any astronomical object, you are watch-
ing a moving target. This means the telescope’s position must
be continuously adjusted over time to keep an object in the
field of view. This is easy to do with the StarBlast because
of its smooth motions on both axes. As the object moves off
towards the edge of the field of view, just lightly nudge the
telescope to re-center it.
Objects appear to move across the field of view faster at high-
er magnifications. This is because the field of view becomes
narrower.
Eyepiece Selection
By using eyepieces of different focal lengths, it is possible
to attain many magnifications or powers with the StarBlast.
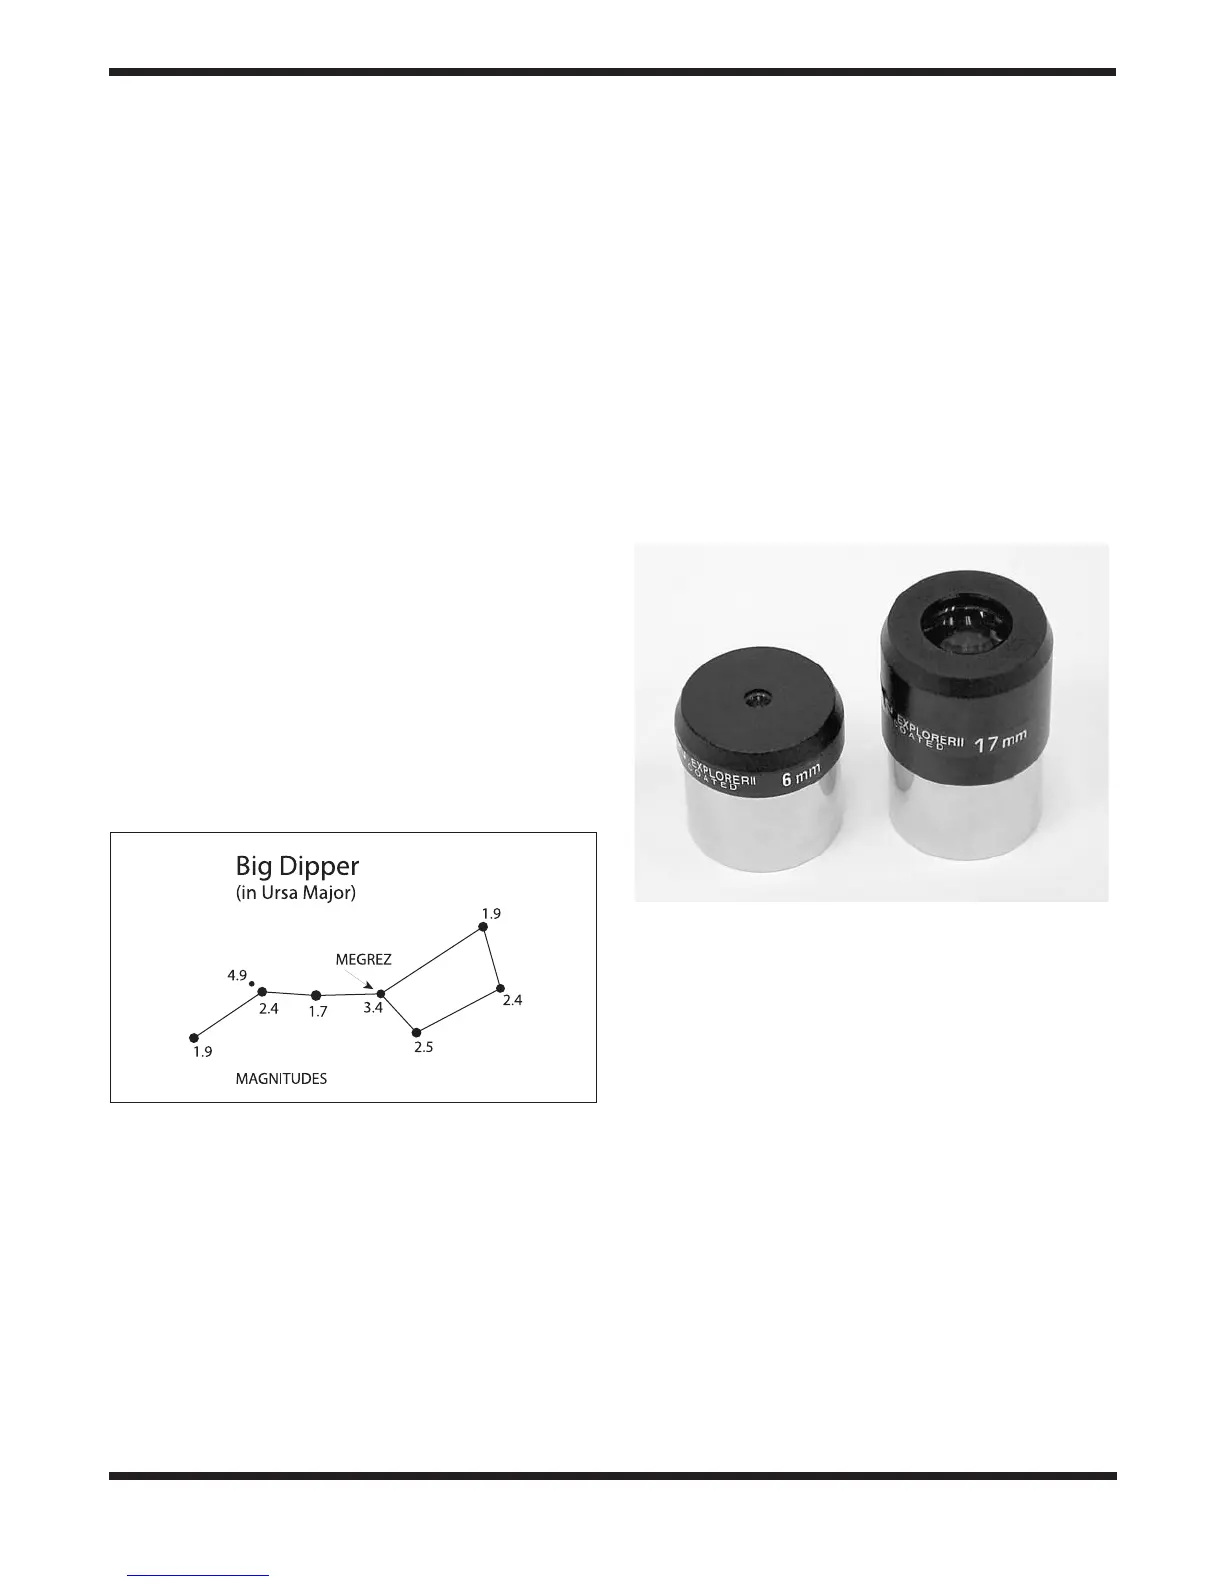
Your telescope comes with two Kellner eyepieces (Figure
9): a 17mm, which gives a magnification of 26x, and a 6mm,
which gives a magnification of 75x. Other eyepieces can be
used to achieve higher or lower powers. It is quite common for
an observer to own five or more eyepieces to access a wide
range of magnifications.
To calculate the magnification of a telescope-eyepiece combi-
nation, simply divide the focal length of the telescope by the
focal length of the eyepiece.
Telescope Focal Length (mm) ÷ Eyepiece Focal
Length(mm) = Magnification
For example, the StarBlast, which has a focal length of
450mm, used in combination with the 17mm eyepiece, yields
a magnification of
450mm ÷ 17mm = 26x
Whatever you choose to view, always start by inserting your
lowest-power (longest focal length) eyepiece to locate and
center the object. Low magnification yields a wide field of
view, which shows a larger area of sky in the eyepiece. This
makes finding and centering an object much easier. Trying to
find and center objects with a high power (narrow field of view)
eyepiece is like trying to find a needle in a haystack!
Once you’ve centered the object in the eyepiece, you can
switch to a higher magnification (shorter focal length) eye-
Figure 8. Megrez connects the Big Dipper’s handle to it's “pan”. It
is a good guide to how conditions are. If you can not see Megrez (a
3.4 mag star) then conditions are poor.
Figure 9. The 17mm and 6mm Explorer II eyepieces.
 Loading...