14 15
may start detecting several
faint background stars.
9. Once you have reached
focus and you can see at
least one clearly defined star,
click the Stop icon.
10. Click on the star you want to
guide on. A green guide star
box should appear around
the star you selected. In the
lower left screen, the pixel
coordinates of the star is dis-
played. If the guide star box
is yellow, a message appears
at the bottom of the screen
LOW SNR. If you see this
message, you need to select
a brighter star. Increase the
exposure time if necessary.
11. Go to the Mount menu
and make sure On-camera
is selected. Click on the
Connect to Telescope icon.
12. Click the PHD Guide icon
and the calibration will begin
(Figure 10). The rest is auto-
matic! Yellow crosshairs are
displayed around the guide
star box when the calibra-
tion starts. The calibration is
automatic and takes a few
minutes. When the calibration
is complete, the autoguiding begins automatically and the crosshairs
turn green. You are now ready to take astro-images with precise
tracking!
Note: Be patient while PHD Guiding completes the calibration. The
telescope cannot be disturbed during the calibration process. It
is just as critical not to touch the telescope during calibration as
it is when exposing an astro-image. The calibration ensures that
the AutoGuider knows the movements and tracking behaviors of
your mount.
Dark Frames and Noise Reduction
All CCD and CMOS cameras have inherent noise which becomes more
apparent with longer exposure images. If you require taking longer
exposures (typically longer than 3 seconds) you may start to see verti-
cal lines and bright dots (hot pixels). There are several ways to reduce
the amount of noise seen in your guiding images. You will get the best
guiding performance when your image background looks smooth and
black. The Gamma Adjustment will help clip the low level background
noise by adjusting the slider bar left or right as needed. You can also
reduce the camera Gain or enable Noise Reduction (see “Advanced
Autoguider Settings”). Take Dark saves a dark frame which is subtract-
ed from your guiding images to remove most of the noise. Dark frames
are images taken with the camera capped from incoming light, reveal-
ing only the camera noise in the image. This noise is subtracted from a
“light frame” which is the image you want to see from the camera.
To take the dark frame:
1. Cap the objective of your guide scope.
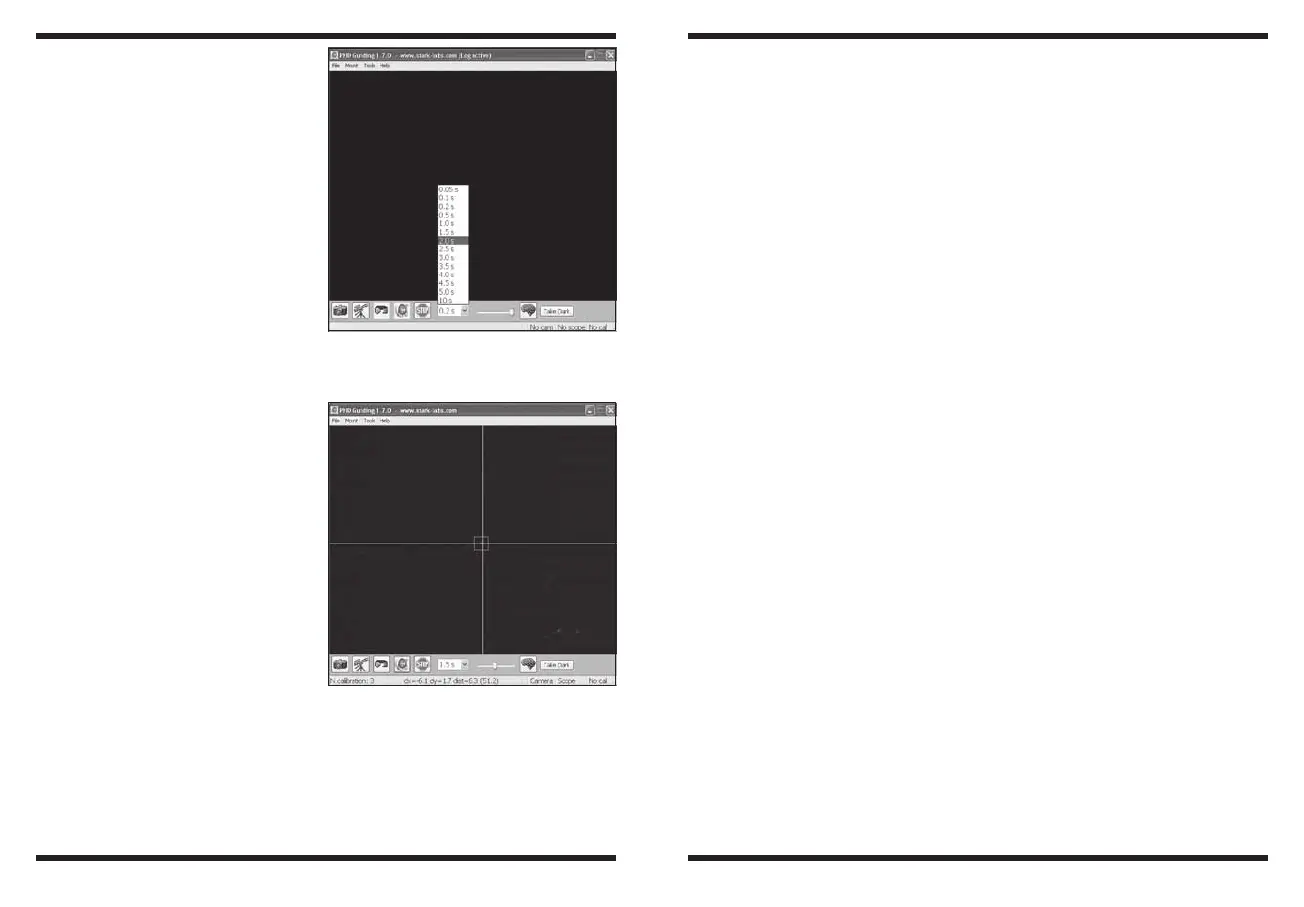
2. Keep the Exposure Selection set to the same time you wish to use
for guiding. For example, if you choose 2.0 s, then you must keep
this exposure time while guiding for the dark frame to be effective.
3. Click Take Dark.
4. Remove the cap from your guide scope and resume taking pictures
or guiding. PHD Guide will automatically subtract the dark frames
from all of your exposures. To remove the dark frame, go to Tools
and select Erase Dark Frame.
Figure 9. Select 2.0 s in PHD
Guiding to set the exposure time to 2
seconds.
Figure 10. Yellow crosshairs appear
once the calibration begins. The
process is automatic. The crosshairs
turn green when guiding begins.
 Loading...