Technical Note • May 4, 2021
Page 18
SecureSync 2400 Option Card Field Installation Guide
Perform update: Perform the software upgrade.
Perform clean update: Factory settings will be applied during the upgrade; any custom settings you
may have applied previously will be overwritten! This also includes the unit's static IP address (if you
applied one): it will be replaced by the default DHCP address (i.e., 0.0.0.0.) Also note that the browser
session will terminate: After reconfiguring the unit's IP address, you will need to login to the Web UI in
a new browser session.
5.
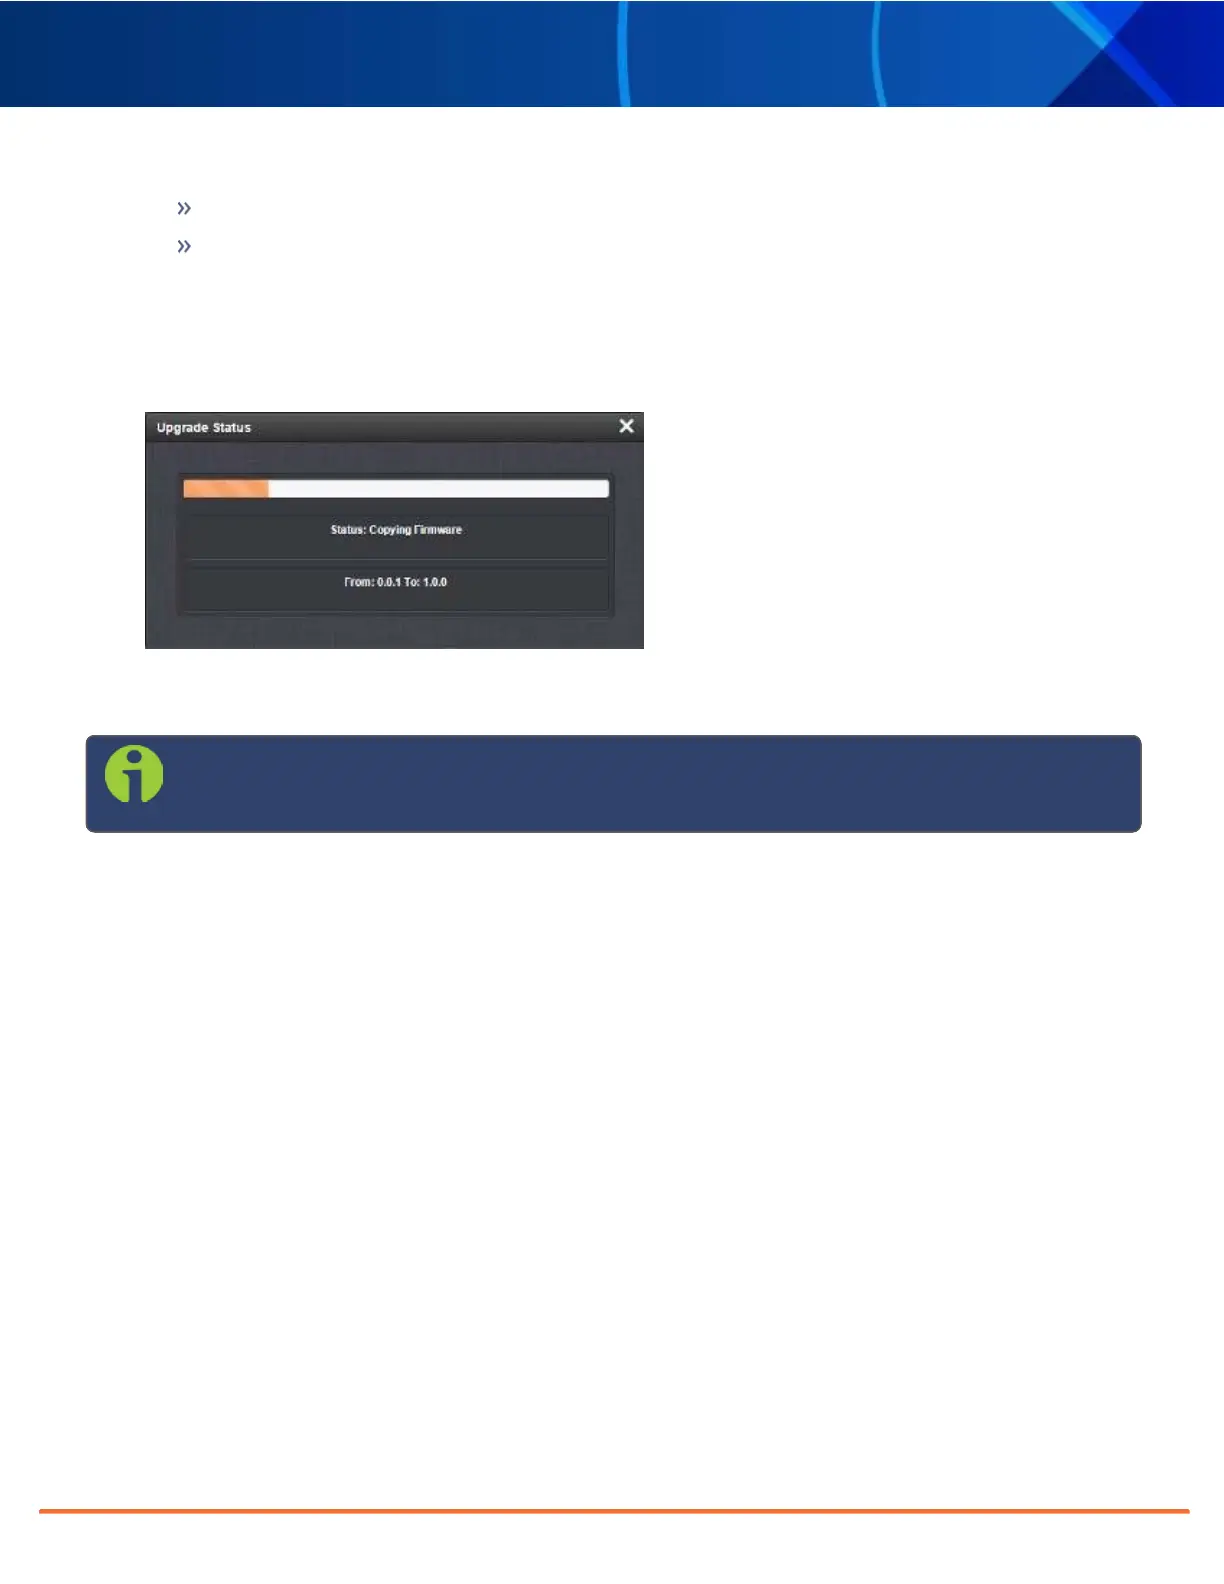
Click
Submit to carry out the update. A progress bar will provide real-time status information:
6.
Verify that the update was successful: Navigate to
Tools > Upgrade/Backup, and confirm the new SW ver-
sion in the System Configuration panel.
Note: Should you use DHCP, a new IP address may be assigned to your unit, and you may have to
point your web browser to it.