Technical Note • May 4, 2021
Page 19
[12]: Restoring Reference Priority Configuration
If you saved your Reference Priority configuration under STEP [2], you can now restore it:
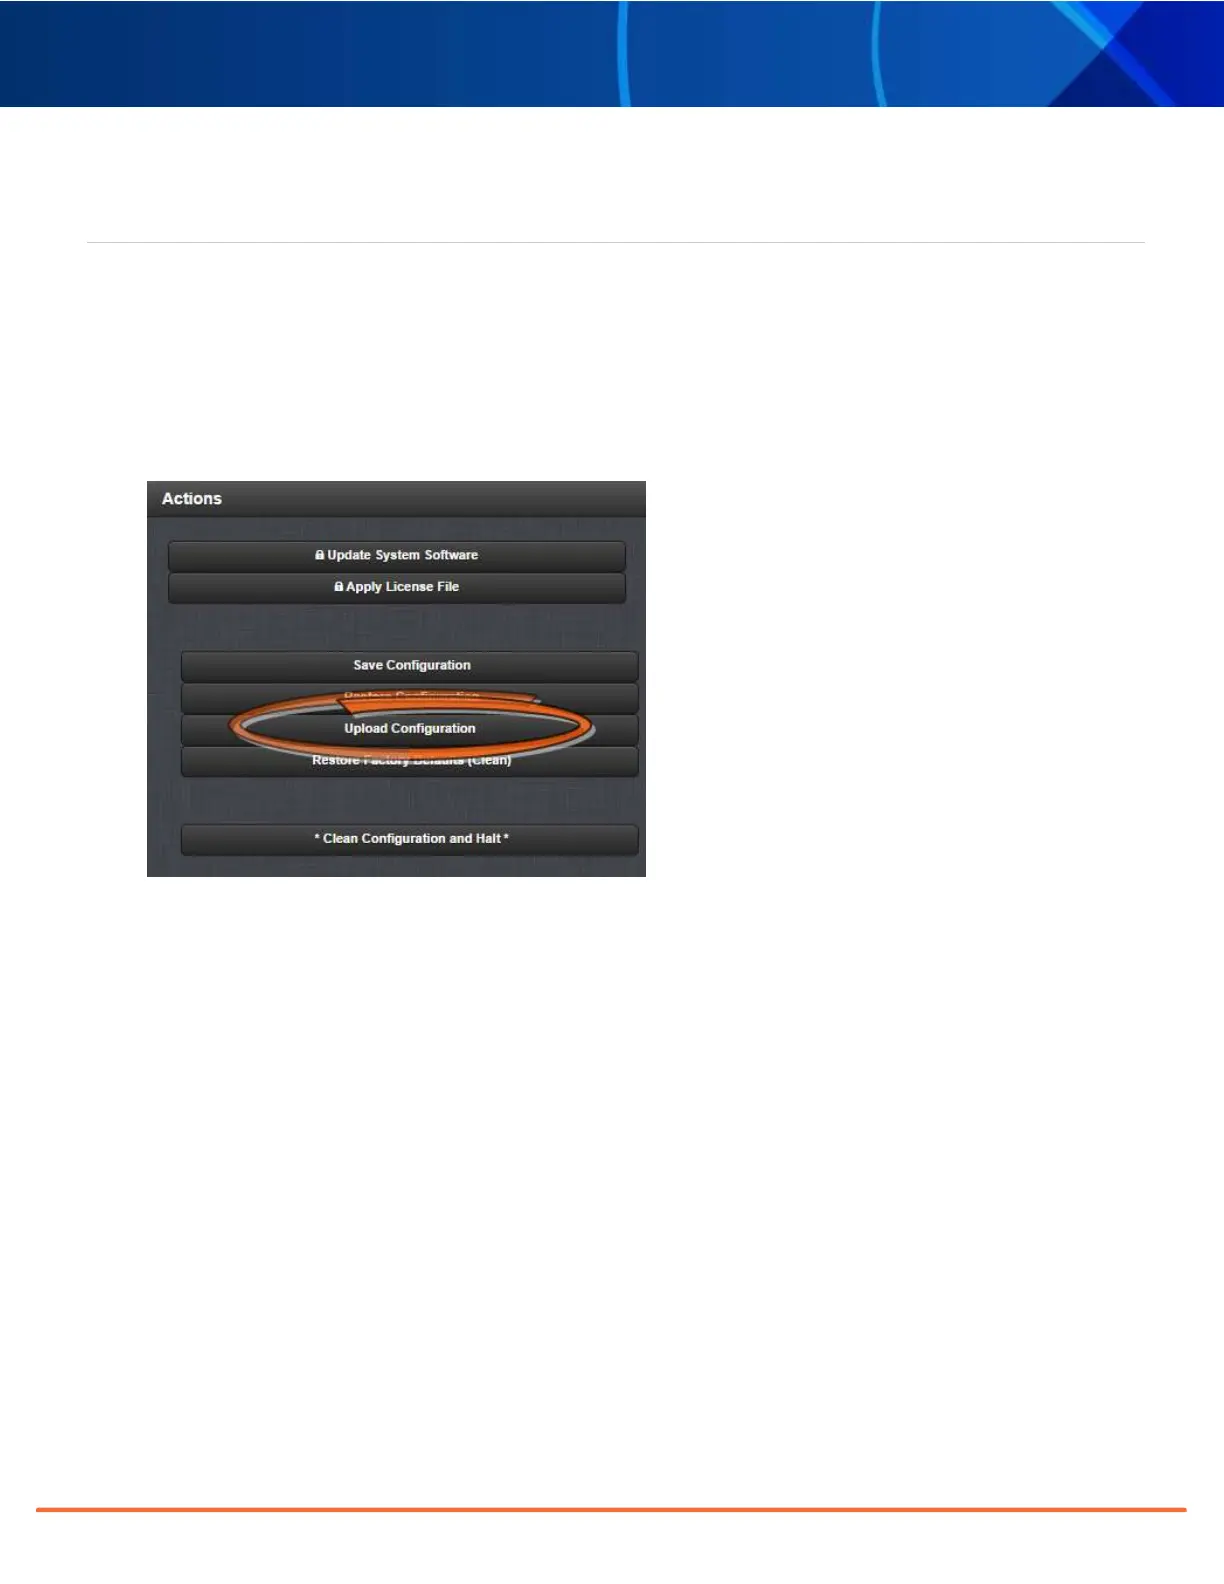
Uploading Configuration Files
To upload configuration files from a PC:
1.
Navigate to
TOOLS > SYSTEM: Upgrade/Backup.
2.
In the
Actions panel, click the Upload Configuration button.
3.
Click
Choose File in the window that displays, and navigate to the directory on your PC where the bundled
file is stored.
4.
Click the
Upload button. SecureSync saves the uploaded bundled file in the /home/spec-
tracom/xfer/config/directory.
5.
To use the new configuration file for this SecureSync, click the
Restore Configuration button, and follow
the procedure described under "Uploading Configuration Files" above.
Restoring the System Configuration
To restore the System Configuration:
1.
Navigate to
TOOLS > SYSTEM: Upgrade/Backup.
2.
In the
Actions panel, click Restore Configuration.
3.
Click
OK in the grey confirmation window. The system will restore the configuration using the bundled file
stored at /home/spectracom/xfer/config/
SecureSync.conf, then reboot in order to read the new con-
figuration file. Once powered back up, SecureSync will be configured with the previously stored file.
SecureSync 2400 Option Card Field Installation Guide