www.oster.com
8
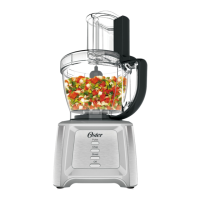
HOW TO CHOP USING THE
14CUP BOWL
CAUTION: Make sure the unit is turned OFF
and unplugged before use. Never use hand to
push food into processor. Do not use the processor
continuously for more than 3 minutes at a time.
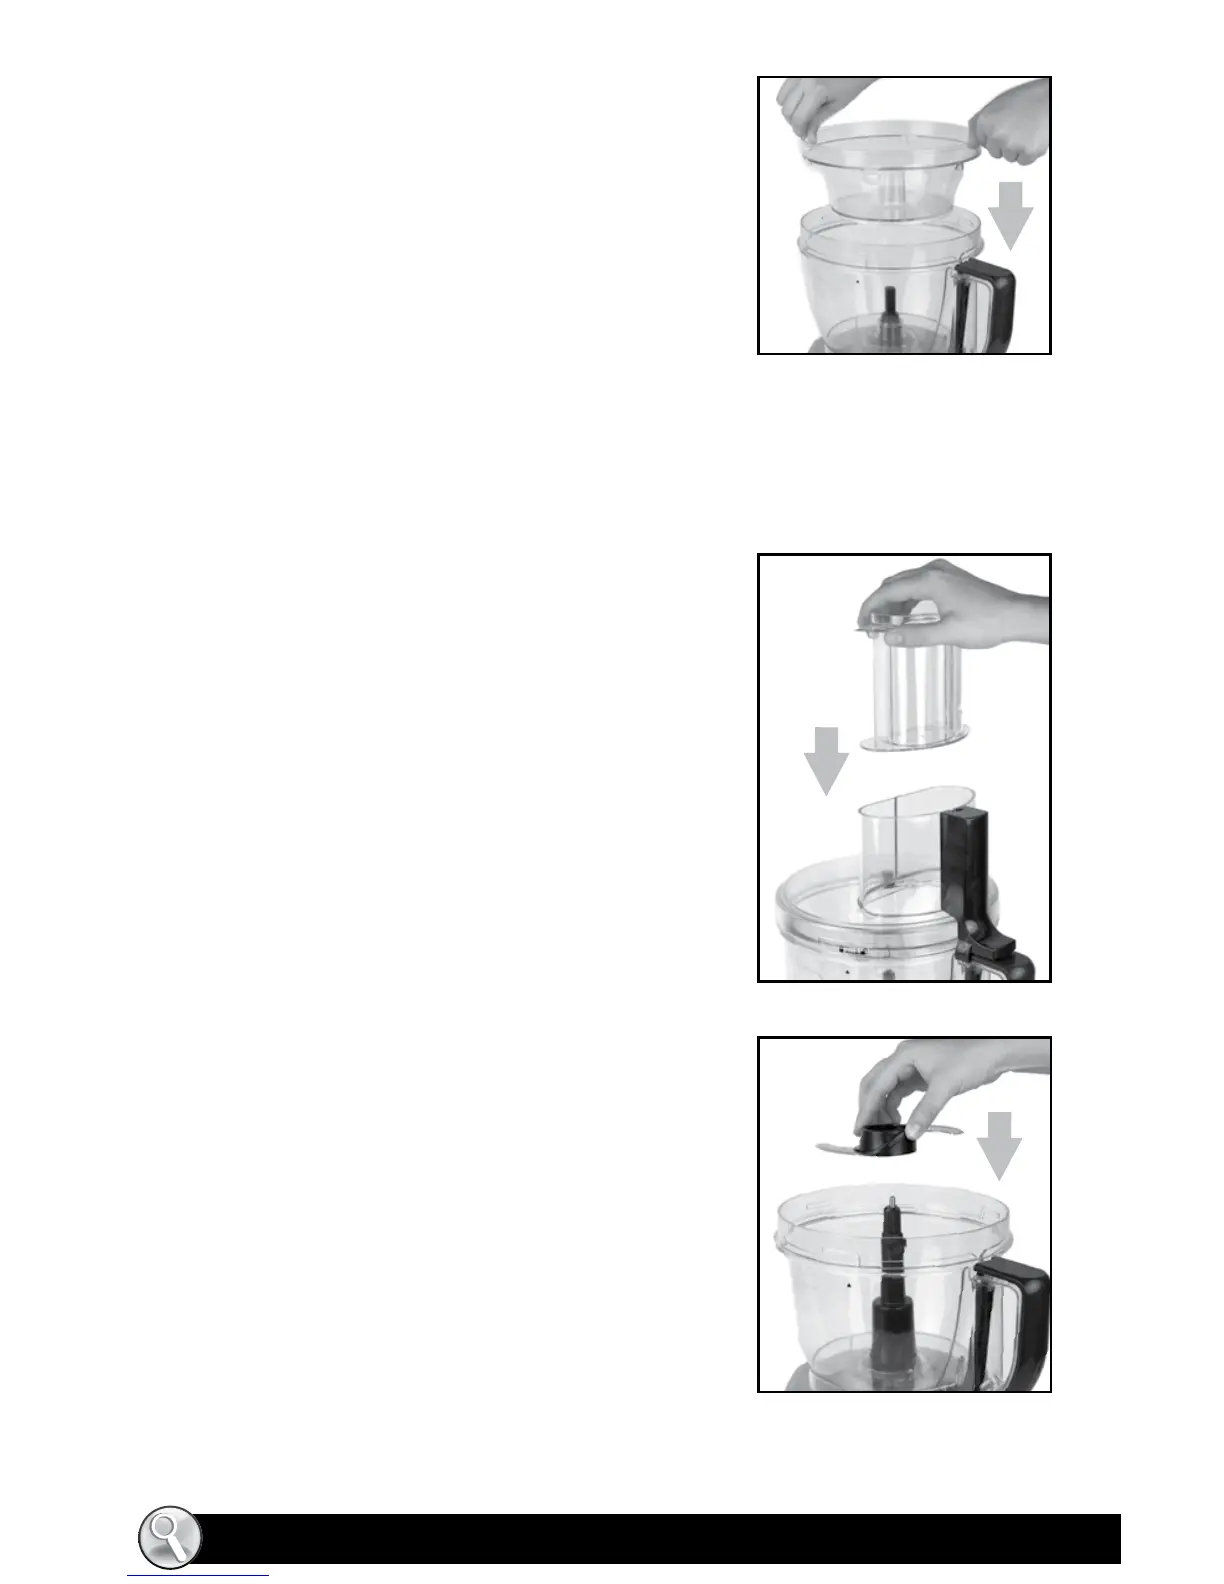
1. Lock the large bowl onto base.
(See “HOW TO ASSEMBLE THE LARGE BOWL” section)
2. Insert large blade stem into bowl center post.
3. Grab the large blade and slide it down onto the large
blade stem. Ensure the Chopping Blade is placed in
position with graphics facing up “This Side Up”.
(Figure 5)
4. Place food into bowl.
5. Lock cover onto bowl.
(See “HOW TO LOCK THE COVER”)
6. Plug the cord into an electric outlet. Use the
FOOD GUIDE to prepare food for chopping.
7. Press the CHOP or SHRED button for continuous
processing or the PULSE button for short processing tasks. When using the PULSE setting,
hold the PULSE button for about 2-3 seconds at a time, check results and repeat if desired.
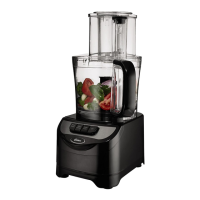
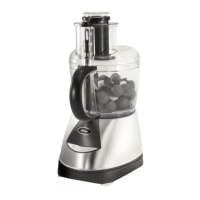
HOW TO INSERT THE FOOD PUSHERS
1. Lock the lid (see “HOW TO LOCK THE LID” section)
2. Insert LARGE FOOD PUSHER into the bowl lid opening
and push down
3. Place the SMALL FOOD PUSHER into the LARGE FOOD
PUSHER and push down
NOTE: The food processor will not operate unless the LARGE
FOOD PUSHER is engaged into the bowl lid opening
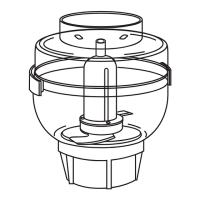
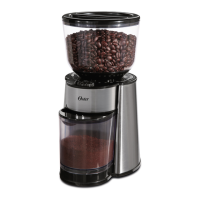
HOW TO ASSEMBLE THE SMALL BOWL
1. Lock the BOWL onto BASE.
(See “HOW TO ASSEMBLE THE LARGE BOWL” section.)
2. Assemble the large stem onto bowl center post .
3. Place the small bowl within the Large Bowl
and lock into place. (Figure 3)
NOTE: Make sure to align the small and large bowl grooves.
When the small bowl is properly placed, it won’t rotate.
4. Lock the lid (see “HOW TO LOCK THE LID” section)
5. Insert the large food pusher into the lid opening and push down.
6. Place the small food pusher into the large food pusher.
NOTE: The food processor will not operate unless the LARGE FOOD PUSHER is engaged into
the bowl lid opening.
FIGURE 3
FIGURE 4
FIGURE 5