6
3.Closethewaterreservoirlid.
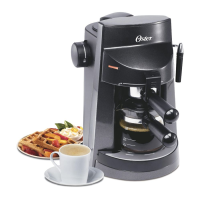
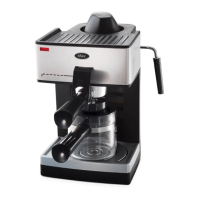
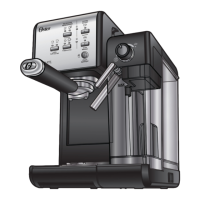
PREPARING THE COFFEE
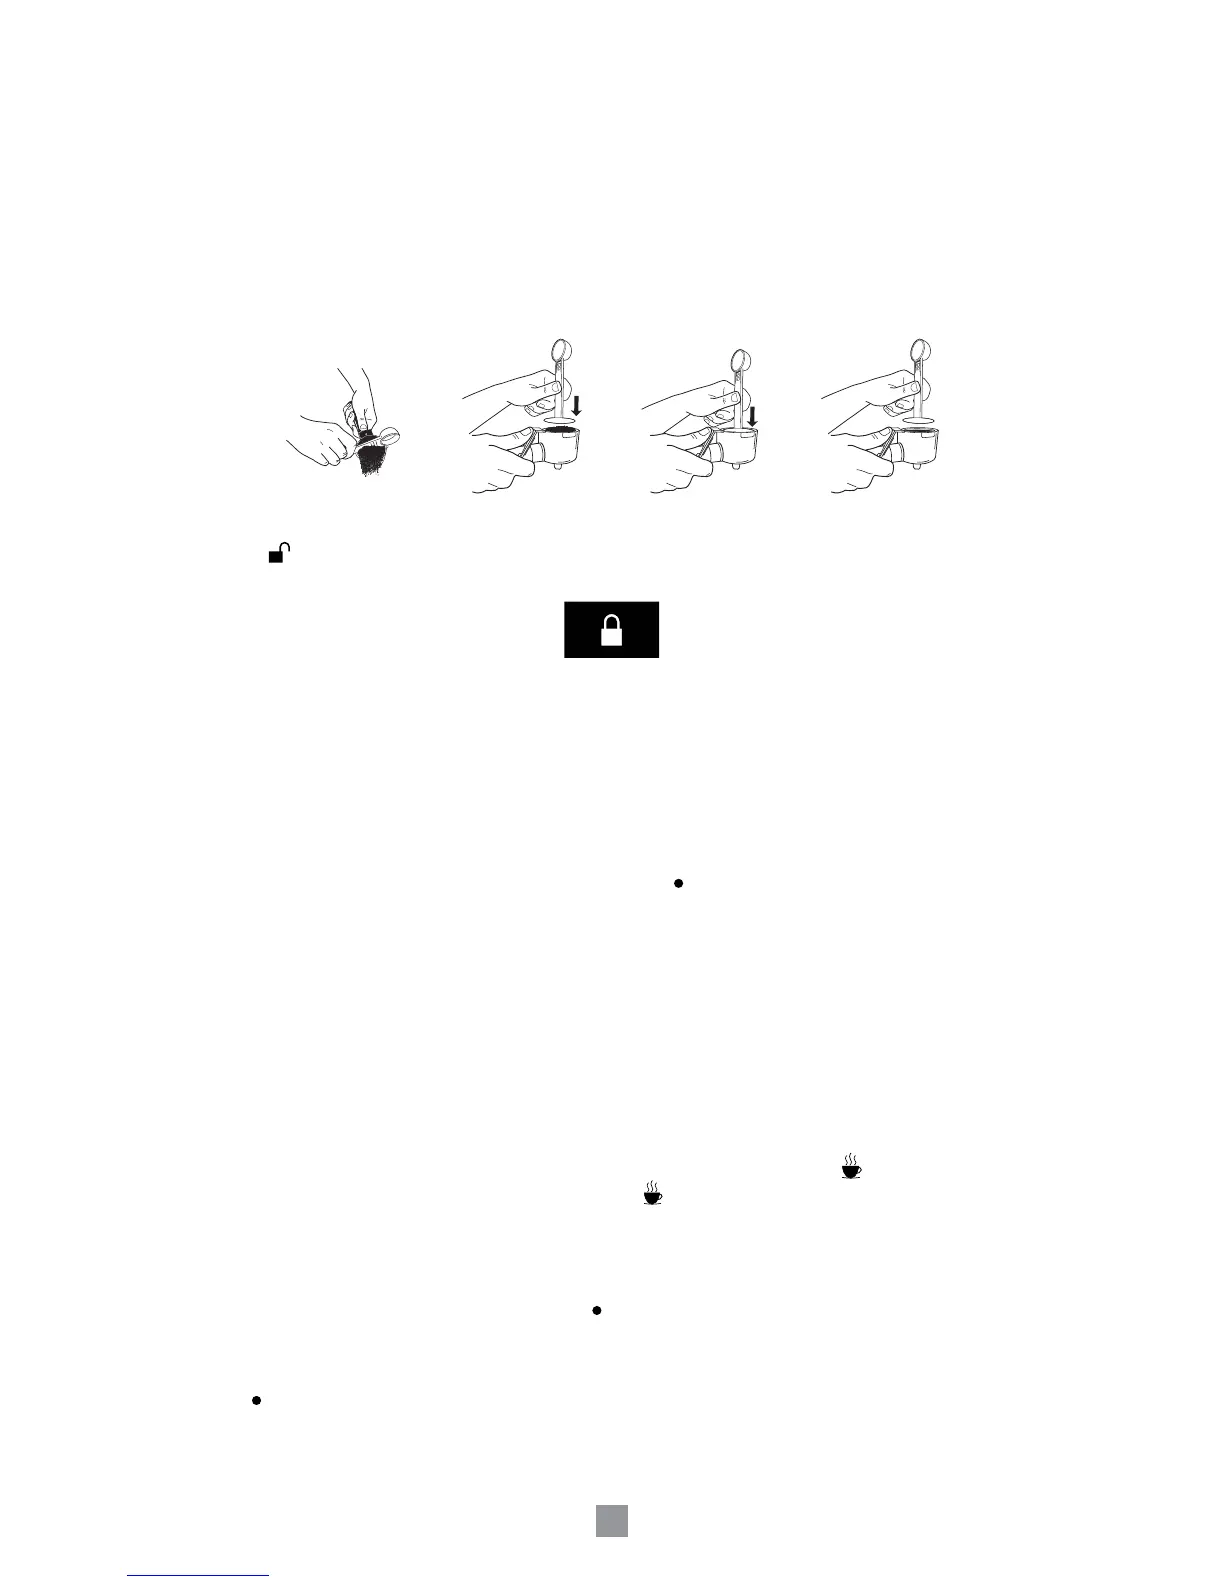
1.Placethefilterinthebrewbasket.Selectfromthetwofiltersthatcomewithyourunit
dependingontheamountofcupsyouwishtoprepare(1or2demitasses).
2.Filltheselectedfilterwithfresh,finegroundespressocoffee.Cleananyexcesscoffee
fromtherimofthefilterholder.Thiswillassureproperfitunderthebrewhead.
ATTENTION:Tamporcompresscoffeeusingthetamperasshownbelow.Donot
overfillthefilter.Thismightcausecloggingoroverflow.
3.Positionbrewbasketunderneaththebrewhead,attachbrewbasketbyfirstmoving
retainer clip back, position handle so that the handle lines up with the unlocked
icon“”onthebrewheadandfitsintothegroove.Then,slowlyturntorightuntilbrew
basketislocatedatlockedposition(indicatedbytheiconbelow).
(Thissymbolisonthebrewhead)
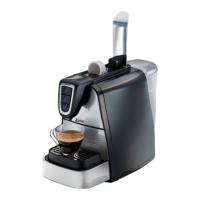
BREWING ESPRESSO
ATTENTION: IF YOU ARE PLANNING TO MAKE CAPPUCCINO, PLEASE REFER TO
THE NEXT SECTION “HOW TO MAKE CAPPUCCINO.”
1.Makesurethedripgridisinplaceonthedriptray.Placethedriptrayintheunit.
2.Makesurethecontrolknobisintheoffposition“”.
3.Placethecuportwocups(demitasses)underthebrewbasketorifyouprefer,place
asmalljarorcarafe.Ifyouwishtoprepareupto4cupsatatime,youshouldusea
smalljar,carafeorregularcupandthenpourtheespressointothedemitasses.Ifyou
will be brewing up to two demitasses at a time, you can place the two small cups
under the brew basket ensuring each one of them is directly under one of the two
spouts located under the brew basket.
4.Plugthepowercordintoanelectricaloutletandthenswitchtheunitonbypressingthe
redbuttononthesideoftheappliancetotheonposition“I”.Thepowerindicatorlight
willbecomesolidredwhiletheunitisonandthereadyindicatorlight(green)willstart
blinking.
5.Oncethereadylightbecomessolidgreen,pressthebrewbutton“”andthenrotate
thesideknobcounter-clockwisetothebrew“”position.Thiswillinitiatethebrewing
process and espresso will begin to flow in just seconds.
NOTE: IFTHEBUTTONSBEGINTOFLASH,THEUNITHASINFORMEDYOUTHATTHE
INSTRUCTIONSWERENOTFOLLOWEDCORRECTLY.SWITCHTHEPOWER
BUTTONTOTHEOFFPOSITION“”TORESET.RETURNTOSTEP#4TORESUME
BREWINGESPRESSO.
6.Whenthecup/carafeisfilledtothedesiredlevel,turnthesideknobclockwisetothe
off “ ” position.
CAUTION: DONOTLEAVEUNITUNATTENDEDWHILEBREWINGSINCETHEBREWING
PROCESSREQUIRESTOBEMANUALLYSTOPPED.THISWILLAVOID
OVERFLOW,SPILLAGEANDPOTENTIALHAZARDSANDDAMAGES.THEUNIT