English-8
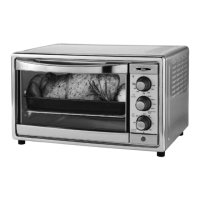
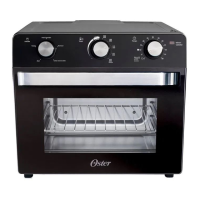
TO USE THE WARM FUNCTION (SEE FIG. 7)
Step 1. Place baking pan with food inside on
wire rack.
Step 2. Close glass door completely.
Step 3. Turn the Function dial to Warm.
Step 4. Turn the Temperature dial past “Warm”.
Step 5. Turn the Timer to desired warming time.*
Step 6. When Warming is complete, open door
completely and remove food.**
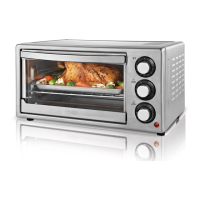
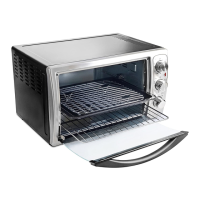
TO USE THE BROIL FUNCTION (SEE FIG. 8)
`ÕÃÌ>LiÊÀÊ>ÜÃÊÌiÊÛiÊÌÊLÀÊ>ÌÊ>ÞÊ
temperature. Great for melting cheese at 150º F
or cooking fish at 400º F. Adjust as needed.
Step 1. Place food on broil rack or on baking pan if
needed. See “Positioning Rack” and “Positioning
Pan” sections.
Step 2. Close glass door leaving approximately
a 3-inch opening at the top of the Countertop
Oven.
Step 3.Ê/ÕÀÊÌiÊÕVÌÊ`>ÊÌÊÀ°
Step 4. Turn the Temperature dial to desired
temperature.
Step 5. Turn the Timer to desired cook time.*
Step 6.Ê7iÊÀ}ÊÃÊV«iÌi]Ê«iÊ`À
completely and remove food.**
* Special note: If cook time is less than 20 minutes, you
must turn Timer past the 20 minute mark
to engage the timer then back to desired
time.
** WARNING: Cooked food and metal rack can be
very hot, handle with care. Do not leave
Countertop Oven unattended.
English-9
POSITIONING RACK
UÊÊ/Ê>VV`>ÌiÊ>ÊÜ`iÊÛ>ÀiÌÞÊvÊv`ÃÊÌiÊÛiÊ>ÃÊÌÜÊÀ>VÊ«ÃÌðÊ
The rack can be inserted in the oven in the upper or lower rack guides. The
rack will fit into either of the rack guides inside of the Countertop Oven.
-iiÊ}ÕÀiÊiÜ®
UÊivÀiÊÀiÛ}ÊÌiÊÀ>VÊ>ÜÊÌiÊÕÌÊÌÊV°
UÊÊ/ÊÀiÛiÊÌiÊÀ>V]Ê«iÊÌiÊÛiÊ`ÀÊ>`Ê«ÕÊÌiÊÀ>VÊÌÜ>À`ÃÊÌiÊvÀÌÊ
of the oven. The rack will slide on the rack guides on the inside of the oven.
PLEASE NOTE: the oven rack may tilt downward causing food to shift when
the rack is pulled out, proceed with caution.
UÊÊ*ÃÌ}ÊvÊÌiÊÛiÊÀ>VÊÜÊ`i«i`ÊÊÌiÊÃâiÊvÊÌiÊv`Ê>`Ê
`iÃÀi`ÊLÀÜ}°ÊÛiÊÌiÊÀ>VÊÌÊÌiÊÜiÀÊÀ>VÊ«ÃÌÊÌÊ«ÀiÛiÌÊÌ«Ê
browning and move the rack to the upper rack position to prevent bottom
burning.
U ÀÊLiÃÌÊÌ>ÃÌ}ÊÀiÃÕÌÃ]Ê«ÃÌÊÌiÊÀ>VÊÊÌiÊÕ««iÀÊÀ>VÊ}Õ`i°
R
ACK GUIDE
OPTIONS
Figure 7
Figure 8
 Loading...