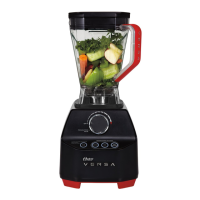
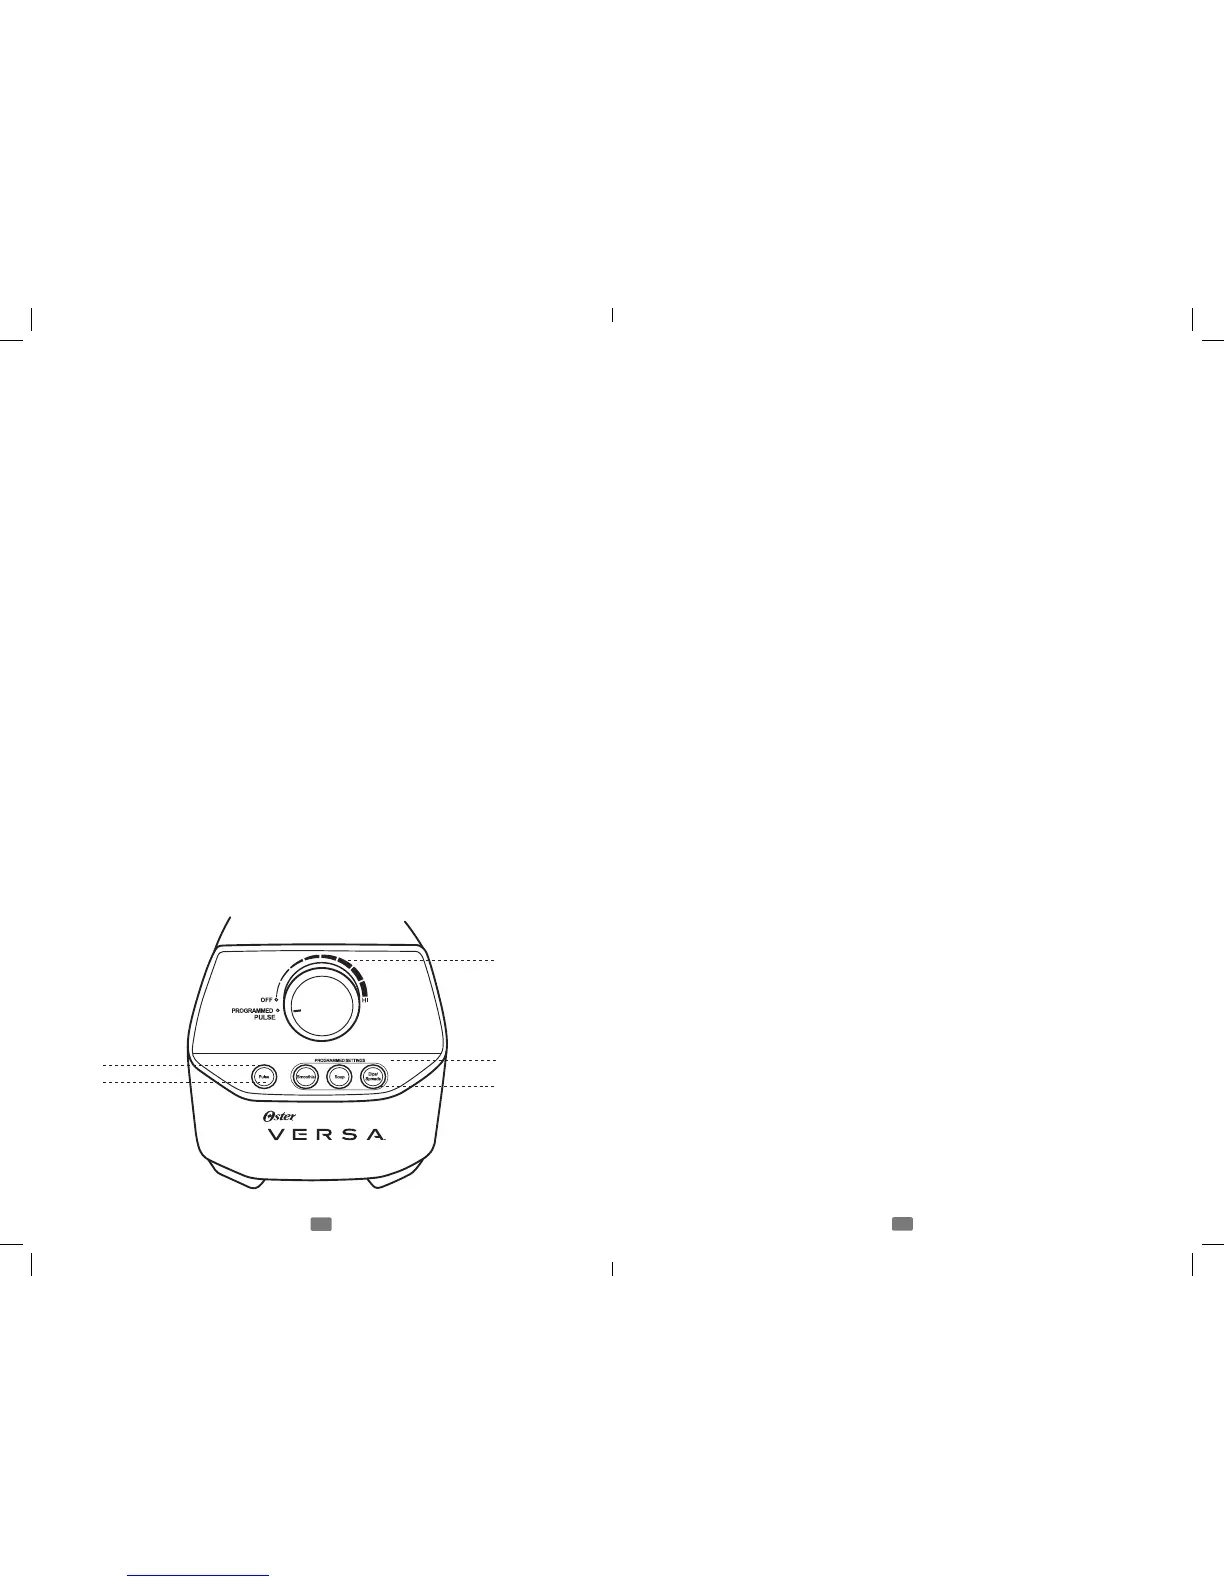
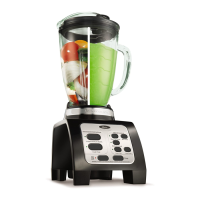
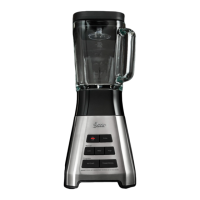
Using Your Product Control Panel
A. Speed Dial–Turndialclockwisetochoosefrommanualspeed
settings from “Low” to “High”. Once you select a speed, the blender
willrununtilyouturnitbackto“Off.”
B. Programmed Settings – In order to activate the programmed buttons,
rstturnthespeeddialcounter-clockwisetotheProgrammed/Pulse
Setting.Thenselecttheprogrammedbuttonyouwouldliketouse.
They have been developed for optimal use when blending those types
of foods.
Soup: 20 second ramp up to “Medium”, 5 minutes on “High”.
Dips/Spreads: 2 (10-second) pulses at “Medium-low”, 30 seconds on “High”.
Smoothie: 10 seconds to ramp up to “Medium”, 20 seconds on “High”.
NOTES:
1.Ifyouwouldliketostoptheblenderinthemiddleofaprogrammed
cycle, simply press any button.
2.Forsomeblendingtasks,itmaybenecessarytosupplementthe
programmed setting with additional blending time.
C. Pulse–Turnthespeeddialcounter-clockwisetotheProgrammed/
Pulse Setting. Then press the “Pulse” button for the desired time.
D. LED Lights – The lights around the selected programmed buttons will
pulse when the unit is operating in that mode.
E. Flashing Light–WhenspeeddialisturnedtotheProgrammed/Pulse
setting,thePulsebuttonlightwillashredtoindicatetheunitisready
to operate. Warning: Flashing light indicates ready to operate. Do not
touch the blade.
C
B
A
D
E
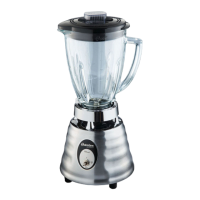
Using your Product
Tamper –Thetamperallowsyoutoacceleratetheprocessofverythickand/
orfrozenmixturesthatcannotbeprocessedinaregularblender.Iffoodisnot
circulating the machine may be overloaded or may have a trapped air bubble.
Usingthetamperhelpstomaintaincirculationbypreventingairpocketsfrom
forming.Whilethemachineisrunning,removethellercap,andthroughthe
hole in the lid insert the tamper and use it to press ingredients into the blades as
youmakefrozenicecreams,nutbutters,etc.
Thecontainershouldnotbemorethan2/3fullwhenthetamperisused
during blending.
Do not use tamper for more than 30 consecutive seconds (to avoid stressing
the motor).
You may need to move the tamper not only up and down, but also side to side.
Jar Sensor – The unit is supplied with a jar sensor on the base. This will prevent
the motor or the control panel from starting if the blender jar is not properly
placed on the base.
If the jar is removed from the base during operation the unit will stop. To restart
the blender, turn the speed dial to “Off”, place the jar on the blender base and
select the preferred speed to begin again.
NOTE:ThemotorwillnotrestartunlesstheunitisturnedOFFrst.
7
6
BLSTVB-RV0-000_13EFSM1 P.indd 7-8 5/17/13 9:51 AM